John and I got together earlier this month for a quick midweek game of Open Combat. It was to be John’s first game; I had played Open Combat a few times over the last few years and found it to be an excellent rules-lite skirmish game for small scraps featuring 6-12 figures per side.
The default playing area is two feet square, which is quite small compared to a game like Warhammer 40,000 or even Saga: Age of Magic. But it was perfect for my kitchen table on a busy weeknight, which is certainly part of the appeal of Open Combat — you can knock together a warband in no time flat and sneak in a game whenever you and your opponent can find a spare hour or two.
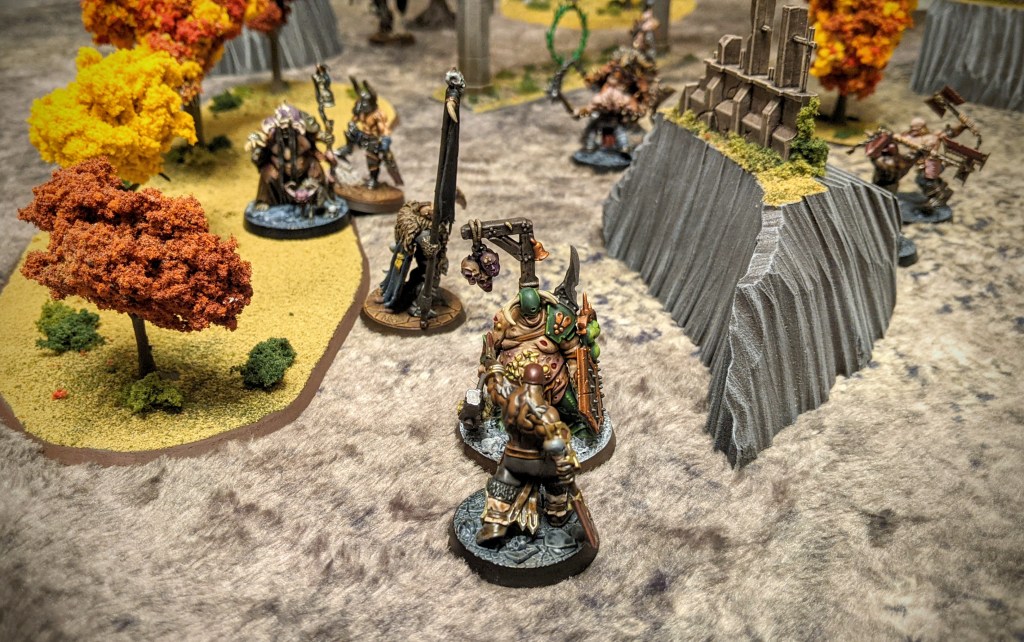
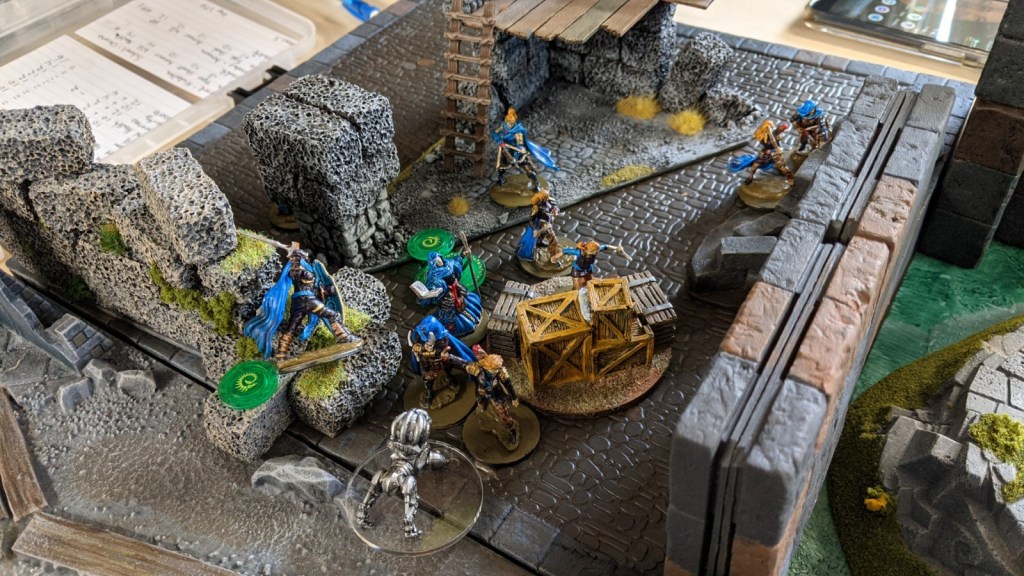
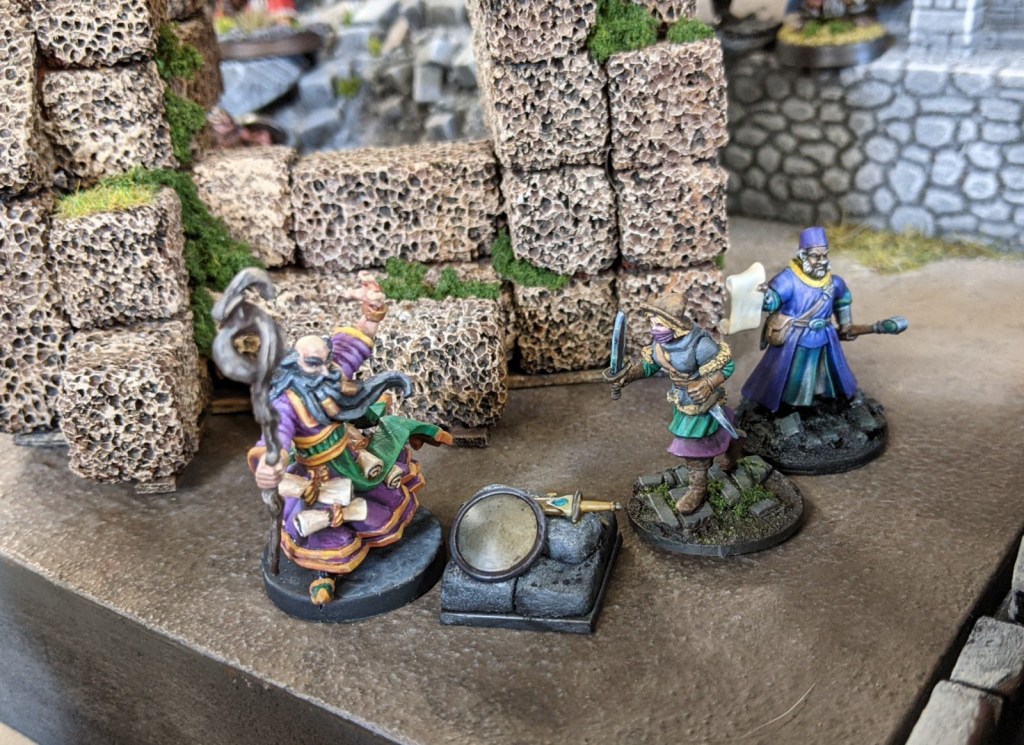
For our game, we both made chaos-inspired warbands of evil brutes equipped with gnarled armor and savage weaponry. We selected a scenario from the Open Combat rulebook called “The Arrest,” where one warband is trying to overpower and capture the chieftain of the opposing warband. We put a narrative twist on it and decreed that John’s warband was emerging from the green, glowing portal in the terrain piece above, having been on some nefarious errand in the realms of the outer dark, only to be met by my warriors who had been ordered to subdue and drag off the loathsome leader before she could exploit the dark secrets she had acquired. Yeah, that’s the stuff!
Per the scenario, John deployed a portion of his warband in the center of the table around the portal, then kept the rest in reserve (to arrive on turn 3). My warriors could enter from any table edge, giving me the opportunity to surround and engulf John’s dudes before their reinforcements arrived.
The first few turns were tense and tough. I was able to quickly make contact with John’s sorceror and began dragging her to my table edge, but the arrival of the reinforcements leveled the playing field and stymied my progress. John’s guys were just a little bit tougher than mine, and that paid off as the game entered its final turns and my guys started dying in droves.
Open Combat is tightly written ruleset with plenty of meat on the bone, but absolutely no fat. Every rule and special ability is carefully crafted to dovetail perfectly into the game as a whole. We’re still waiting on the magic supplement for Open Combat, but you can make a decent approximation of some common magical abilities using the existing rules from the main rulebook.
The best part of Open Combat, of course, is how it inspires you to grab a handful of miniatures that tickle your fancy — newly painted figures, leftovers from an abandoned project, whatever — and have a quick and satisfying battle. Doubtless we’ll play this one again soon!
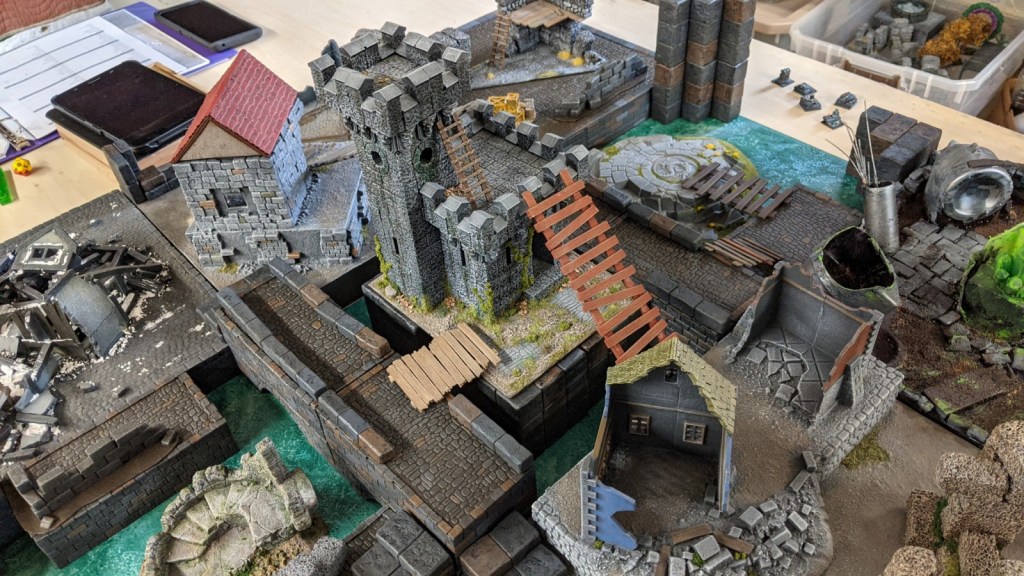
The next scenario in our Frostgrave campaign was straight out of the second edition rulebook: The Silent Tower!
“Frostgrave has many dangerous places, yet few are as notorious and feared by wizards as this tower. A null-field, it negates all magic, leaving spellcasters powerless and vulnerable. Only the most daring and reckless dare to venture inside – their bodies rest quietly on the damp floors and stairs of the Silent Tower.”
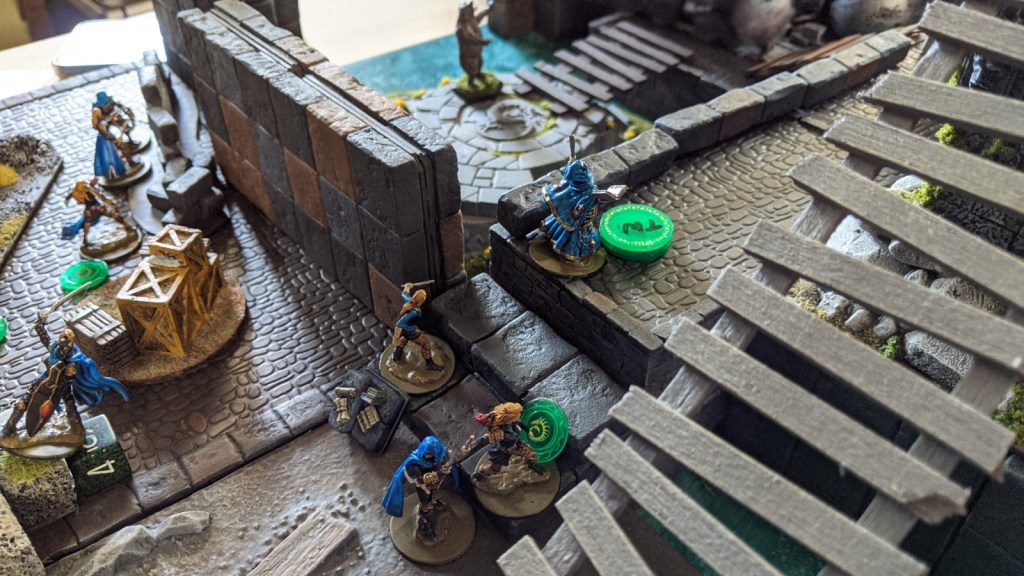
By this point in our campaign, several of the warbands had a few games under their belts and were starting to improve their wizard, learn new spells, and hire better soldiers. We set up a battlefield featuring the titular tower in the center of the table, plus plenty of narrow alleys, creaky ladders, and crumbling ruins.
Here’s a look at the warbands: my dwarven enchanter, John’s sigilist, Mark’s chronomancer, and Vincent’s summoner.
The goal of the scenario was to pay a visit to the Silent Tower; warbands could claim experience points for sending their wizard or their apprentice (or both, for maximum value) into the tower. Of course, this positioned the tower as the most dangerous spot on the whole battlefield.
Luckily, the scenario also included a number of treasure tokens scattered around the battlefield. In the opening turns, the warbands angled to scoop up this loot on their way toward the central tower.
The cluttered tabletop meant that we could snake through the ruins and avoid enemies … for a while, at least.
After picking up a treasure token, there’s a chance that a wandering monster will appear, providing more opportunity for danger and reward. This is one of the most satisfying components of a game of Frostgrave … wandering monsters add a ton of fun to our games. For this game, we had a big ol’ whiteboard set up next to the game table, and we jotted down the stats of each critter as it arrived, so we could all easily reference this info as we planned our turns.
The first unwelcome guest was a Large Bear that arrived within striking distance of John’s warband led by his sigilist.
John was bear-ly able to evade this marauding ursine, which proved too dangerous to truly ignore even as his warband crept closer to the Silent Tower.
Elsewhere, a pair of constructs clattered out of some buried ruin and moved to menace Mark’s chronomancer. The constructs went down with a clang and Mark notched some more XP in the process.
Vincent used his Leap spell to catapult a hapless soldier atop the Silent Tower itself. The tip-top portion of the tower housed a particularly potent treasure token, and we all wanted it! Vincent got there first, which set off a frantic scramble. I think someone else used another spell, maybe Push, to dislodge the soldier before he could claim the treasure.
My dwarven warband found itself in a running battle along an elevated walkway leading to the tower entrance. Even as we were fighting on the ground, Vincent was using Leap to toss more fighters up to the parapet.
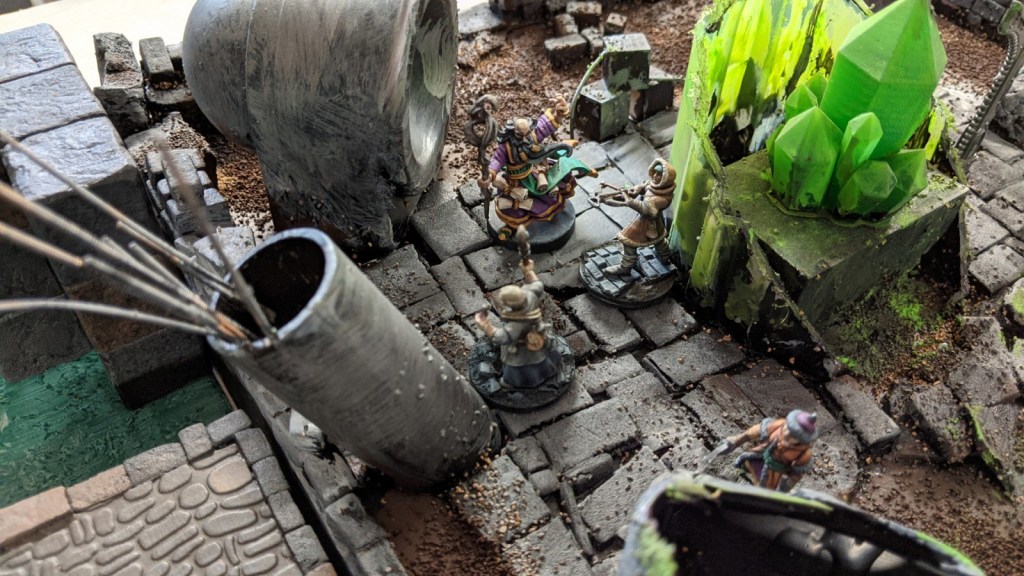
Elsewhere, the wandering monsters continued to pop up where they were least expected. Vincent’s warband suddenly found itself toe-to-talon with a ghostly ice wraith.
The Large Bear continued its plodding advance, drawing the attention of Mark’s warband as they closed in on the Silent Tower.
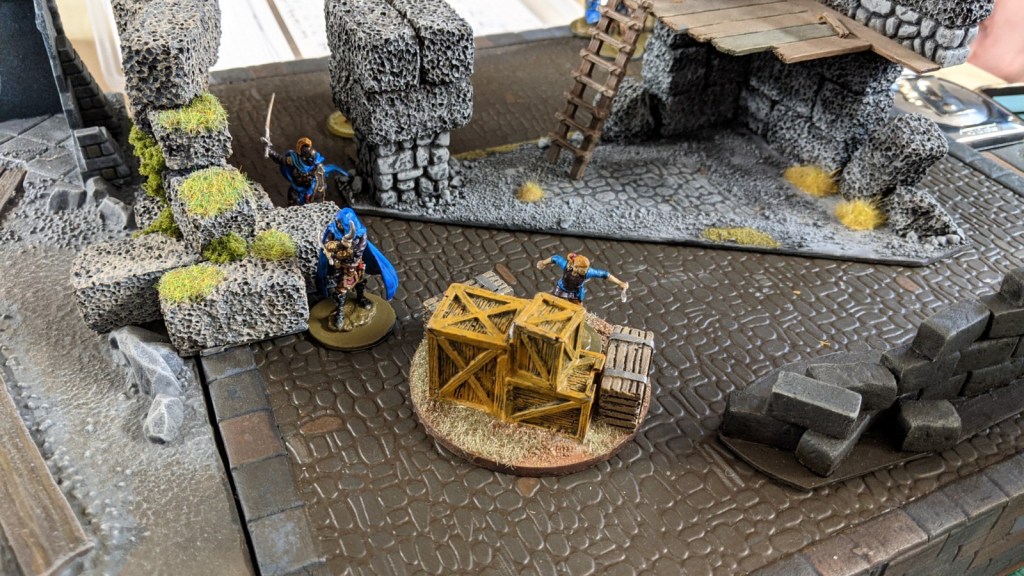
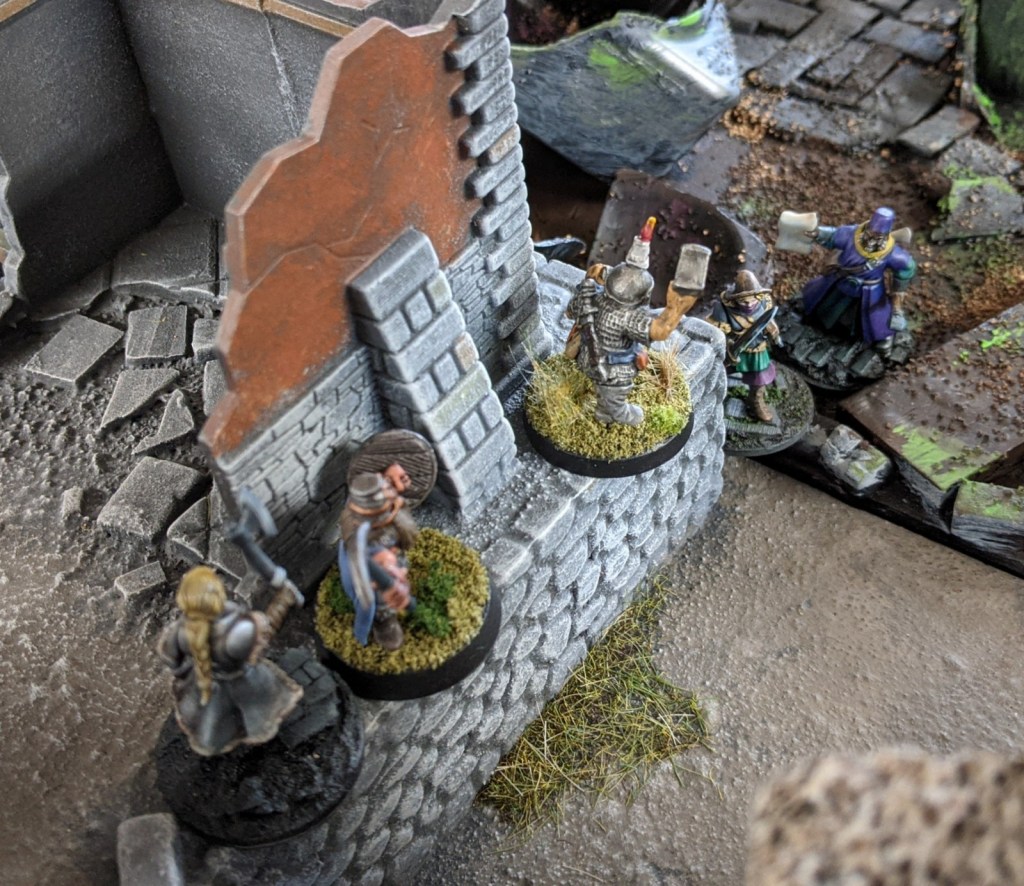
One of the most entertaining aspects of Frostgrave is how a particular terrain piece can be the focal point for a mini-narrative. In our case, a narrow stone ledge proved to be a nearly insurmountable obstacle when I placed a solitary dwarf thief atop it as defender. (He’s the guy with the candle on his helmet in the image below.)
This stout defender repeatedly repelled assaults by individual soldiers in John’s warband, tossing them off the ledge, one after the other. Eventually the dwarf defender was pulled down and stabbed to death by the enraged warriors of John’s warband. It was a good warrior’s death!
Here’s a look at the battlefield as we entered the final turns. Mark’s warband was making an all-out push for the Silent Tower. Vincent and I were battling it out on the walkway just outside the tower. John was screening his warband from the marauding bear with a well-placed Wall spell.
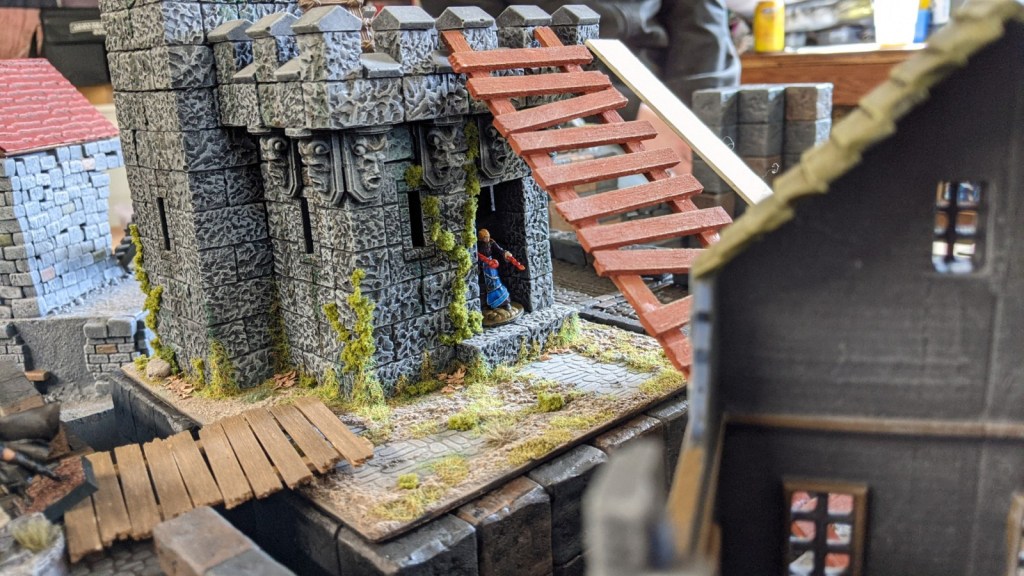
Ultimately I was able to batter my way into the Silent Tower with a bloodthirsty dwarven man-at-arms, who proceeded to dash up the stairs just as Vincent’s wizard leaped up to the highest parapet. You can see John’s Bridge spell creating a convenient entry point for his warband in the images below.
The man-at-arms met Vincent’s summoner in single combat and we were once again reminded that wizards generally have fairly weak combat stats. The man-at-arms cut down the wizard in a ghastly turn of events for Vincent. But the dwarf wasn’t quite able to claim the treasure token before the game ended.
In the final turn of the game, Mark’s gambit paid off, as he was able to rush his wizard and apprentice into the tower to claim the XP bounty. Good job, Mark!
And John made a big show about securing the treasure token that my poor sad little dwarven thief had been defending. Why would he do that? There’s been enough senseless butchery for one day, John. But I’ll let you have this moment of victory.
You’ll be pleased to hear that Vincent’s wizard didn’t actually die … he rolled on the casualty table and got a favorable result, as I recall. But still — it was a gutwrenching moment indeed when his wizard fell in combat atop the parapet.
What’s that? You’d like to see another photo of the moment when the summoner met her untimely end?? It seems I cater to utter savages on this gentle blog. But I acquiesce to your demands. Give the people what they want, that’s what I always say. Behold, the carnage on the battlements!
This was our third campaign game, and things were really humming along from a gameplay perspective. Our warbands are advancing and we’re finding new/cool/weird loot in the ruins of Felstad. We’re also taking a deep dive into our miniatures collection to come up with all of the skeletons, wraiths, boars, spiders, constructs, and Large Bears required to fully embrace the wandering monster table. Stay tuned for more!