I’m back with a gameplay report for our December 2022 Apoc-Luck mega battle, featuring some stunning and dramatic photos. Recall from my previous post that we set out to do a large multiplayer game using Age of Fantasy. We rented out a local community center, gathered our armies large and small, and arrayed them for a glorious clash. The final tally put the combined points at roughly 15,000 per side, for a total of 30,000 points of toy soldiers on the table.
This post will share some incredible photos from the games themselves. I regret that I didn’t capture much of the turn-by-turn flow of the battles, as I was trying to both snap photos and pilot my chaos army to victory. In the later turns, I had to unfortunately step away for a phone call, which further inhibited my ability to capture the narrative flow.
The first game (The Twilight Forest) featured infantry-heavy armies maneuvering blocks of troops in a wooded glade. My chaos raiders, Paul’s orcs, and Rian’s chaos warriors faced off against John’s human peasant levies and Parker’s sneaky wood elves.
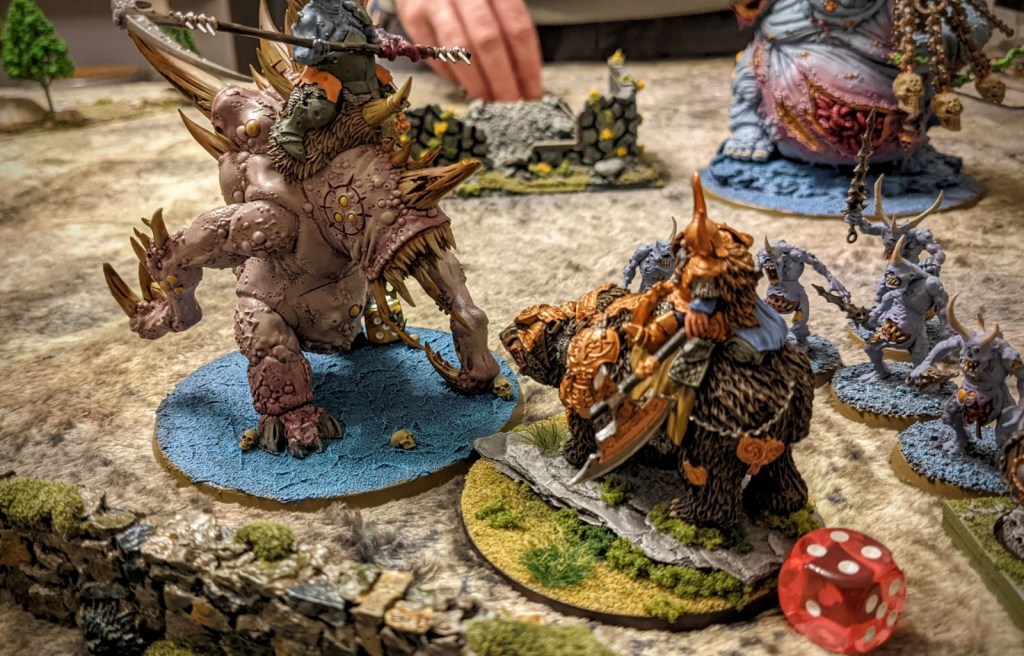
The second game (Blood in the Streets) was more of a “clash of the titans” affair, with lots of solo models and small units of larger miniatures smashing each other to pieces in the cobbled streets of a medieval village.
Here, in roughly chronological order, are pics from the first couple of turns of the first game (The Twilight Forest).
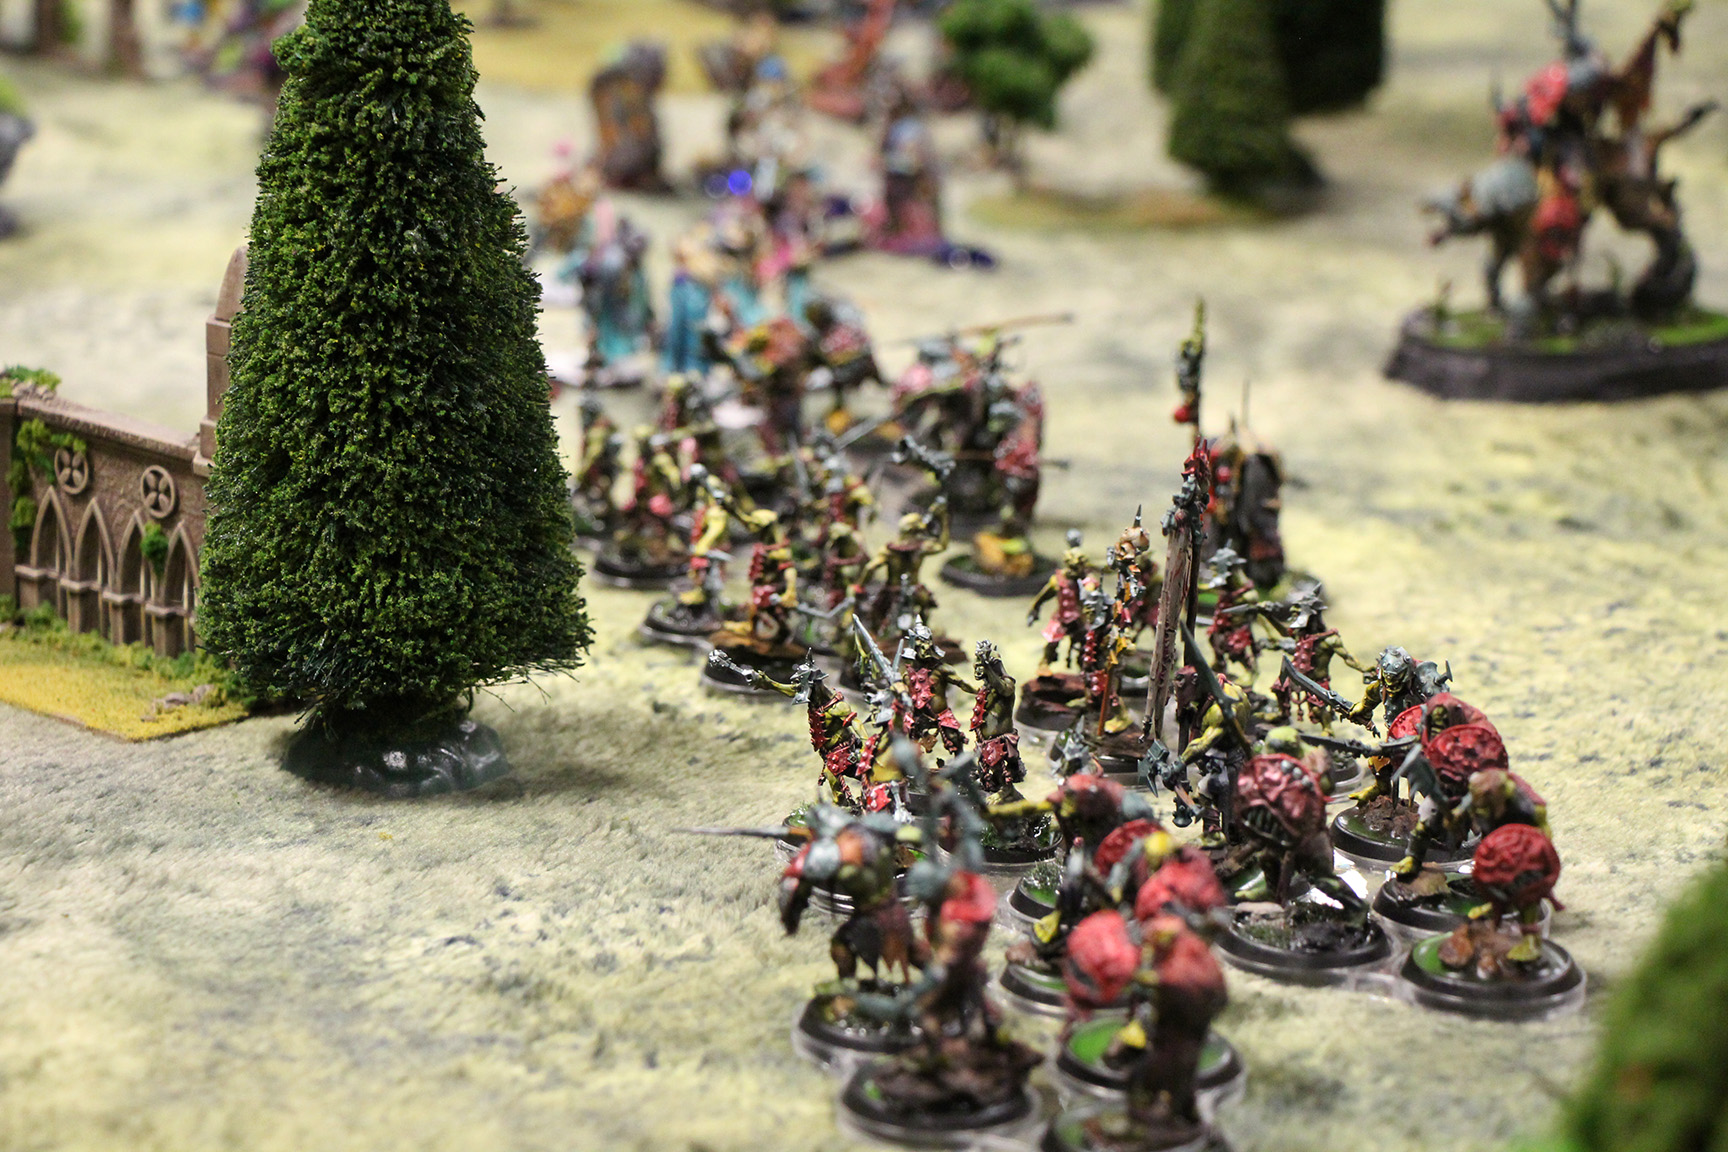
The Twilight Forest – Early Turns
Paul’s orcs looked fantastic together with Daniel’s loaner army (also orcs, also similarly painted).


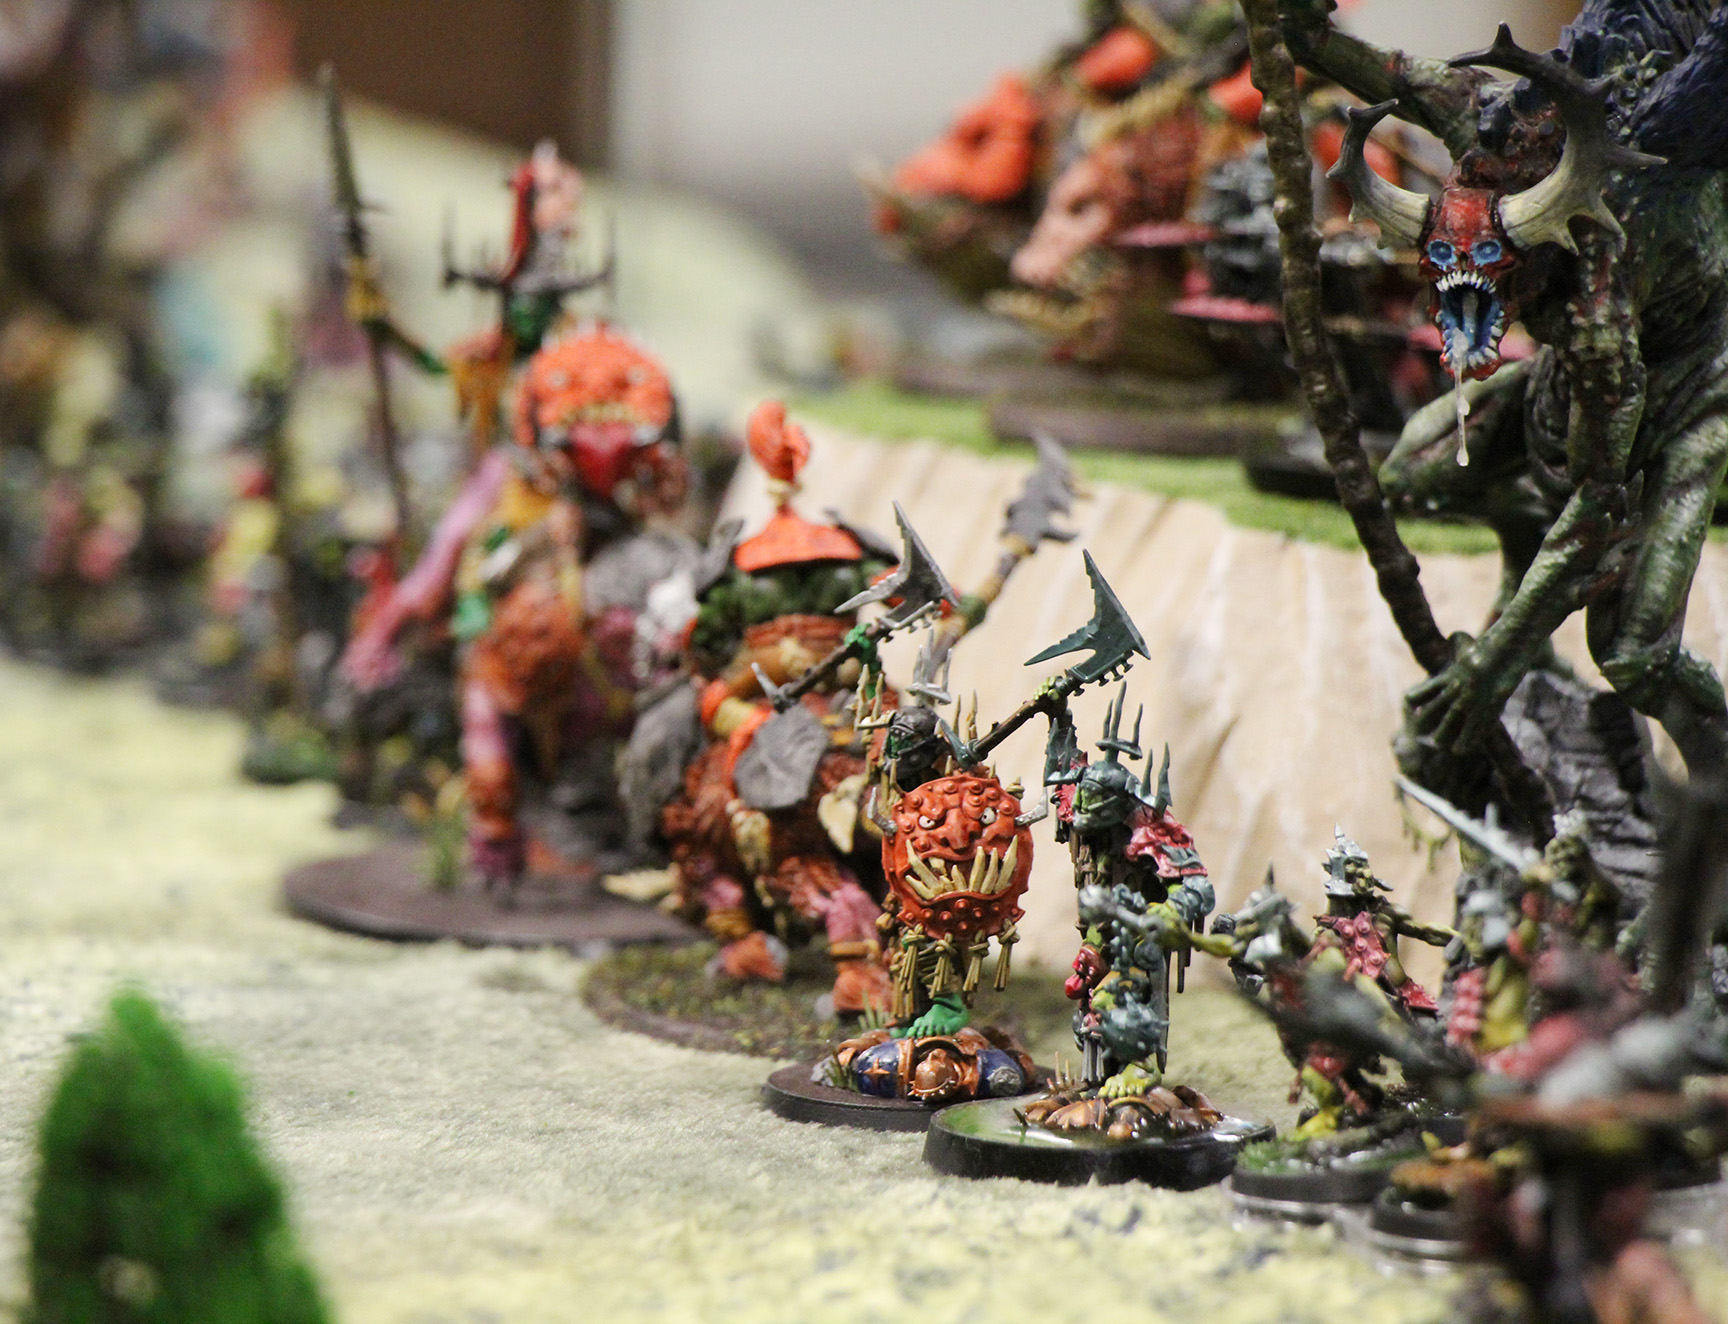
My giant chaos army featured two (2) dragons, which swooped over the battlefield wreaking havoc.

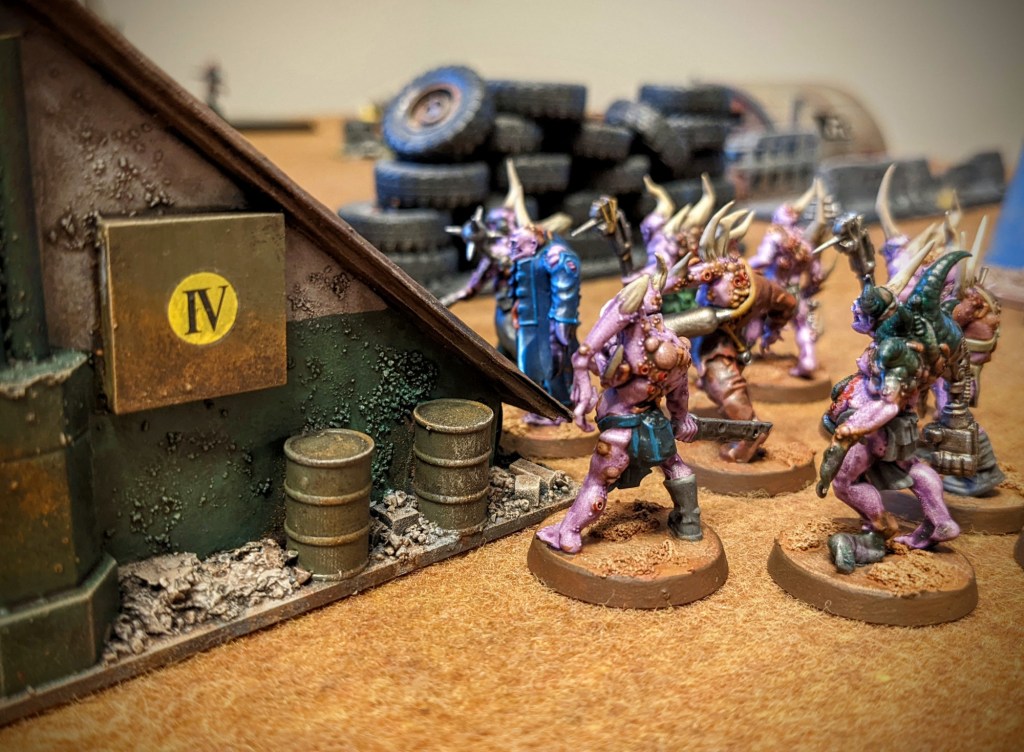
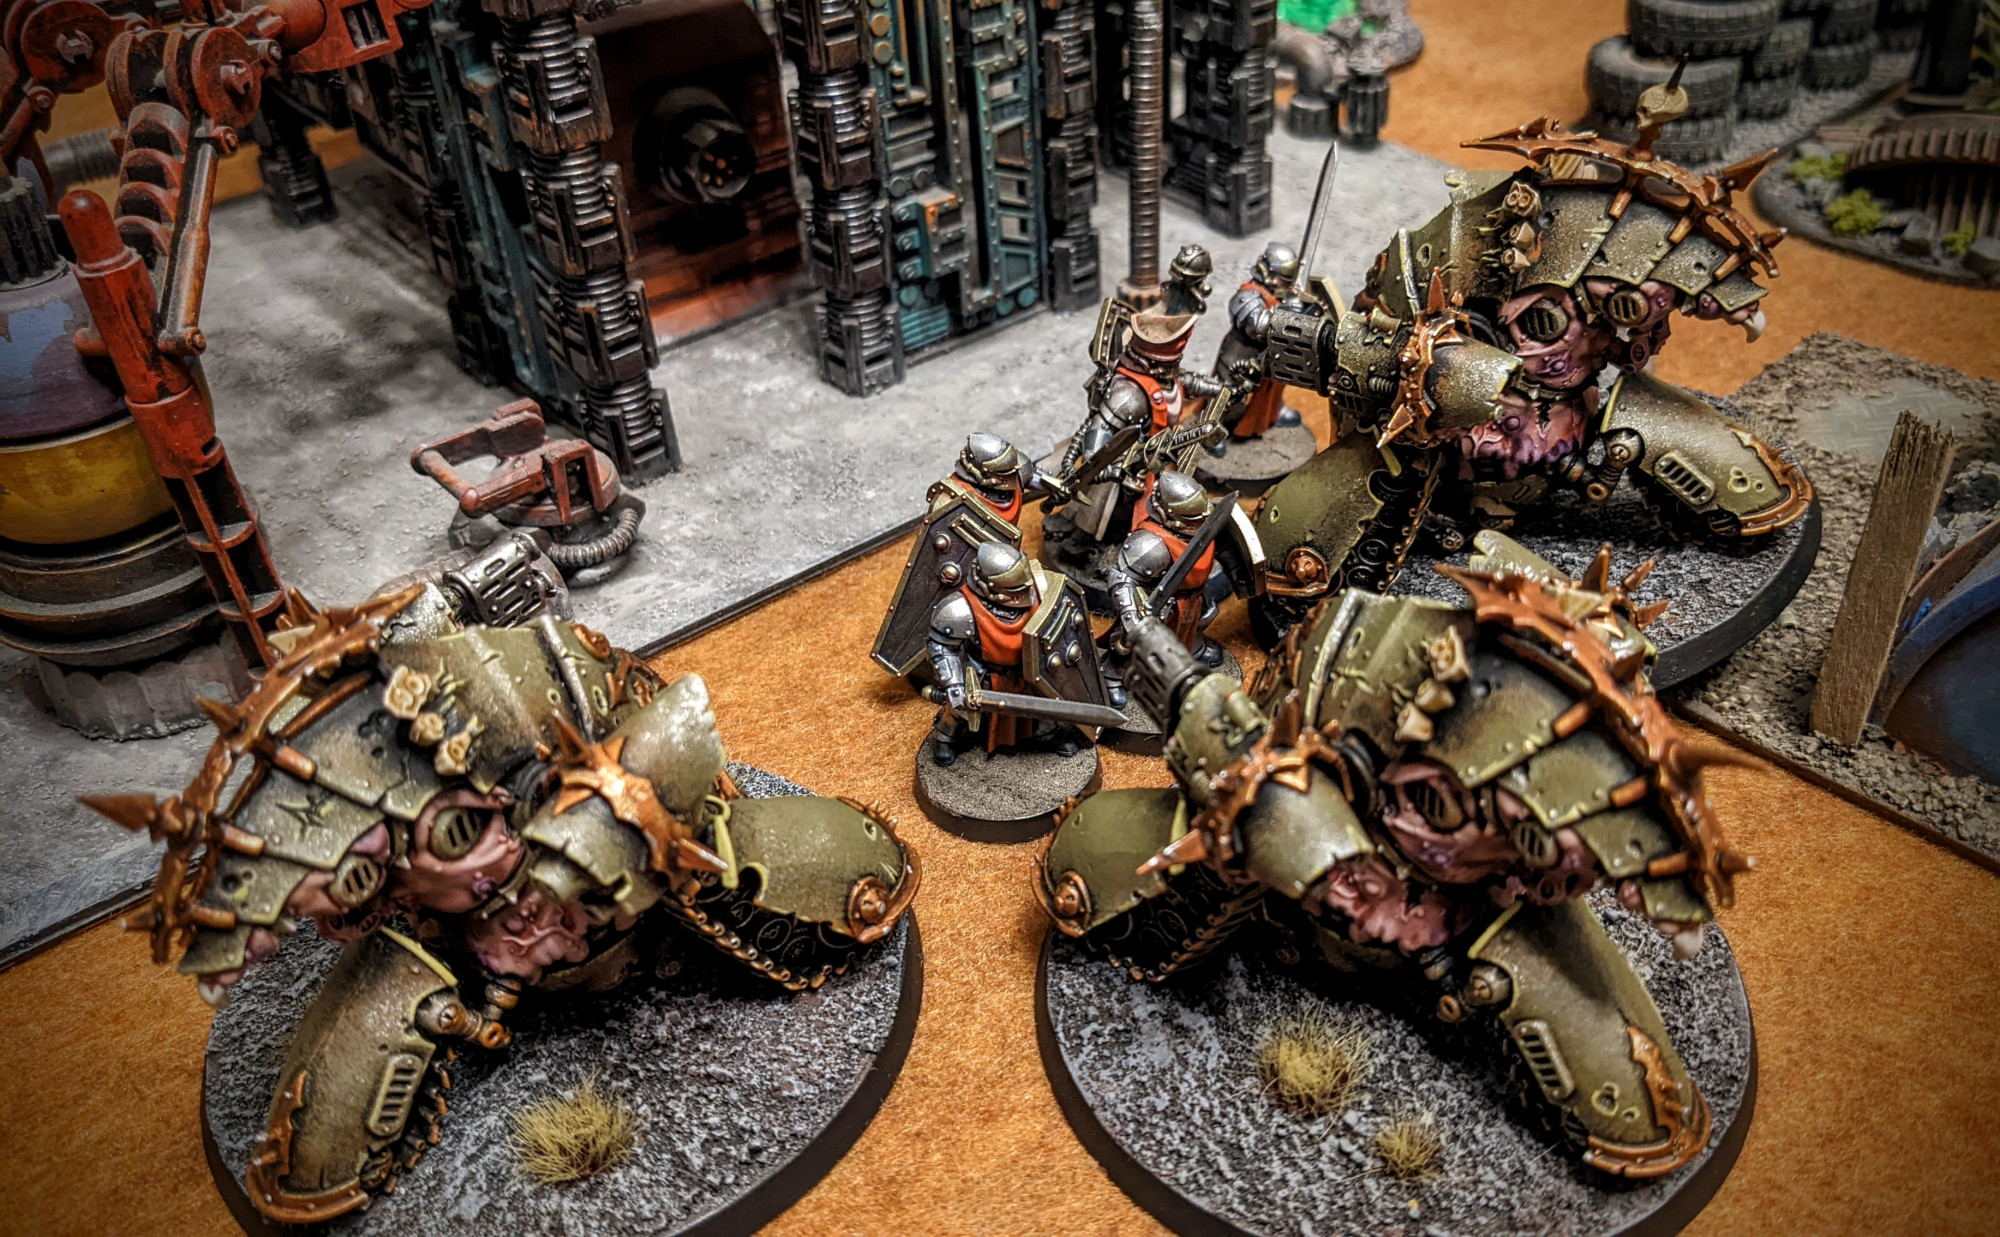
My Putrid Blightkings led the way on the right flank, soaking up damage from skirmishers on the opposing side. Their advance paved the way for the bulk of the chaos infantry and support units.
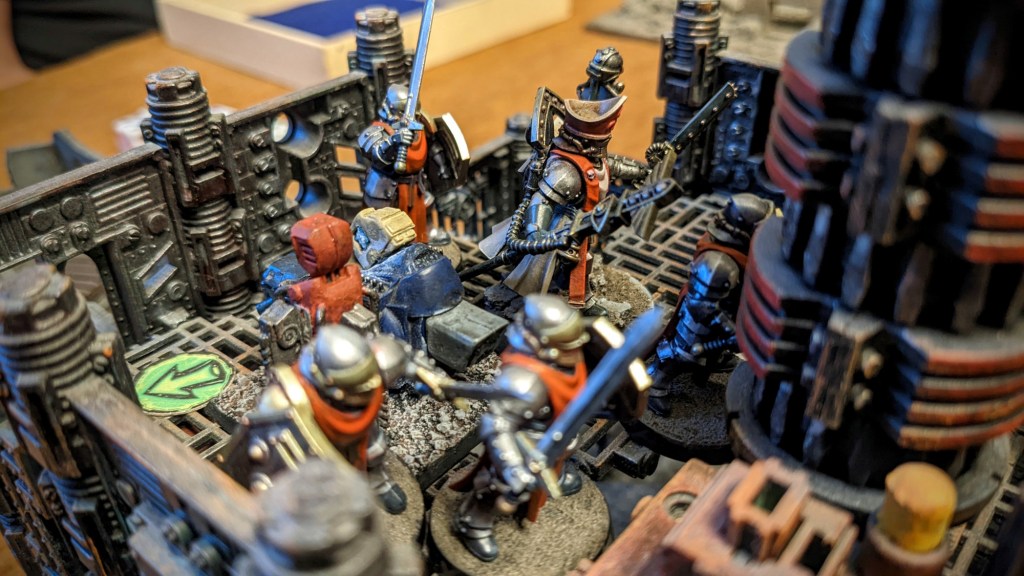
Below you can see John’s human army marching to war under the House Begovic banner, along with a contingent of metal automatons.


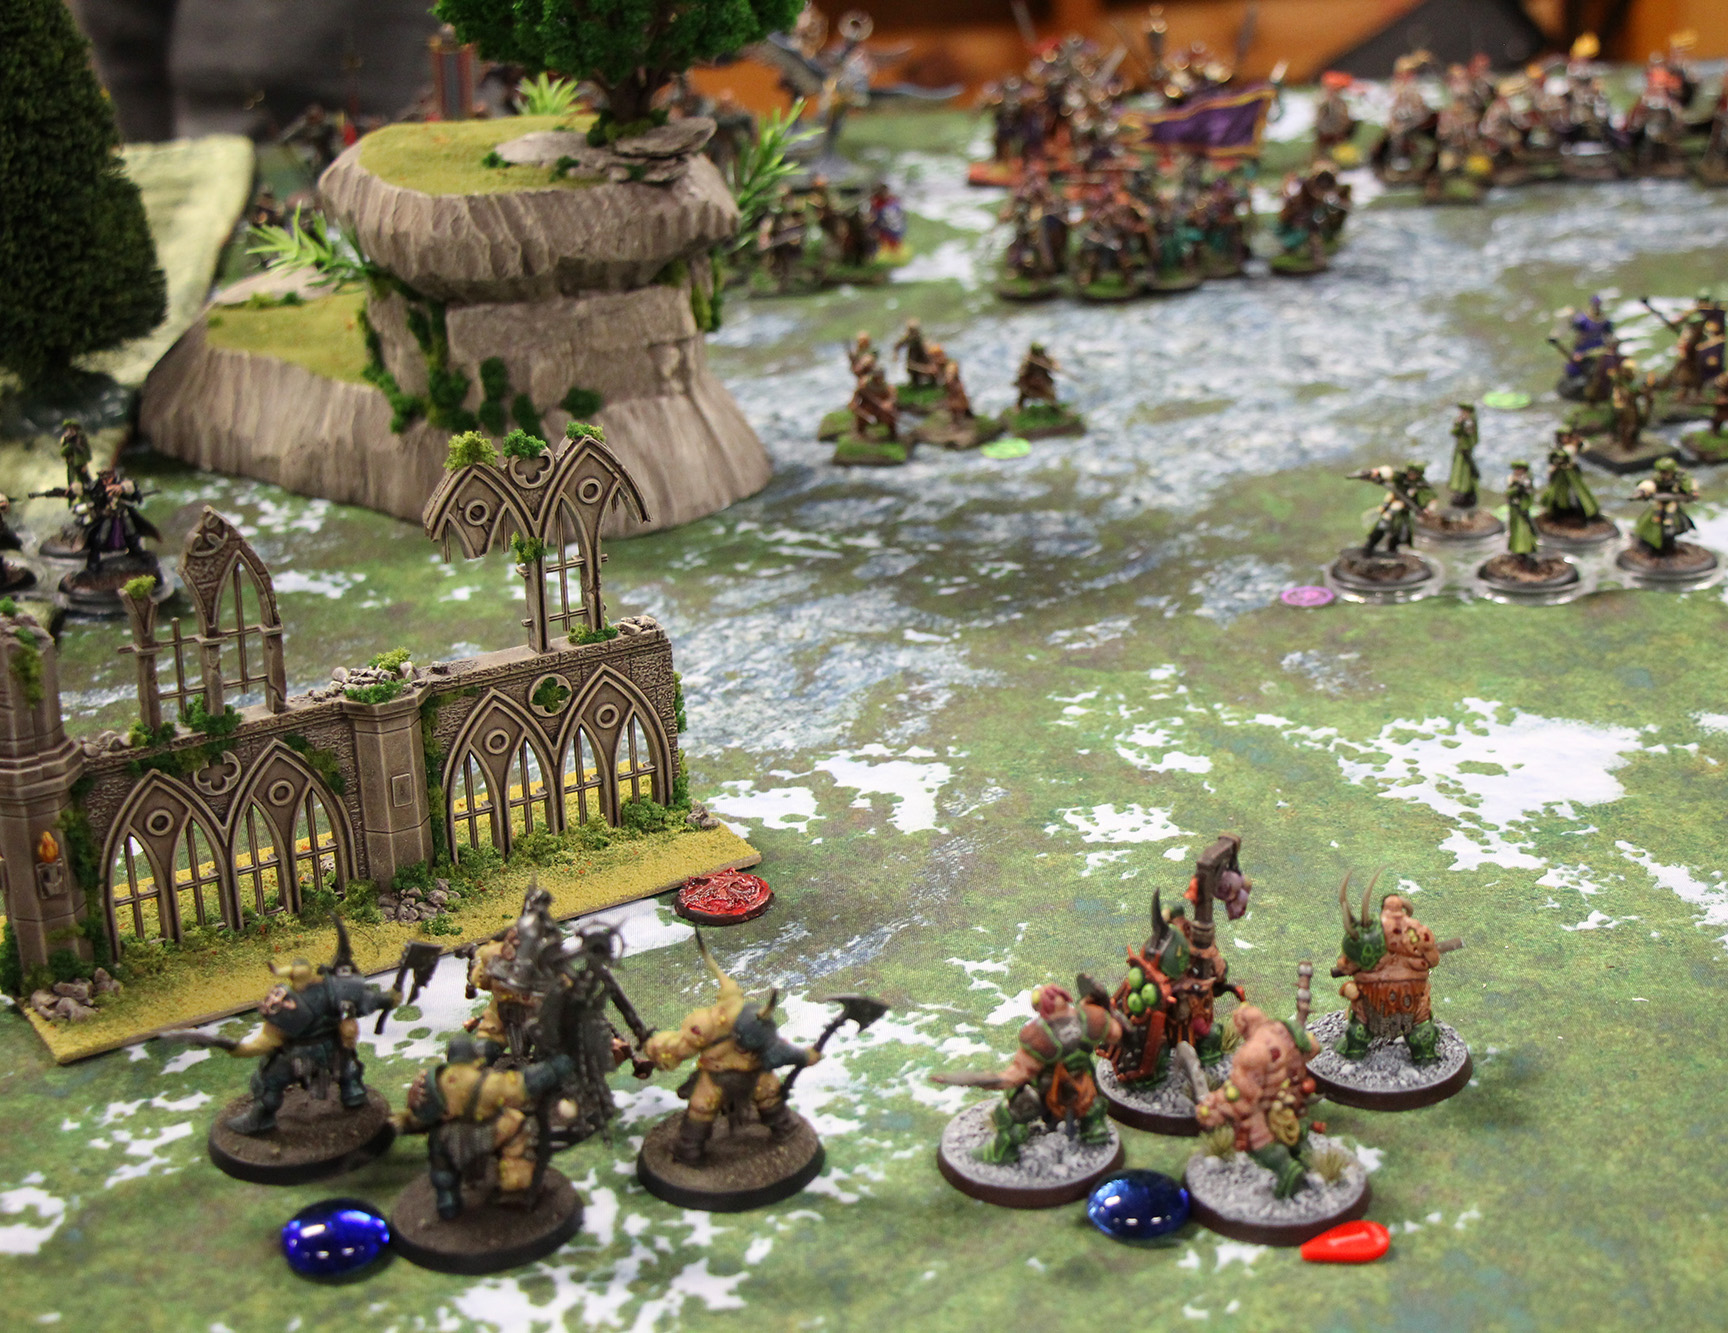
Blood in the Streets – Early Turns
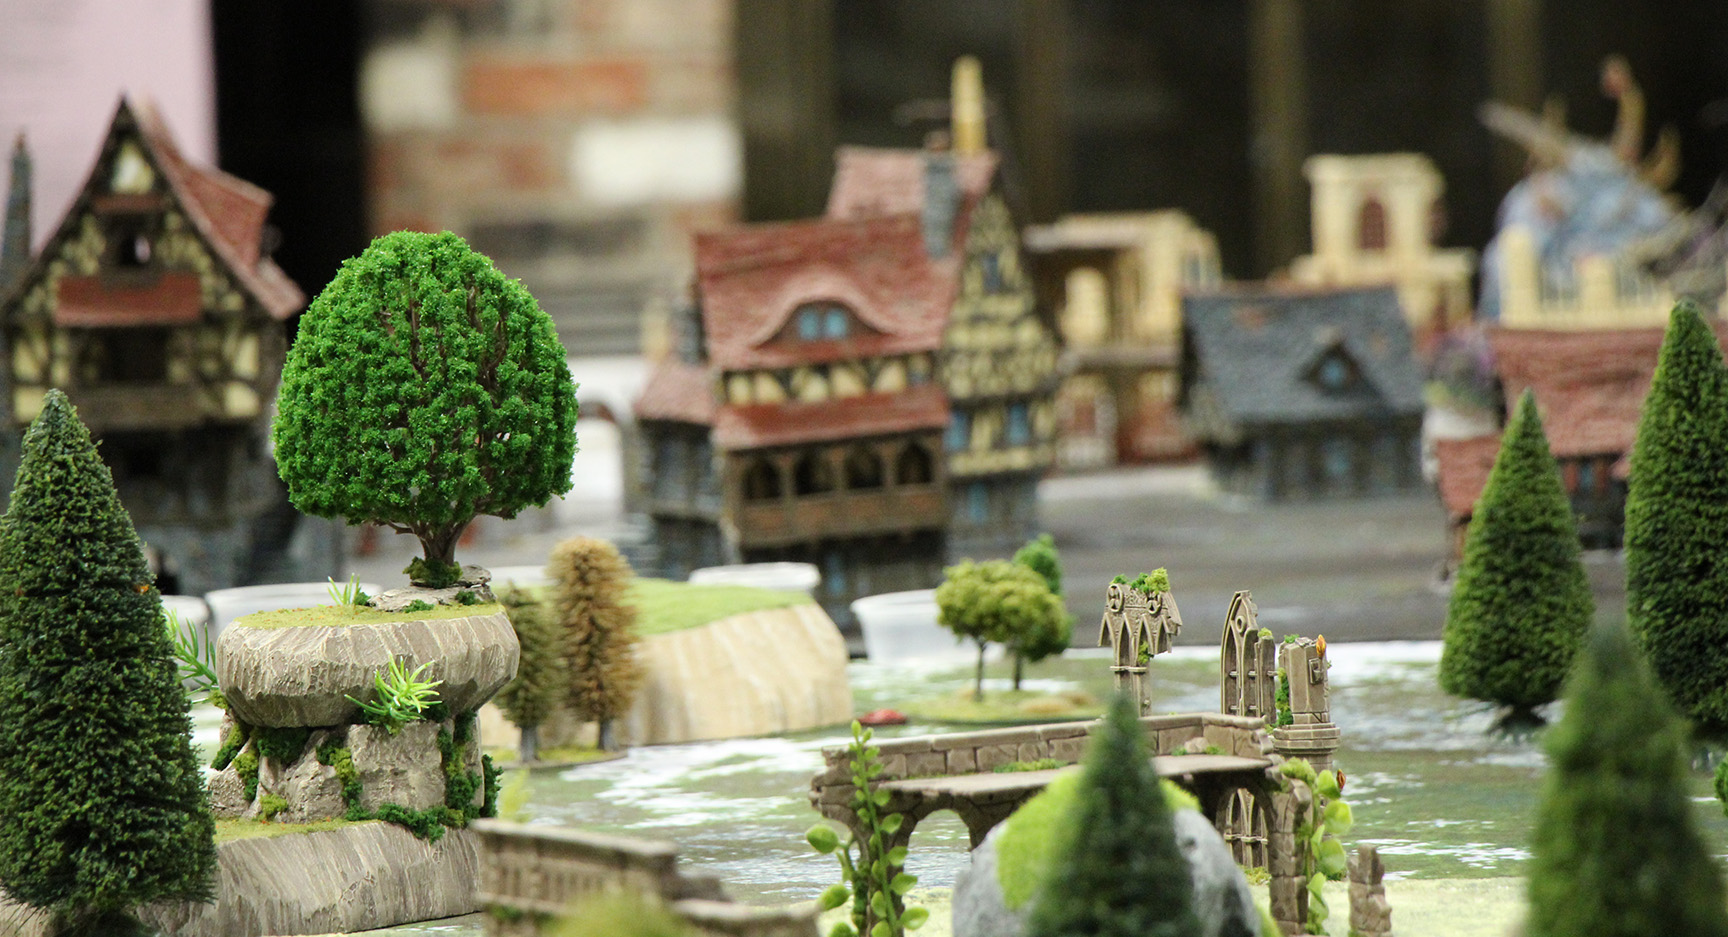
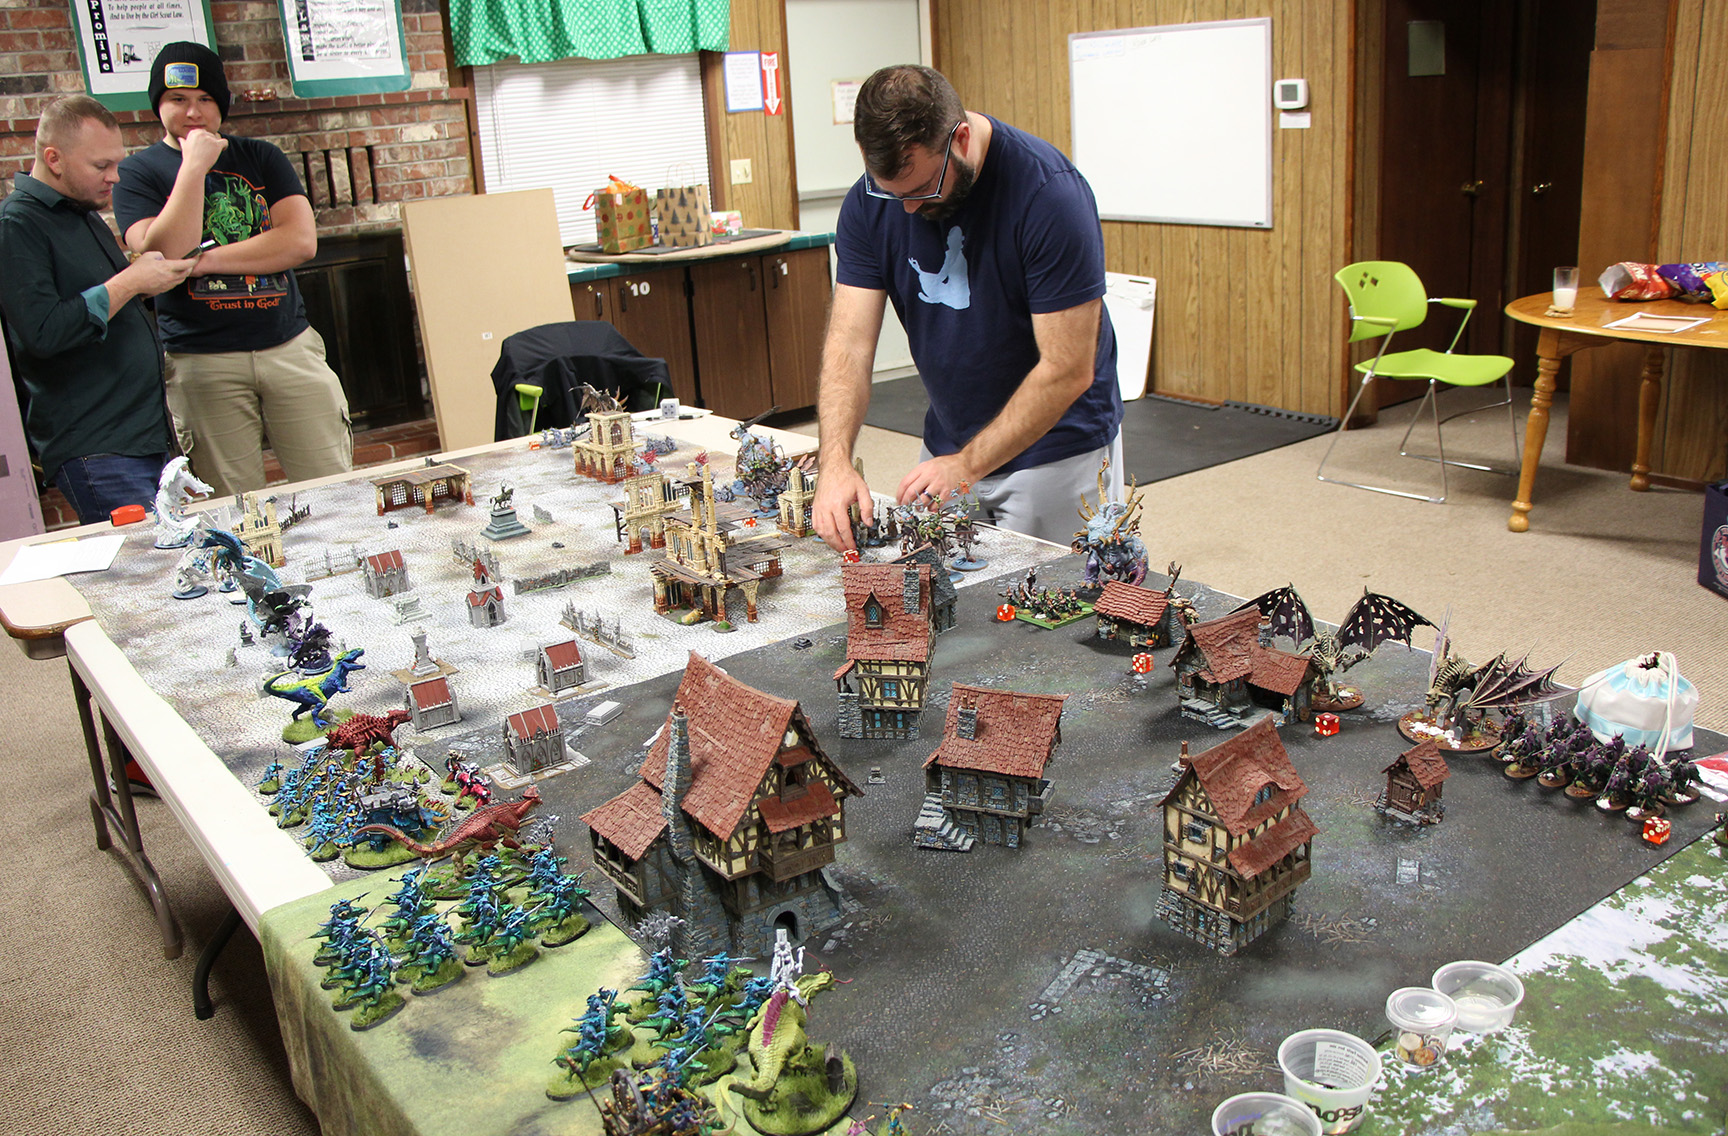
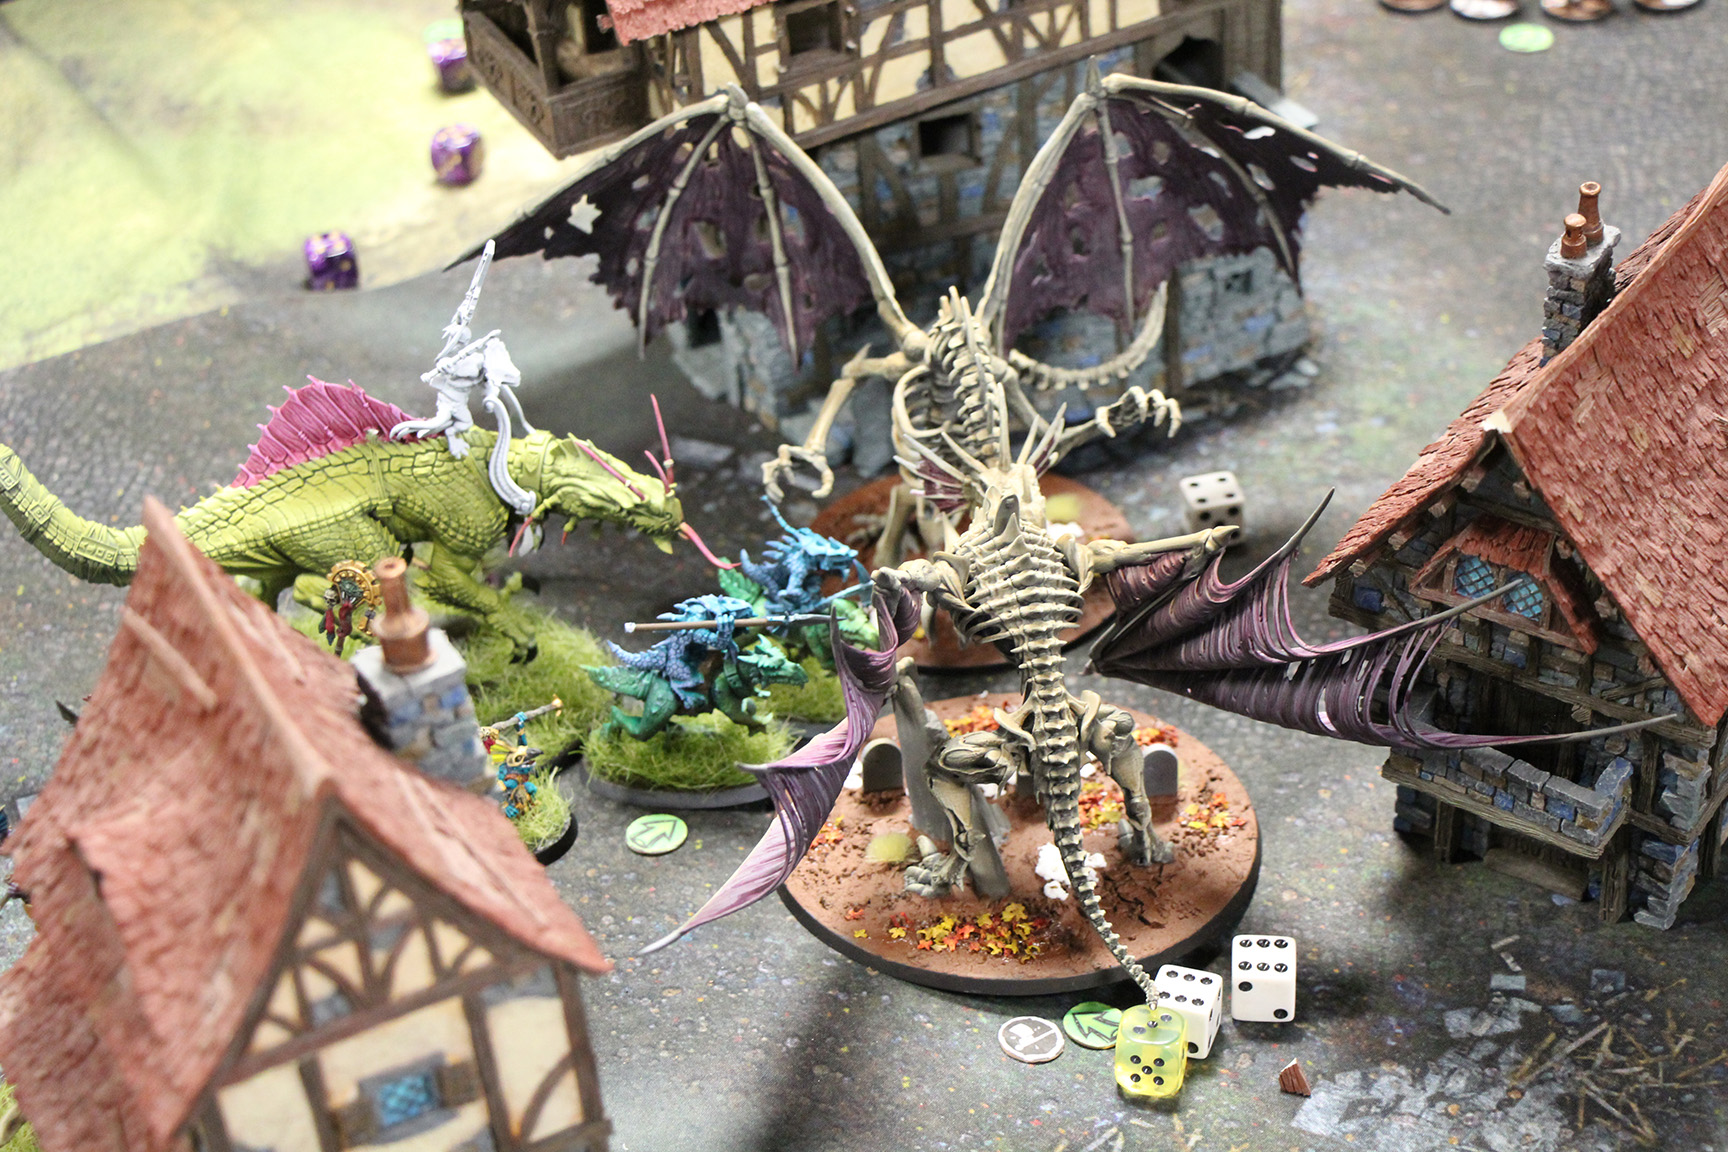
The photo below shows a closer look at Blood in the Streets, our second scenario which sprawled across a large battlefield dominated by a medieval village and some ruins on the periphery. The buildings are from Lawrence’s personal collection of Tabletop World pieces, and they are absolutely gorgeous – a real treat to play upon!

Lawrence’s Lizardmen raced onto the board and crashed headlong into the undead army helmed by Alex (Jim’s son, the drama!!) and Lawrence’s chaos daemons (composed almost exclusively of gigantic centerpiece models).


The Twilight Forest – Later Turns
The later turns saw the blocks of troops in the Twilight Forest crash perilously into each other. Skirmishers pelted the combatants with arrows and quarrels; dragons swooped over the battlefield breathing fire; and infantry hefted their spears to receive the charge. Epic and glorious in equal parts!

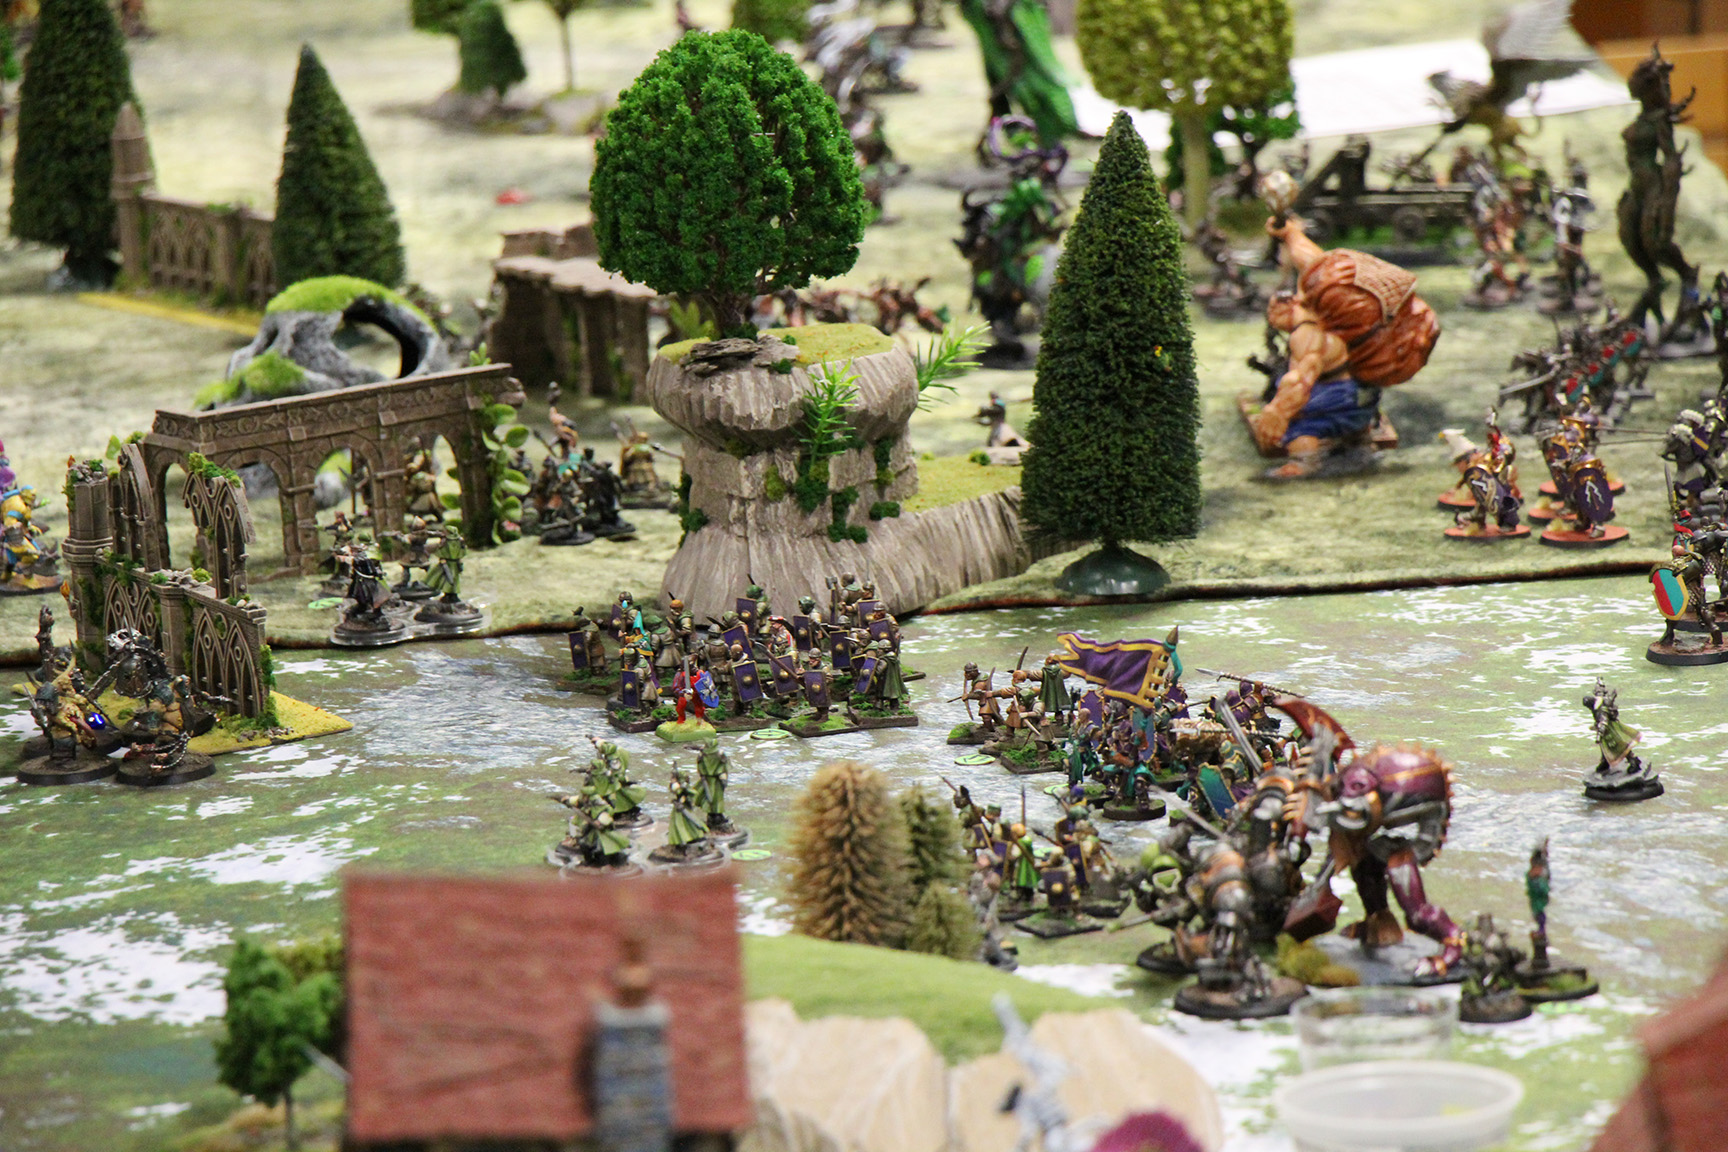
Paul’s orcs did a great job refusing the flank versus Parker’s wood elves. The elves took some early casualties and gave way, melting back into the forest as the orcs advanced.


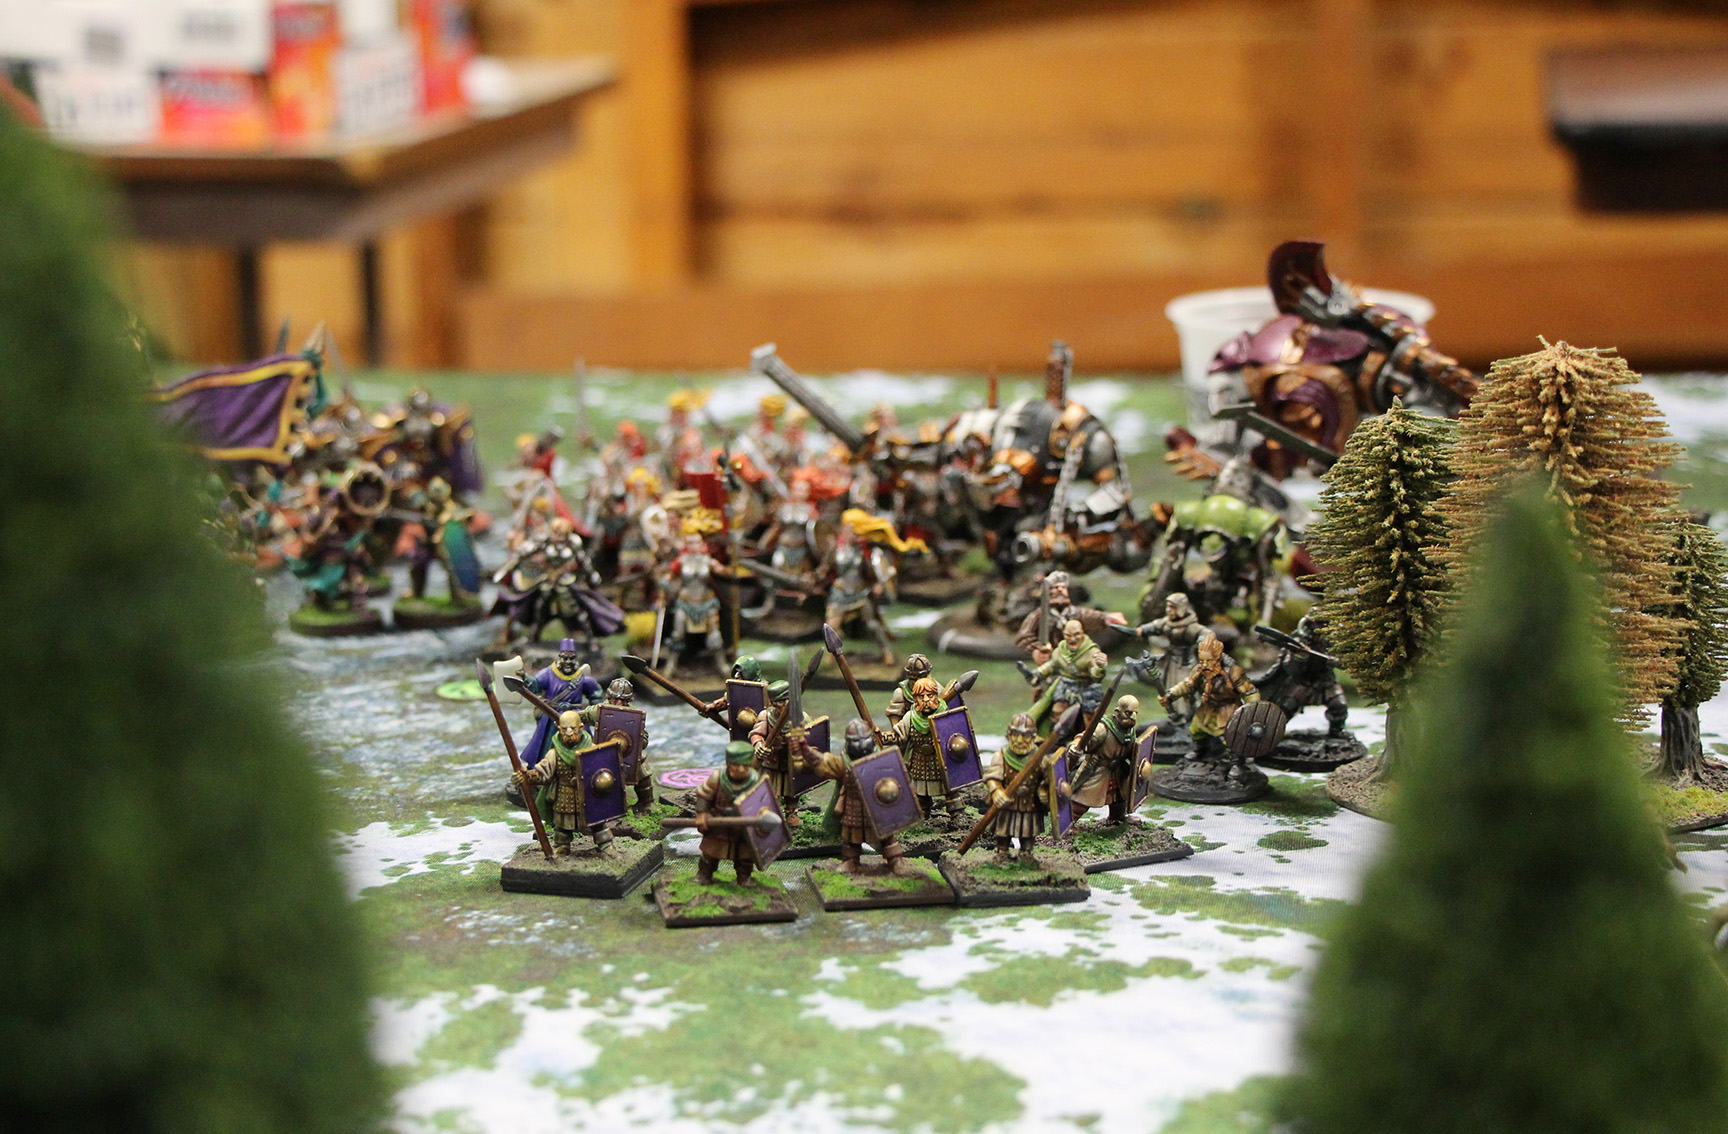
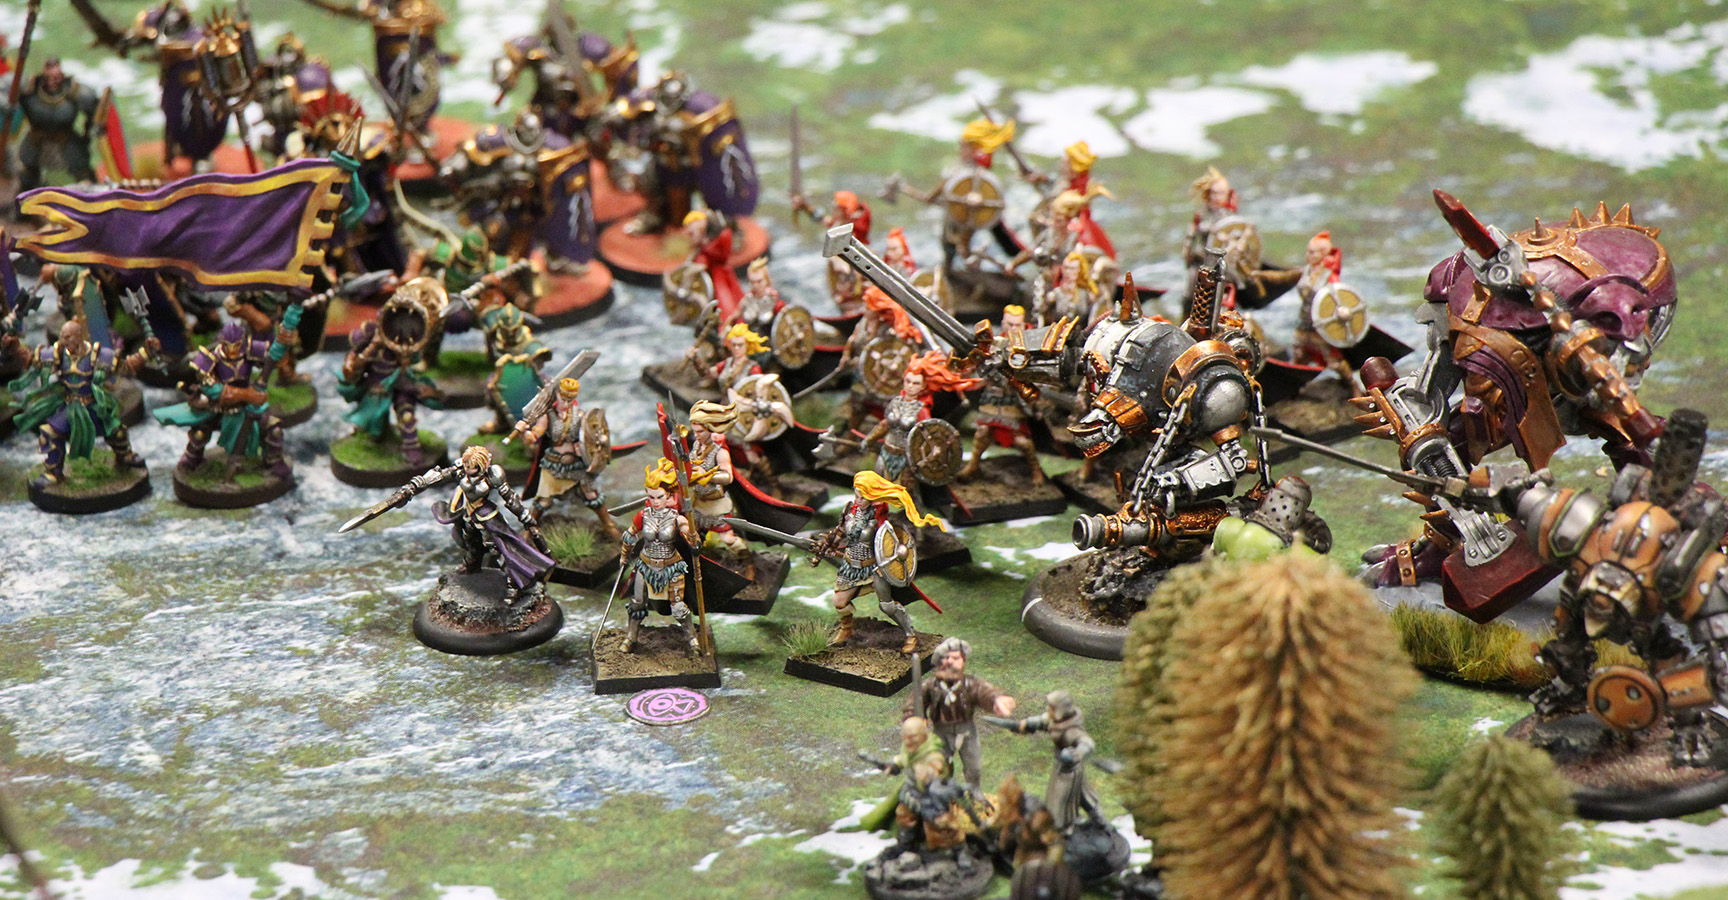
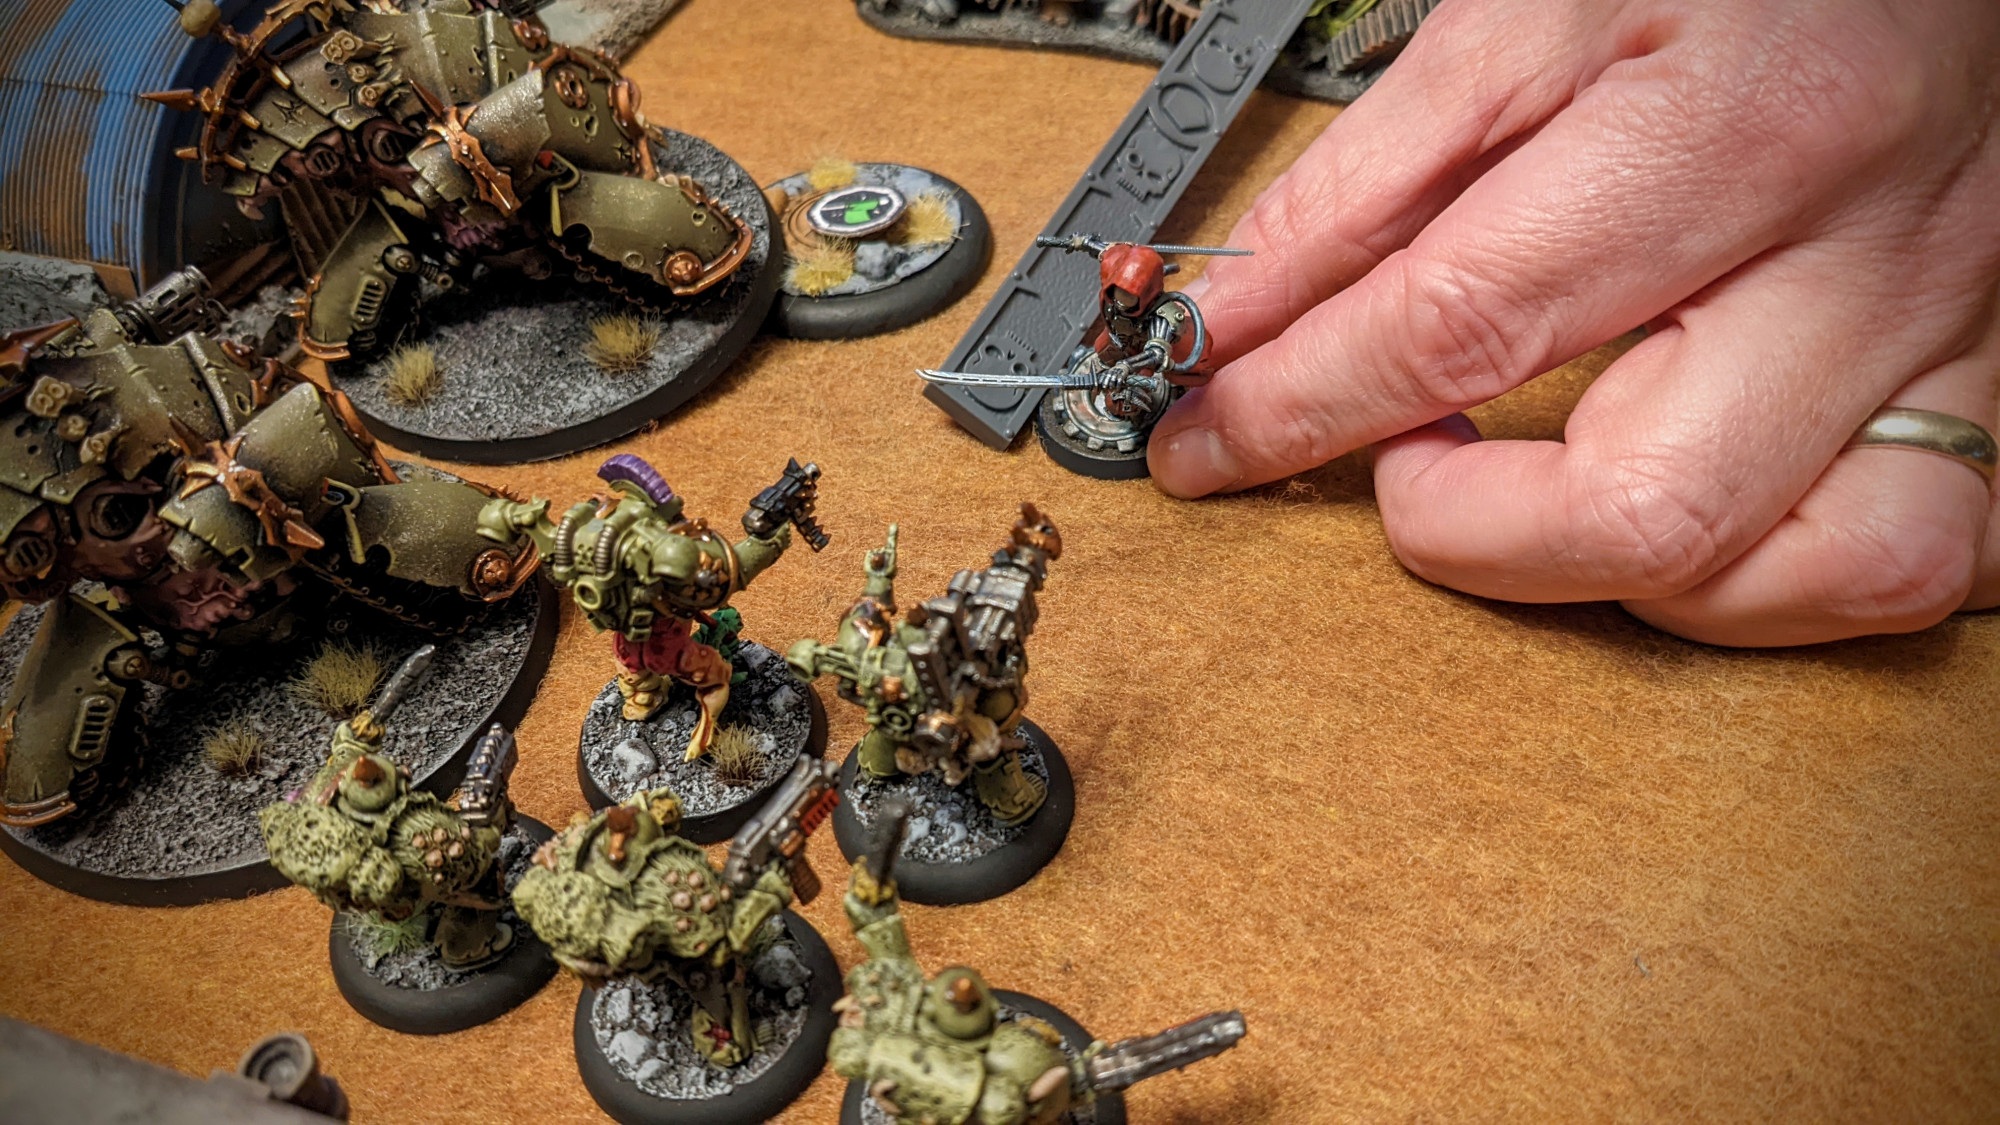
Both my heavily armored chaos knights and John’s winged pegasus knights roamed the backfield, seeking a ripe target to receive their devastating charges. These units were strong, but fragile, operating more like a guided missile than a take-and-hold unit.


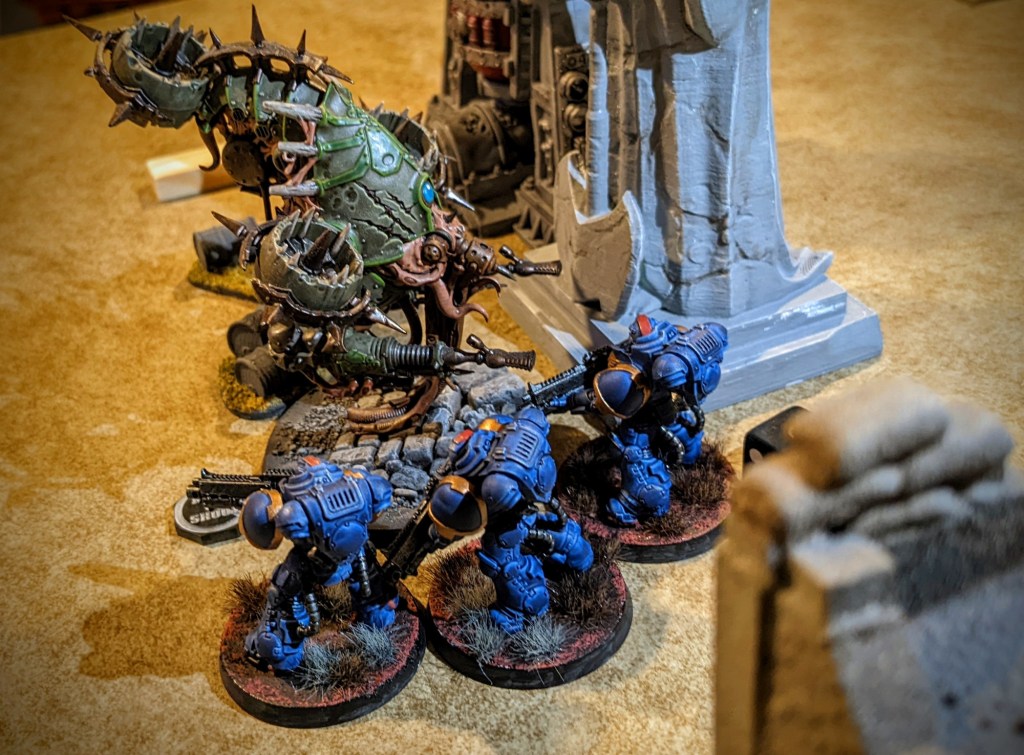
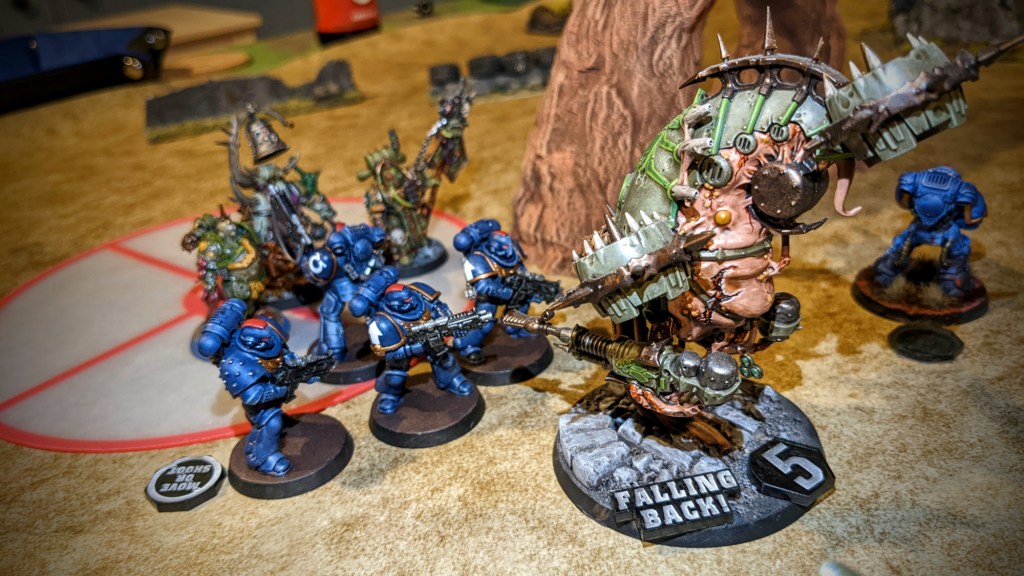
Blood in the Streets – Later Turns
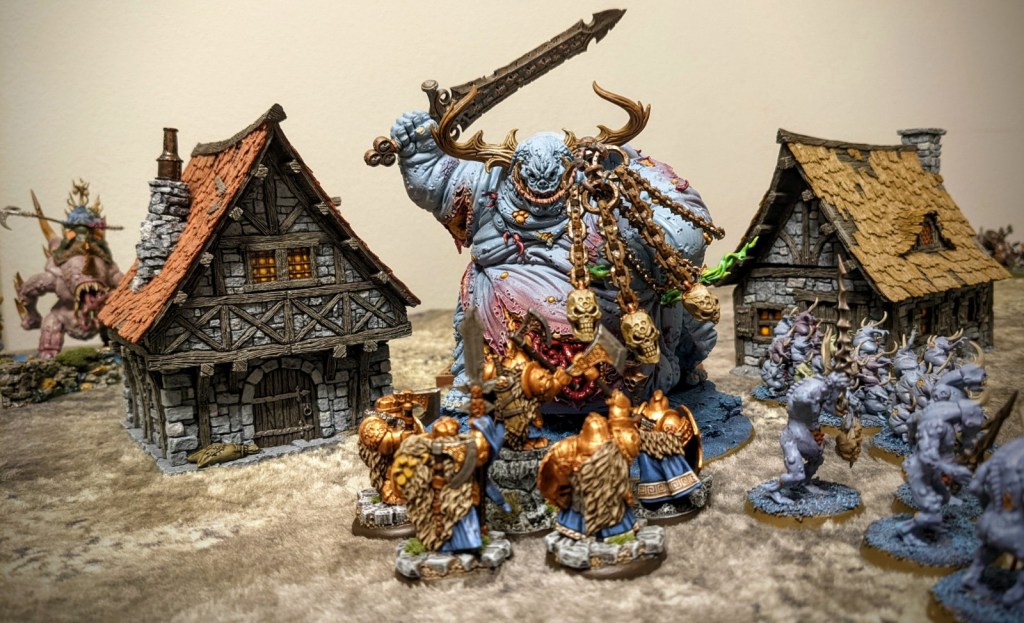
The “big guys” clashed in a decisive battle in the medieval village. Dragons, zombies, dinosaurs, and more dragons sundered the earth with the force of their blows.


Endgame
Blood in the Streets reached its conclusion first – a decisive victory for the forces of darkness (Alex’s undead army and Lawrence’s chaos daemons).
I was focused primarily on the other battle (The Twilight Forest) which was also drawing to a close. We weren’t able to play quite as many turns as the other battle, due to a phone call that I received during the later turns that unfortunately pulled my attention away. But given the outcome of the game in the medieval village (a decisive win for the bad guys) it seemed clear that the forces of darkness would win the day.
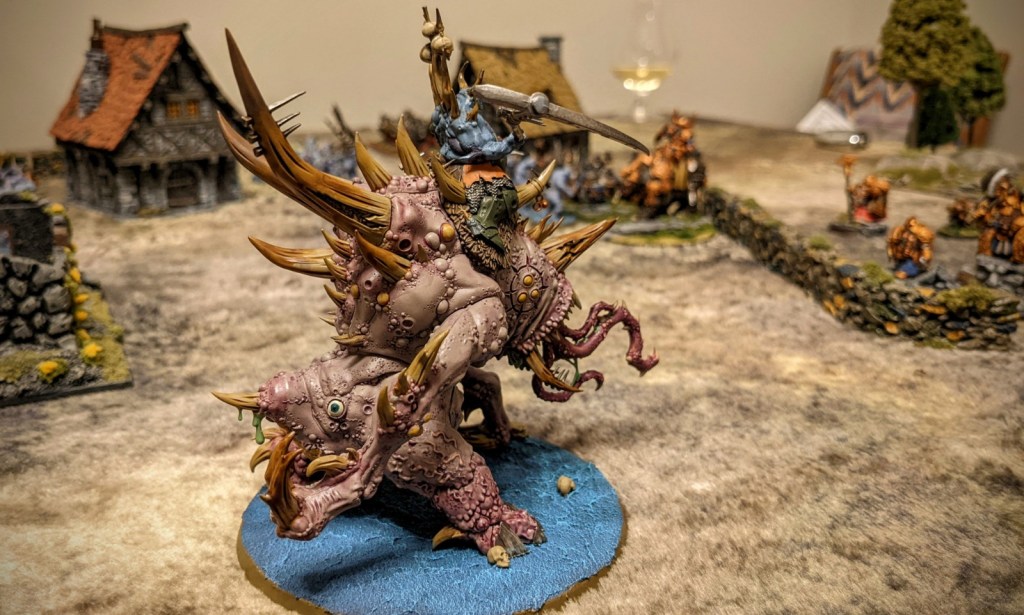
Perhaps it’s fitting that the final photo of the game, shortly before we packed up, was a shot of Malathon Scar-wing, the great dragon of the north, swooping low over the battlefield to roast the terrified defenders.

Our 2022 Apoc-Luck game definitely pushed the boundaries of our gaming capabilities and delivered an epic tabletop spectacle. Playing a fantasy game (as opposed to Warhammer 40k) was a certainly a change, but a welcome one in my opinion. Age of Fantasy gave us a highly playable game with an easy-to-learn ruleset, even at a gigantic 30,000 point threshold.