It’s been a while since we checked in on our Nightwatch campaign. I’ve actually had these photos on my phone for a couple months, just haven’t gotten around to doing the writeup.
Anyway, we gathered a few months back to play the fifth (5th) session of our Nightwatch campaign. A proper, by-the-book Nightwatch campaign is a carefully scripted affair, with seven sessions that slowly increase the intensity and danger, culminating with an epic “boss battle” in the final session.
So by that metric, you can see we’re quite advanced by this point in our campaign. Our characters are proficient and deadly, and they’re outfitted with all manner of deadly weapons, artifacts, and gear.

We’ve played a variety of objective-based scenarios up to this point in our campaign. For our fifth session, we decided to try a seemingly simple game mode – survive for seven turns. That’s it! Nothing more complicated than that.

It seemed easy, but the players barely escaped from this game with their hides intact. The danger started early and often, as terrifying beastmen began emerging from the depths of the Embermoon Forest on turn 1.

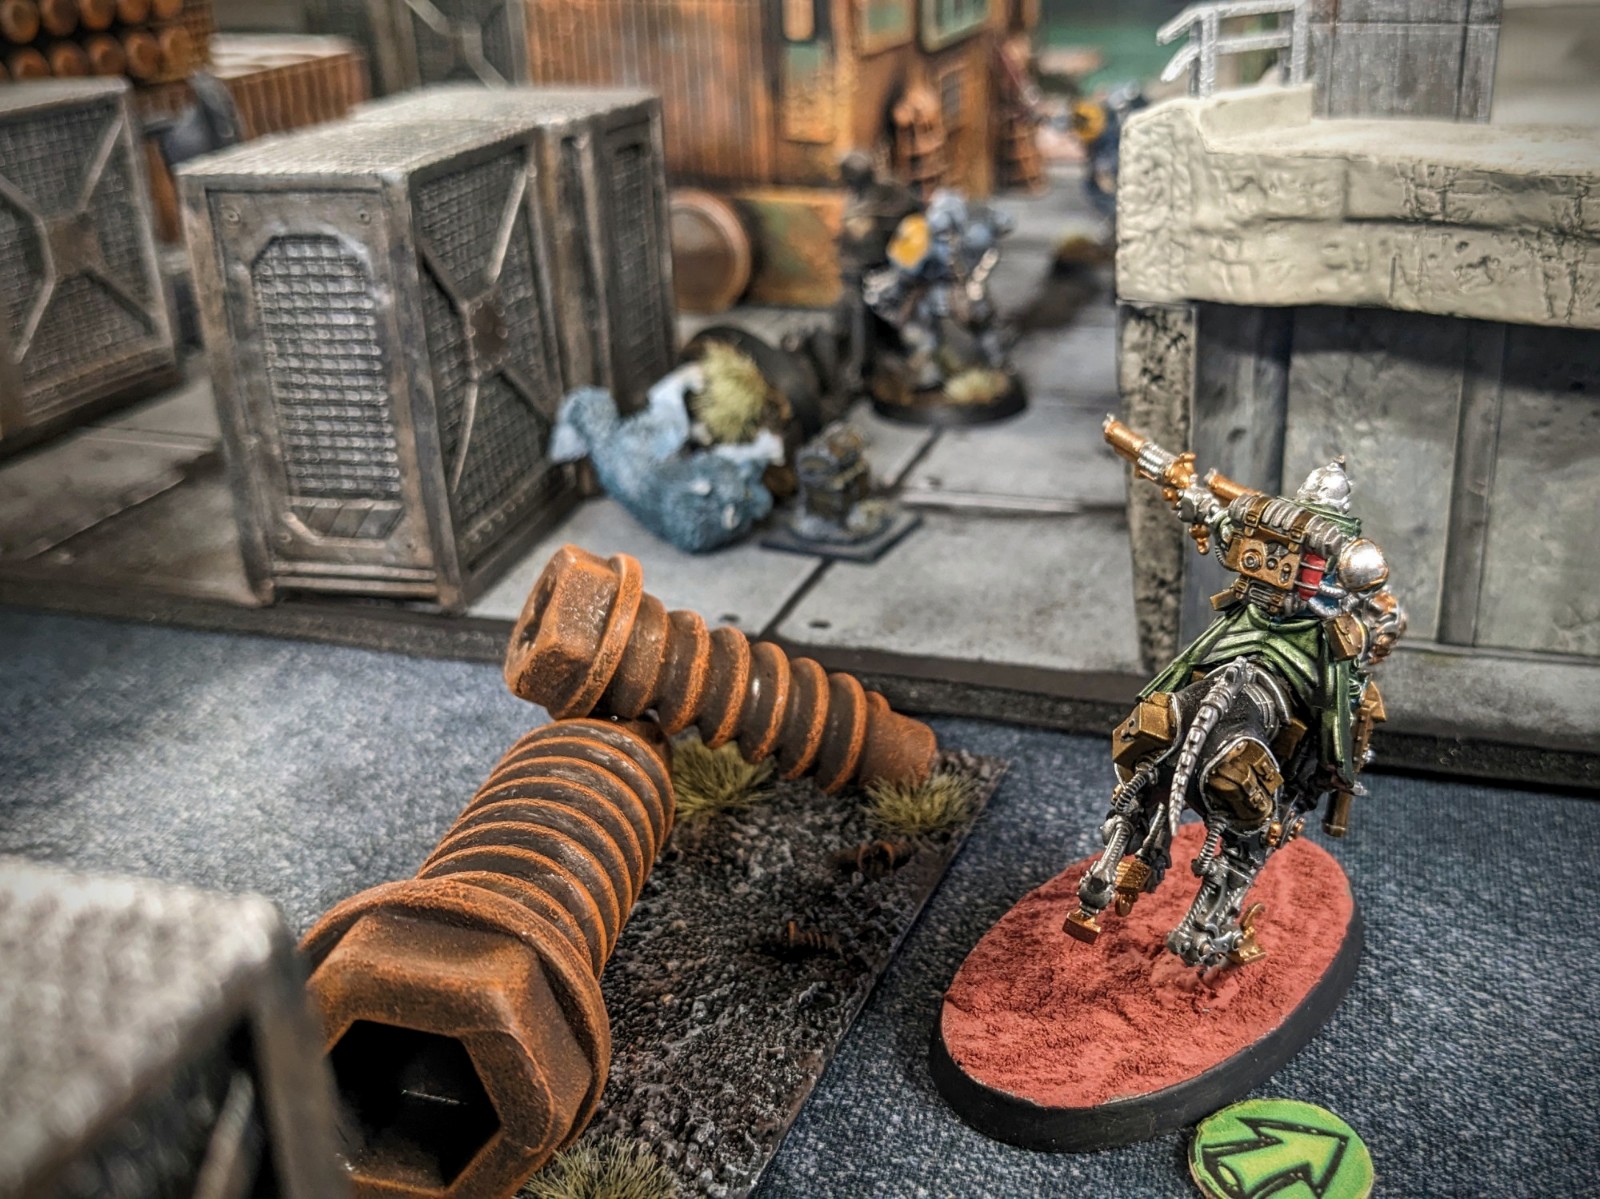
From there, the danger just increased expontentially. The slower characters, like Jim’s knight Sir Joshua, got bogged down in grinding melee combat just a few inches beyond the heroes’ deployment zone.


This meant that the more mobile characters, like Vincent’s alchemist, had to stay somewhat nearby to protect their slower comrades, and couldn’t race ahead to engage the beastmen reinforcements that were arriving every. single. turn.
This game featured repeated appearances of Terrors – those horrid, panic-inducing monstrosities that represented the near-pinnacle of the Nightwatch bestiary.
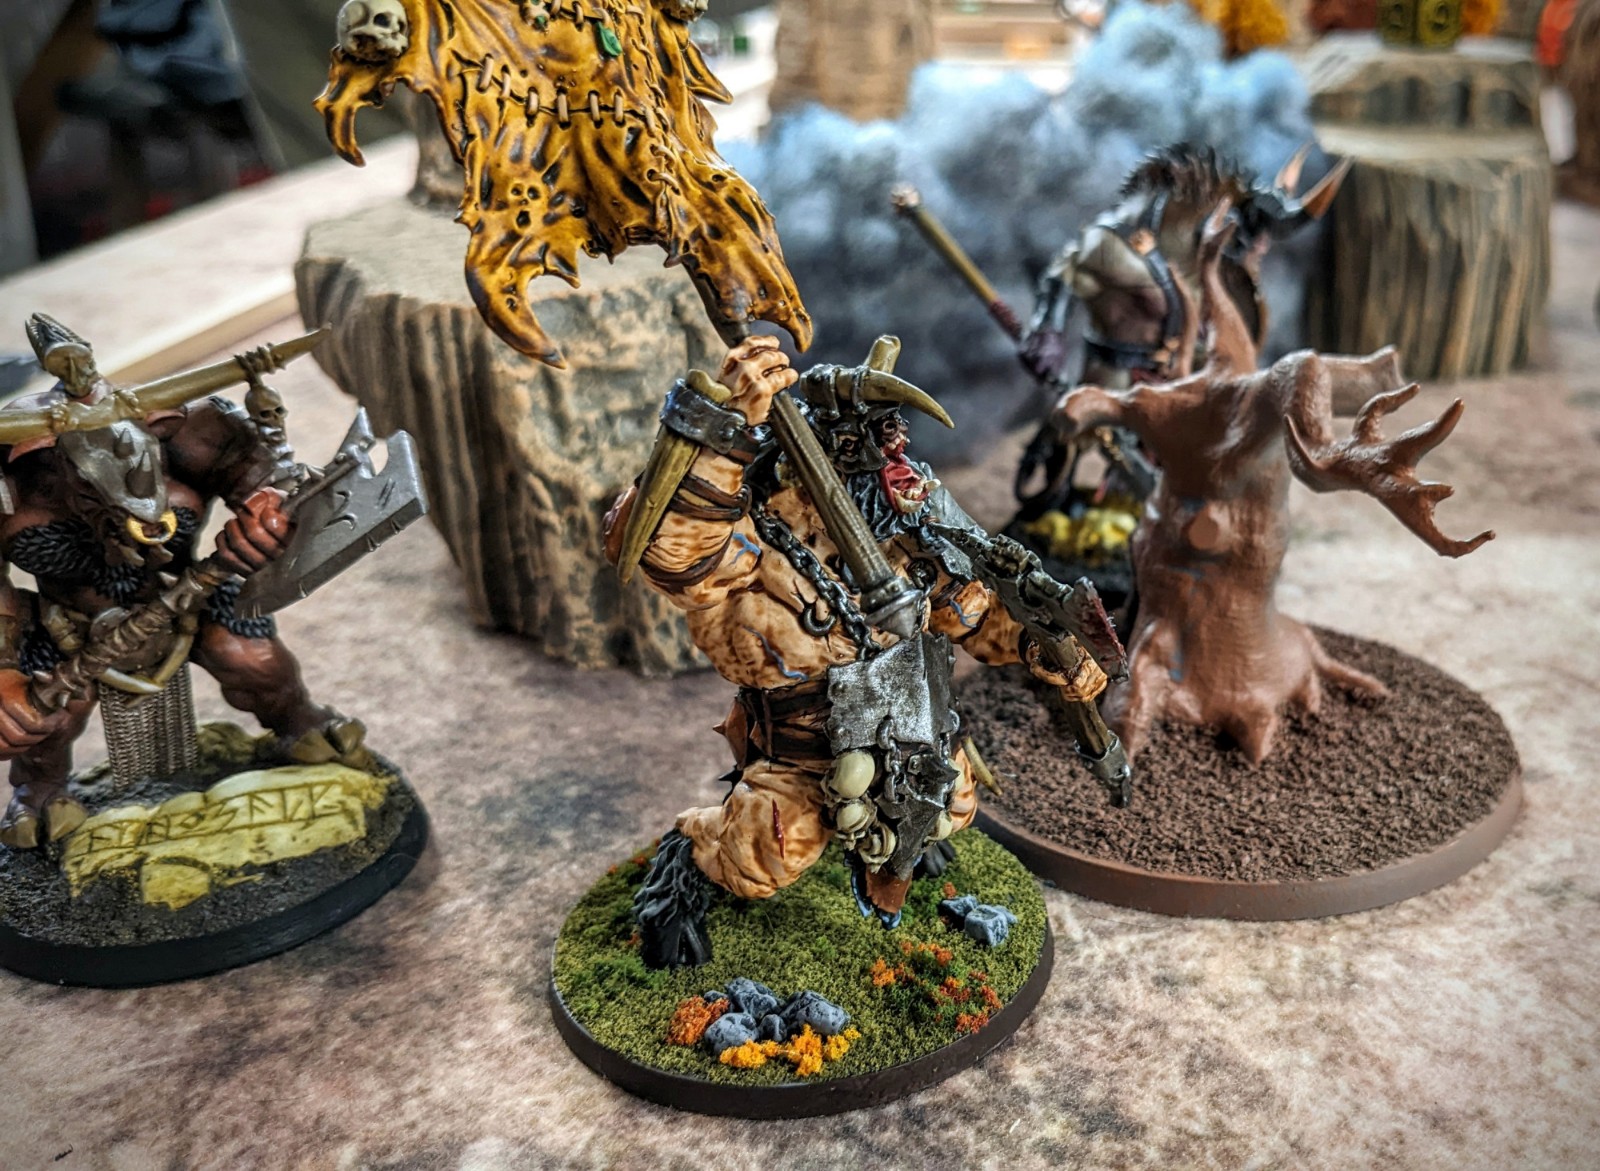
Terrors were nearly as powerful as the players’ characters, capable of dealing out fearsome amous of damage, and they arrived with frightening regularity as the game wore on.

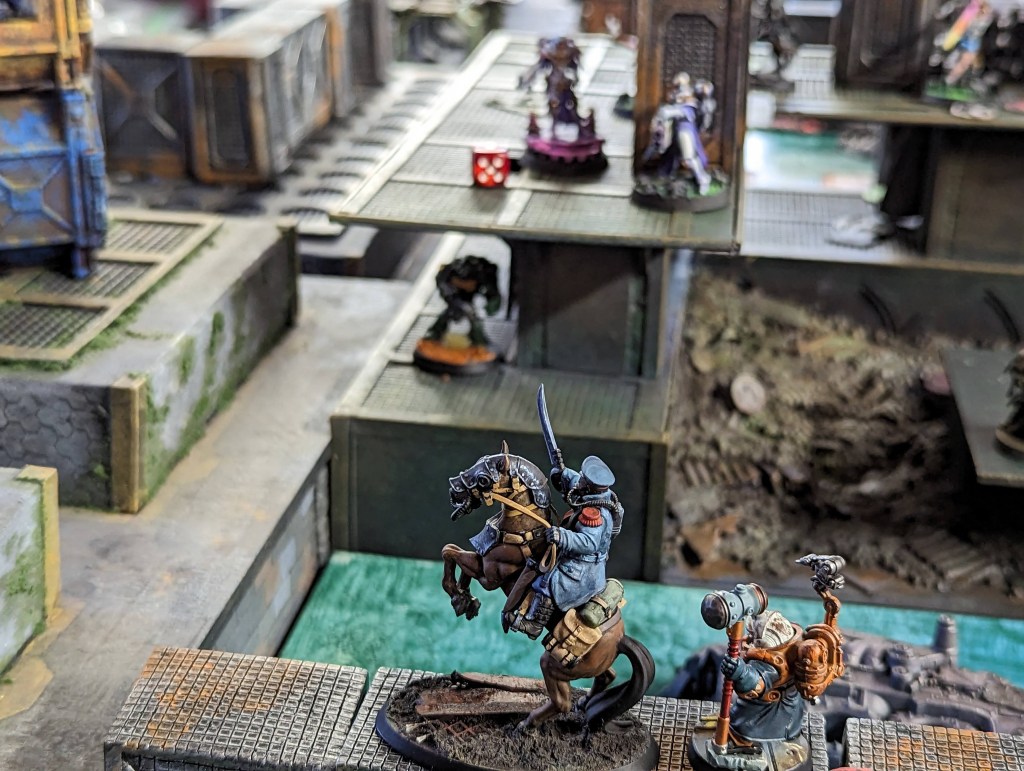
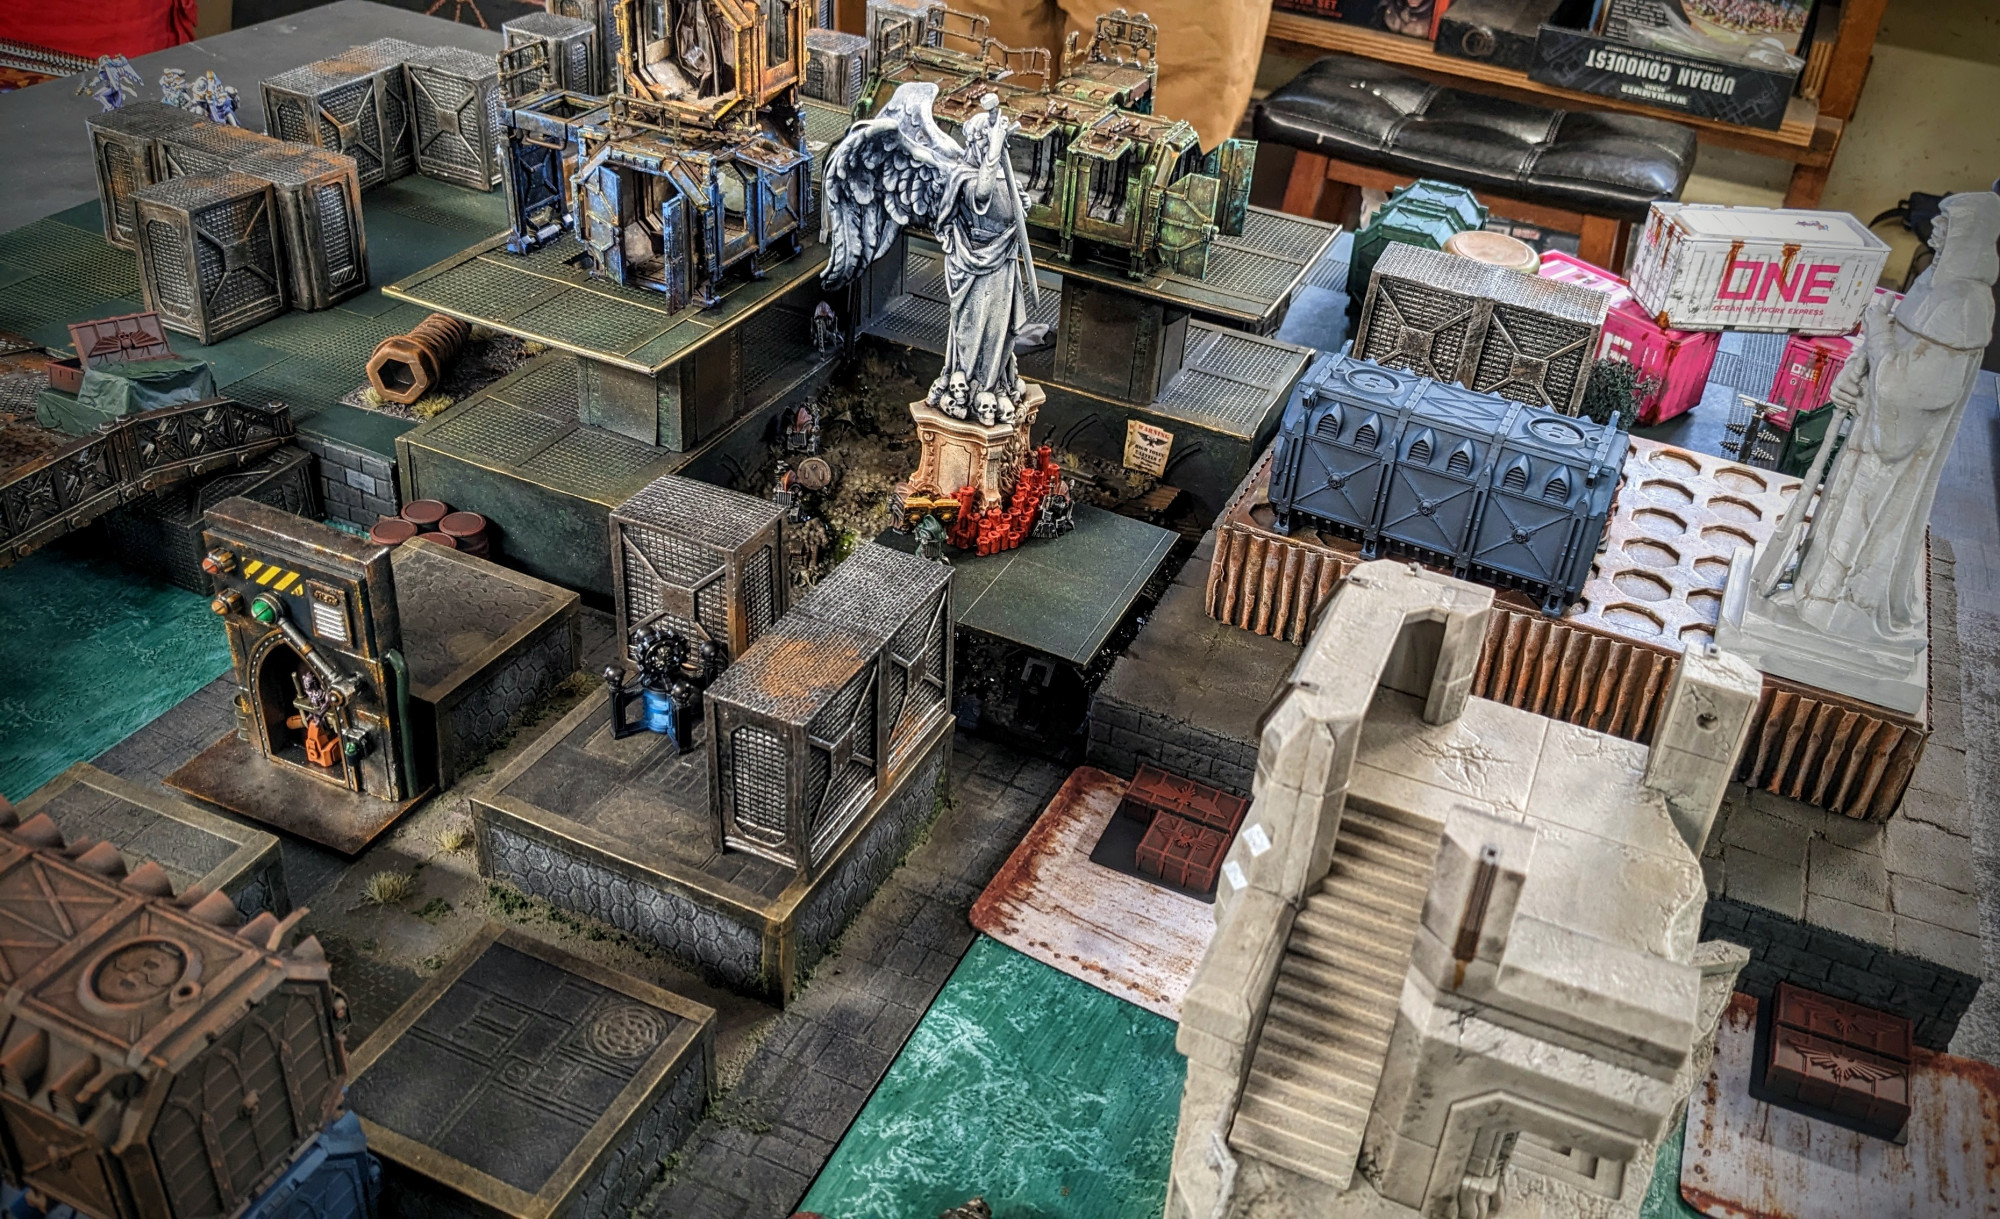
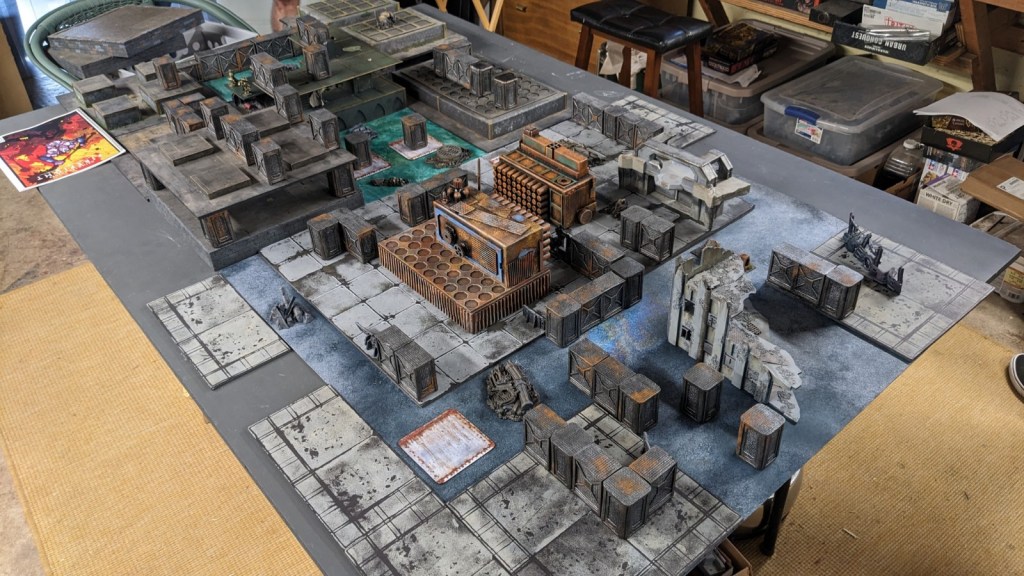
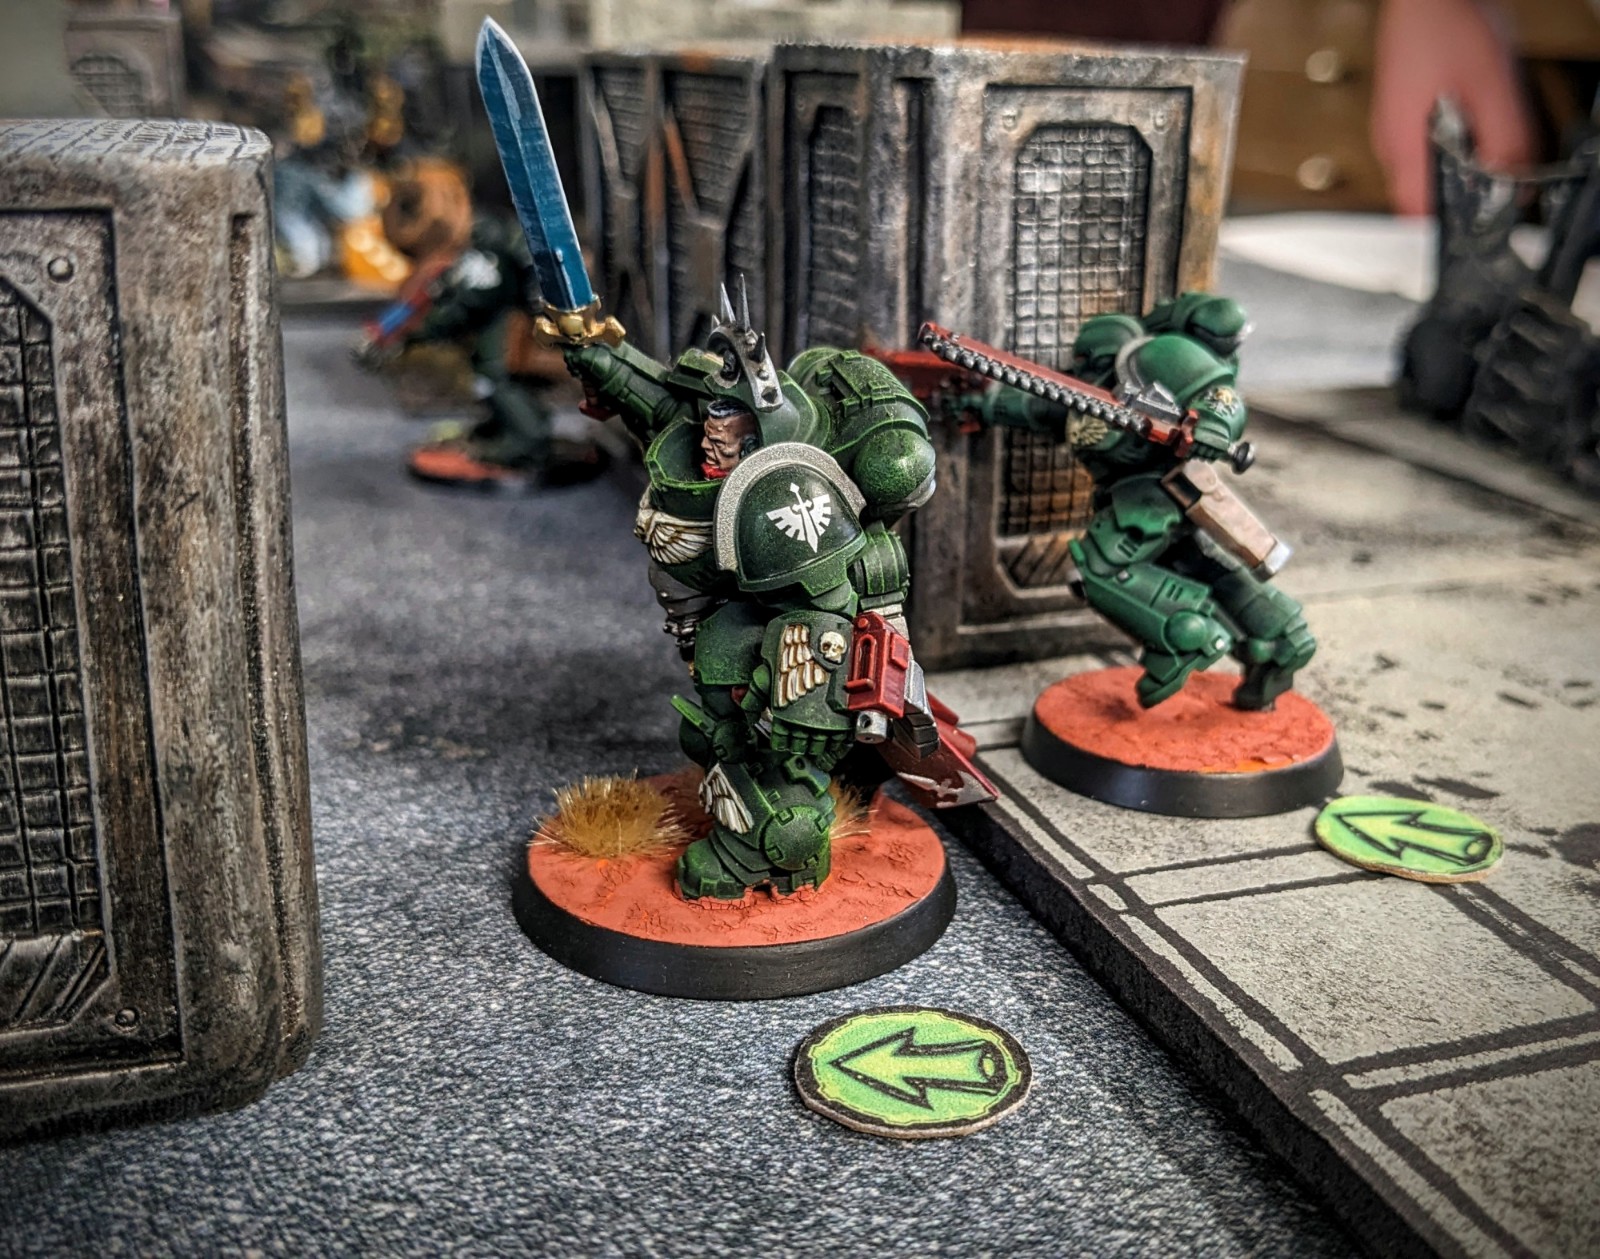
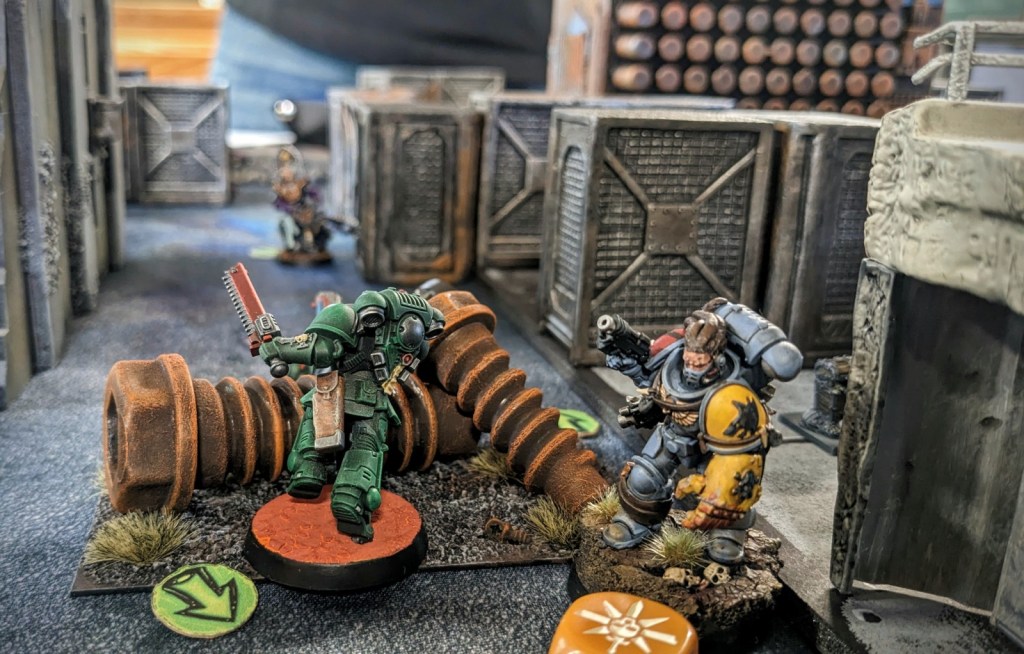
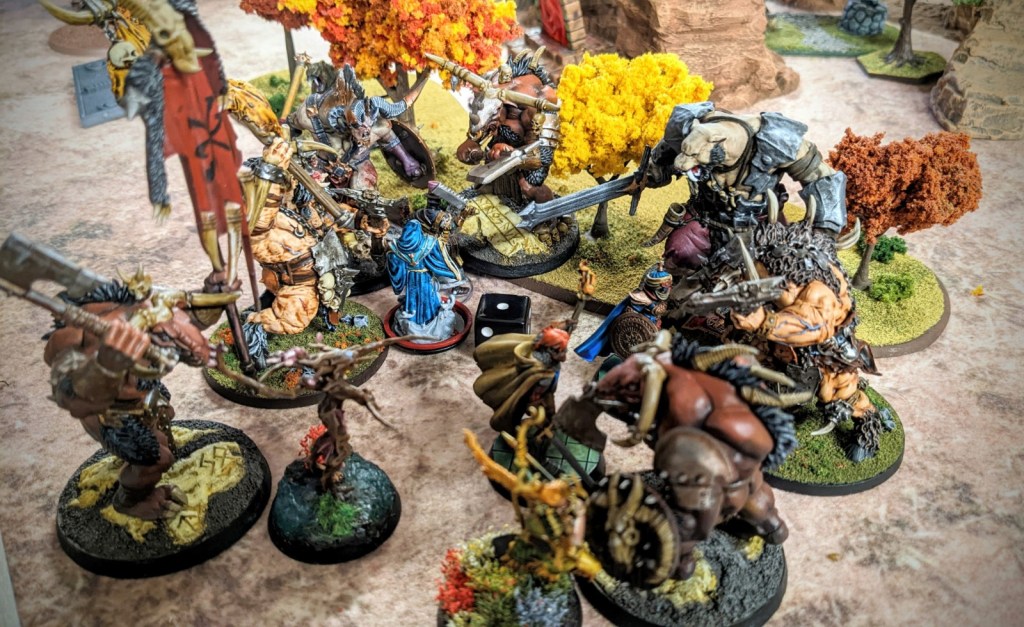
It was, as evidenced by these photos, an absolute bloodbath in the Embermoon Forest. The beautiful autumnal foliage was splashed with ichor and gore, the branches blackened by explosive grenades and errant mage bolts. The entire valley was hazy with smoke as the battle wore on. Who would emerge victorious?

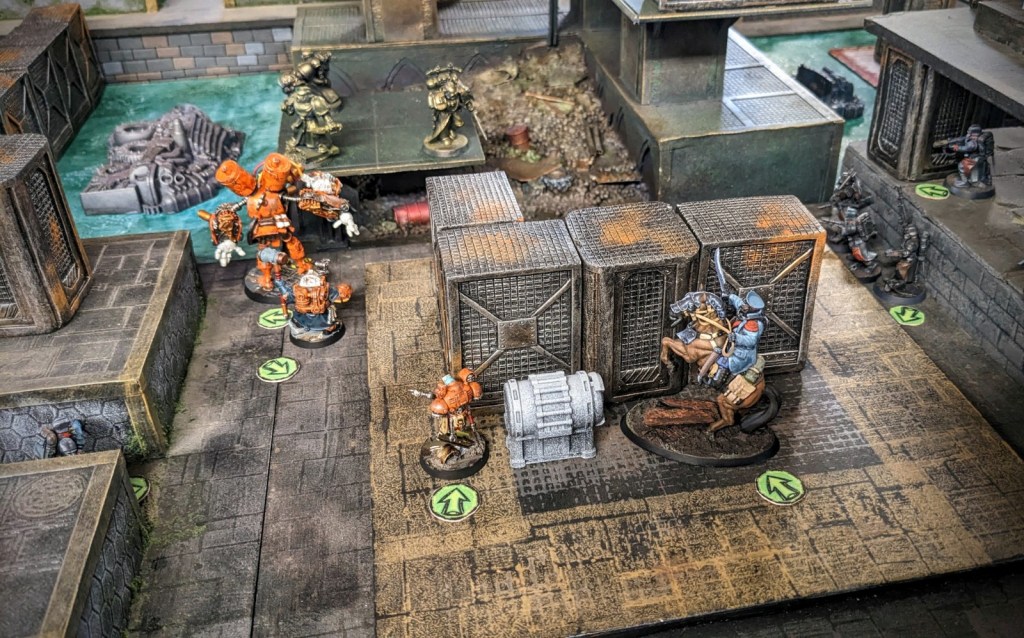
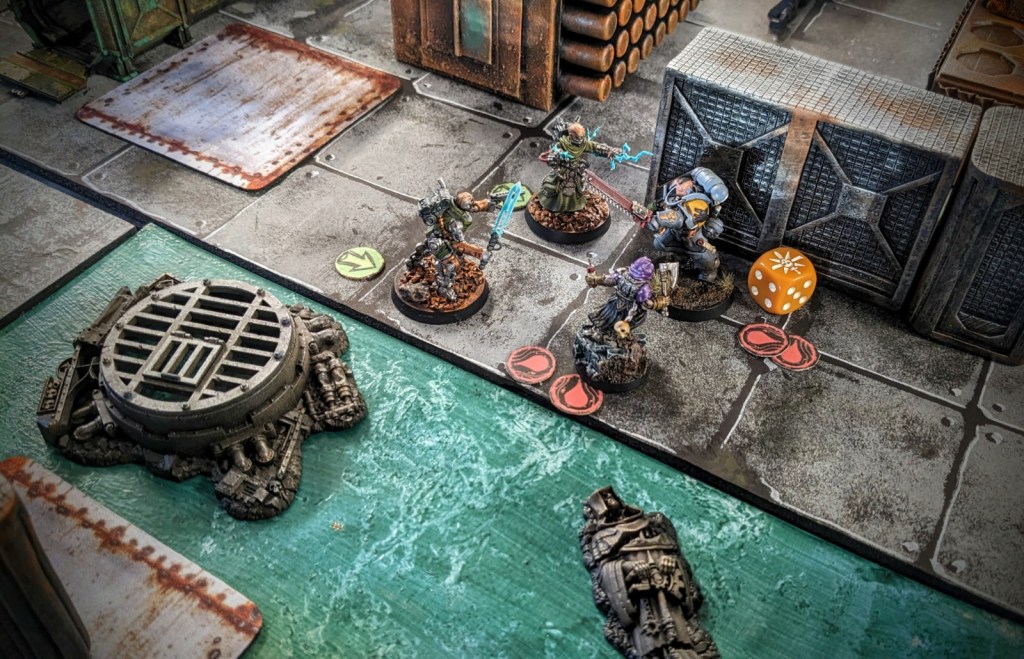
Heroes fell in the chaos, then gained their feet, only to fall again. A well-placed magical wall of vapor managed to block a rampaging mob of beastmen reinforcements, gaining precious time for the heroes to organize their defense and gain the upper hand over the savage interlopers.


The beastmen attacked with exceptional savagery, and their onslaught prevented the heroes from moving … anywhere, really. Let’s take a moment and be thankful that this wasn’t a scenario where the heroes had to race around the battlefield and visit different locations. If that had been the case, they would have been doomed!

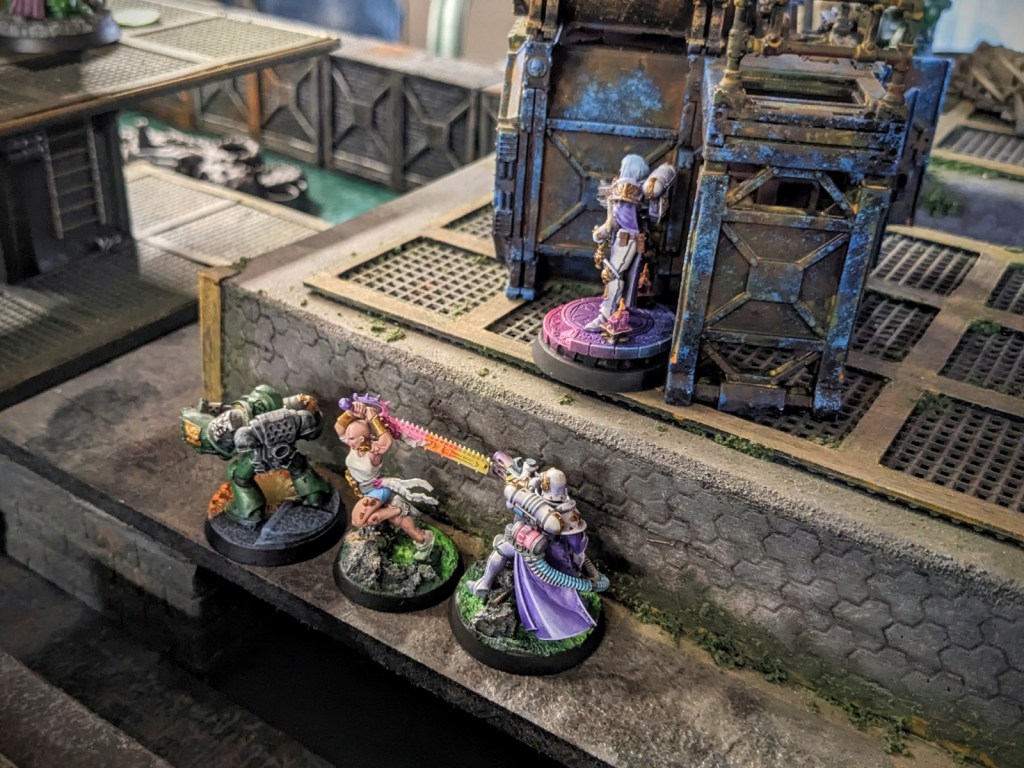
The heroes spent the final turns in a desperate huddle, hacking at the hordes and using every tactic in their playbook to stay alive until the conclusion of the seventh turn.
These two photos offer a glimpse at the utterly relentless attack that they withstood in the final turns of the game.

And then, as quickly as they had come, the beastmen withdrew into the night, sounding horns and loosing arrows to cover their escape. Who can say what signal caused them to retreat? Perhaps they were called back to their villainous master to serve some darker purpose? Whatever the reason, they fell back in haste, leaving their dead and wounded to moulder in the wilderness of the Embermoon Forest.
And thus concluded our most frenetic, brutal game of Nightwatch yet! We have one more “regular” session ahead of us, followed by an encounter with the savage chieftain of the beastmen … stay tuned for more!