Comrade's Wargames

Painting toy soldiers in Oregon

  • Home
  • Narrative Campaigns
    • The Cauldron: A Grimdark Sci-Fi Campaign
    • The Chronicles of Üthdyn: A Fantasy Tabletop Campaign Setting
    • Nightwatch: Beyond the Borderlands
    • Frostgrave: Mystery of the Night-Haunted City
  • About Comrade’s Wargames

Undead Reinforcements: Skeletons and a Wight Lord

Posted by Comrade on February 14, 2020
Posted in: Posts. Tagged: 28mm, army, fantasy, painting, saga, undead. 7 Comments

I got in a game of Saga: Age of Magic last weekend, and as often happens in the aftermath of a game, I found myself evaluating my army (undead, in this case) to figure out what I’m missing.

For Saga, I determined that I needed more basic warrior units. These are the core of the Undead Legions army and figure prominently into several of the most potent Saga abilities on the battle board. They’re commonly represented by skeletons with hand weapons or spears. I’ve got 25 or so skeletons in my army already, but I wanted more, to give myself some additional flexibility when building an army.

So I set about rescuing a batch of 10 plastic skeletons I had acquired secondhand from Mindtaker Miniatures a few months ago. I got them unpainted and poorly assembled for a real bargain. After a little cleanup, I gave them a quick, cohesive paintjob. For the bone bits, I used the new Skeleton Horde contrast paint, and I was really pleased with how it turned out. I’ll be using contrast paint again on my next batch of skeletons, for sure!

I painted up another new model for my undead army this month as well. Or maybe I should say “old model” — it’s an ancient metal wight lord on a skeletal steed from the glory days of the Middlehammer era.

I remember seeing this figure in someone’s army back in 1997, when I made my first visit to a game store to watch a game of Warhammer in action. The figure was fantastic and grim and iconic, and I resolved that one day I would own it. THAT DAY IS TODAY!

This guy will be a mounted warlord for Saga, though I should admit that I think warlords are better on foot for the Undead Legions army. So this guy may instead see action as my lieutenant (or black knight, in the parlance of Age of Magic). Either way, he’ll hit the battlefield soon!

The steed is actually a metal model from Reaper’s Warlord model line. He’s a bit more dynamic and detailed than the basic plastic horse that the Wight Lord typically uses. Here again I used the Skeleton Horde contrast paint on the steed, to great effect.

Lastly, a word on the basing on the skeletons and the wight lord. I have found that I just love a nicely flocked base, with turf and clump foliage and maybe a few tufts of fake grass. I know the current hotness is focused on basing with technical paints, and/or plastic bases with molded scenic items, but the nostalgic wargamer in me just loves to sprinkle on some flock and bring your vision to life.

We’ve got another big Saga: Age of Magic game coming up later this month, so I’ll be sure to use these two units in the game. Stay tuned for more!

Zona Alfa: Kicking the Hornet’s Nest

Posted by Comrade on January 31, 2020
Posted in: Posts. Tagged: 28mm, battle report, post-apoc, sci-fi, skirmish, zona alfa. 1 Comment

The gang got together earlier this month for our first game of Zona Alfa, the new Stalker-inspired post-apocalyptic skirmish game from Osprey. (Click here to read my review of Zona Alfa.)

What started out as a simple introductory game quickly swelled to a two-on-two team slugfest, as players signed on with their scrappy crews, lured by the promise of illicit salvage in the eponymous Exclusion Zone. I rode herd on this motley assemblage as impartial (some would say sinister) gamemaster. I was pleased to get such a robust turnout for this game. Here’s a goofy photo as we prepared to brave the dangers of the Zone.

Zona Alfa draws inspiration from the crumbling, abandoned Cold War industrial heaps that you might find in the hinterlands of Eastern Europe. Players muster crews of stalkers, scavengers, and mercenaries and pit them against similarly motivated bands on the battlefield. But the Zone itself plays a huge role in each game … Zone hostiles can appear at any moment, and the very environment itself can suddenly erupt in violent fashion.

Narrative gaming is the heart and soul of Zona Alfa. For our games, we decided that the crews had heard a rumor of an abandoned supply truck parked in the shadow of the Khimbruk Electrochemical Combine, located about a mile inside the perimeter of the Zone. Surrounded by the decaying detritus of the derelict factory, the cargo truck promised a payday of salvage, loot, and more. Here’s a look at the objective.

It’s just right there, for the taking. Yeah, right…

I created some basic starting crews for the players, and then we got started. We set up a 4×4 foot table, slightly larger than the 3×3 size recommended in the rulebook, due to our surplus of players. Each side alternated by activating one figure, performing actions, and then passing play to the opposing team. The first couple of turns were focused on learning the basic game system and moving out of our deployment areas. But before too long, the players got close enough to begin exchanging some ranging volleys of automatic rifle fire as they slipped through the ruins.

We placed three hot spots on the battlefield, in addition to the main mission objective, for a total of four focal points for game action. Hot spots (and the mission objective) trigger Zone hostiles when figures get close enough (typically within 6 inches), but Zona Alfa includes a mechanic to allow players to toss bolts or rocks to trigger hot spots from up to 18 inches away. This is a mechanic that come straight out of the Stalker video game, and it gives players the chance to exploit hot spots from afar and then watch gleefully as their opponent dealt with the ensuing bad guys.

The first hot spot yielded a pack of wild dogs that had spent a little too much time digging through the radioactive slag pile behind the electrochemical plant. They were a ghastly bunch, snarling and covered in bleeding sores. Dan’s troopers paused in their advance and expertly gunned them down.

From there, the game developed into a series of running gun battles as the players lobbed grenades and laid down overlapping fire to cover their advance. John’s crew triggered the next hot spot and was able to take cover in a ruined building as a mob of giant rats scampered toward them.

Here’s another look at the battlefield a couple turns into the game.

Lawrence found himself pinned down by accurate fire from Mark’s band of mostly rookie snipers. He kept his guys in cover and advanced slowly, but Mark was able to toss a bolt and trigger a hot spot, which sent a mob of horrifying zombies shambling down the street towards Lawrence’s dangerously exposed leader.

We found that the rules for Zone hostiles were satisfying but not overly oppressive. This was probably because we were playing at Zone Threat Level 1, the “easiest” setting in the game. As you get closer to the Zone’s enigmatic center, the threats become much more dangerous. Near the perimeter, the Zone hostiles were just a nuisance. But those zombies definitely tied up Lawrence’s leader for a good portion of the game!

Elsewhere on the battlefield, savvy players were using the distraction provided by the Zone hostiles to move forward and secure other objectives. When a figure searches a hot spot, the player rolls randomly to see what has been uncovered. Often it’s salvage worth cold, hard cash outside the Zone, but occasionally you’ll run across equipment or other gear.

Here’s John’s hardened scavenger moving in to search a decommissioned air compressor next to a derelict pumping station.

Likewise, Dan wisely looted this rusted generator, stripping off any useable parts and bagging them up to be hauled back to civilization. His exploration roll resulted in an anomaly — a strange electromagnetic (or was it supernatural?) disturbance that, in this case, disintegrated his hapless trooper. Better luck next time, comrade.

The final clash of the game came when Dan’s crew approached the supply truck during a lull in the fighting. As his poor (doomed) trooper crept closer, the bandits that had been hiding in the rear of the truck sprang their trap, dropping the tailgate and coming out with AK-74s blazing. This was the result of a particularly potent roll on the Zone hostiles table. The bandits took out the trooper, then began blasting in all directions as the other crews closed in.

As the players began to strategize a way to neutralize the scavengers, Dan took it upon himself to deliver the coup de grace. His leader climbed onto the catwalk of the nearby electrochemical factory and tossed a grenade right into the midst of the bandits. Problem solved, comrade.

After that, we tallied up our loot totals and performed the after-action stuff for crew members who had been knocked out during the game. Zona Alfa has a nicely developed campaign system where players can track the acquisition of loot as well as the inevitable degradation of your crew, as repeated forays into the Zone start to take their toll on even the hardest soldier. Best to dismiss such unfortunate souls from your crew and bring on fresh recruits, if you want my advice.

The gameplay of Zona Alfa was easy to pick up after a couple turns. We loved the simplicity of the activation system, and how the Zone hostiles system scales with the overall Threat Level of the game. Basically, those same zombies will be a lot more menacing when you encounter them at Threat Level 3, instead of Threat Level 1. Overall, the mechanics were best described by one of the players as a “toolkit approach,” where the author provides a solid core rules engine with the implicit idea that players will tack on house rules and put their own spin on the game as time goes on. Despite being a casual playgroup, we were still able to punch a few holes in the rules as written and find some loopholes that could be exploited. Again, that’s easy enough handle, but groups should discuss their expectations and approach at the outset, to ensure a fun experience for everyone.

We all agreed that Zona Alfa is a superb catalyst for building terrain, painting up some fun, tacti-cool squads of Cold War antiheroes, and playing out some pitch-perfect adventures in the Zone. We’ll play this one again soon!

ZONA ALFA Review: Get in the Zone, Comrade

Posted by Comrade on January 7, 2020
Posted in: Posts. Tagged: post-apoc, review, sci-fi, skirmish, stalker, zona alfa. 2 Comments

ZONA ALFA, the new skirmish wargame written by Patrick Todoroff and published by Osprey’s beloved “blue book” imprint, is a peculiar and delicious take on post-apocalyptic tabletop gaming. Inspired by the crumbling visuals and moody storytelling in video games like STALKER and Metro 2033, ZONA ALFA provides a toolkit for players who want to recruit a crew of men and women forged in the crucible of the Cold War, equip them to explore the enigmatic Exclusion Zone — braving the otherworldly anomalies and inhuman adversaries therein — and hopefully see them return to their favorite watering hole with riches and stories to tell.

Osprey has kindly provided Comrade’s Wargames with an advance copy of ZONA ALFA, which will be published in late January 2020. This review will touch on what you can expect in terms of tone, setting, and gameplay. I’ll also sprinkle in some photos of games I’ve played in the Zone over the years.

On a personal level, I’ve been enamored with STALKER-inspired wargaming for more than a decade. I’ve followed Todoroff’s blog, the aptly-named Stalker7, for most of that time. The unique aesthetic of this style of gaming is inspired by the decaying urban and industrial landscape you can find in real-life places like the Chernobyl Exclusion Zone, where detritus from half-remembered Eastern Bloc facilities and bunkers lies abandoned, often reclaimed by vegetation and punctuated by supply caches and cast-off military equipment. Tabletop games set in the Zone are heavy on exploration and risk-taking, and you can be assured that the places you choose to send your crew will certainly be populated by horrific things that need to be dispatched with terrible prejudice. The rulebook is peppered with short, two-sentence lore snippets, dripping with Soviet fatalism, that hint at the dangers and wonders of the Zone.

Truly, the milieu that Todoroff has captured in ZONA ALFA fires the imagination in a way that few other post-apoc settings do.

It’s also a hobbyists’ dream. I’ve spent the last decade gleefully collecting any 28mm figure wearing a gas mask, reasoning that it will be only a matter of time before they, too, get tapped to go on a Zone run. ZONA ALFA doesn’t have a dedicated miniatures line, and Todoroff encourages you to use whatever figures you wish in your games. Personally, I’m enamored with the pitch-perfect offerings from Lead Adventure Miniatures’ The Last Project line of post-apoc scavengers, as well as the gritty near-future troopers available from Pig Iron Productions. Likewise, the Zone offers an opportunity to tackle all manner of terrain projects, from crashed helicopters to ruined buildings to rusted machinery.

From a gameplay perspective, ZONA ALFA offers a toolkit approach best suited to friendly, narrative-style skirmish games on a 3×3 foot table (or 4×4 for larger games). Players build “crews” composed of scavengers, trespassers, adventurers, loners, killers, explorers, and robbers and then send them on daring runs into the Zone. They’re nominally opposed by one or more competing players, but more often than not the players will find themselves squaring off against “zone hostiles” — NPC enemies spawned at various points on the battlefield and controlled by a basic AI system. Avoiding, defeating, or exploiting these roving packs of horrors create some of the more innovative gameplay elements in ZONA ALFA.

For your crew, individual models are rated based on their experience level: rookie, hardened, or veteran. Obviously you’ll pay more to recruit a crew member with more skill, but in general players should expect to field between 5 and 10 figures in a typical crew. ZONA ALFA is meant to be played WYSIWYG (“what you see if what you get”), and the wargear rules are streamlined to support this — no fiddly point costs for red dot sights or climbing ropes. Just choose your figure, note his experience level, and fill out your (initially limited) slots for weapons, gear, and skills.

On the battlefield, players are encouraged to develop scenarios that challenge their crews to accomplish specific goals on the tabletop, rather than simply doing the default “kill ’em all” scenario that plague so many wargames. Example scenarios might include crossing the map to reach a crippled truck, going door-to-door in an abandoned village searching for survivors, or fueling up a generator so your crew can activate a pressure hatch and descend into a subterranean bunker.

While ZONA ALFA probably qualifies as “rules lite” (and thus, by default, wins endorsement from Comrade’s Wargames), this ruleset definitely features some crunch. With a relatively low number of figures and a fairly dangerous tabletop environment to explore, ZONA ALFA goes all in on the tactical options. Most figures have just a handful of stats, but the tabletop itself adds quite a few options to the mix. For example, there are four different levels of cover provided by terrain, plus another modifier for being elevated, plus (usually) a modifier if the model has some basic camouflage. That’s quite a bit to keep in your head, and it’s a good reminder that terrain matters in this game — a lot!

Likewise, ZONA ALFA provides rules for things that I would otherwise handwave away in a typical skirmish game. Things like climbing and jumping rarely matter much in my games, but they’re described in detail in the rulebook.

Lastly, the gear list tends toward the “tacticool,” with more than a few options that are straight out of popular video games. Again, this is understandable given the subject matter that Todoroff is exploring.

Combat is d10-based and features familiar mechanics like attacks rolls and armor saves. But ZONA ALFA takes this one step farther by adding a tier of outcomes for attacks that wound but don’t kill. The “pin” mechanic is simple but dangerous…pump a few rounds into that low concrete wall, and even if you don’t hit the guy behind it, he’s liable to hunker down for a turn or two and try to crawl into his helmet.

Taken together, you’re left with a rules lite game that nonetheless packs a lot of options into the nooks and crannies. Players who want to try out real-world tactics like moving through cover and blind-tossing grenades through doorways will find a lot to chew on. I’m looking forward to exploring the game system in more detail in our first play-through.

So far, we’ve discussed the basics of a solid near-future skirmish wargame. Where ZONA ALFA really shines, however, is how it models the Zone and its savage inhabitants. Before each game, the players jointly describe the overall Mission Objective and the Zone Threat Level, then they place one or more “hot spots” on the battlefield. These are locations outside of the scenario’s Mission Objective that provide additional opportunities for exploration and salvage. As an example: in our game, we decide that we’re going to see who can retrieve the crate of grenades from the abandoned military outpot. The crate of grenades is the Mission Objective, but we put down two additional “hot spots” which represent additional areas to explore, if the players are feeling brave.

Exploring both Mission Objectives and hot spots always triggers “zone hostiles” — everything from rabid dogs to howling mutants. To see what you get, you’ll need to roll on the table that corresponds to the Zone Threat Level of your battlefield. Once spawned, zone hostiles are controlled using a basic AI system to direct their movement and attacks. Savvy players will find ways to steer these baddies toward their opponent, leaving them free to ransack the battlefield while their opponents are blasting away at zombies and radioactive centipedes.

After a few Zone runs, you may find your guys acquiring loot and improving their equipment. The game has a well developed campaign system … with an actual victory condition for your crew! Accumulate the equivalent of 10,000 bucks, and your guys can retire to a dacha in the countryside. How about that?! Of course, a grisly demise in a forgotten patch of forest is a much more likely outcome…

In conclusion, this game is a really remarkable example of one author’s singular creative vision and his ability to bring that vision to a wider audience. I shouldn’t be surprised, really, because Todoroff is also a speculative fiction author, so he’s well versed in both creating content and hitting deadlines. Just reading the rulebook has got me fired up to build terrain (good thing, because there’s a terrain-making competition running this month over on the ZONA ALFA Facebook group).

Well, that’s my report. It’s getting late and I can hear thunder in the distance. Lean in close while the fire’s still warm, comrade. I’ll take first watch tonight.

Saga: Age of Magic – Famine Grips the Land

Posted by Comrade on January 3, 2020
Posted in: Posts. Tagged: 28mm, battle report, fantasy, game night, miniatures, narrative, saga, uthdyn. 3 Comments

With the arrival of 2020 comes a renewed focus on gaming some fantasy battles in Üthdyn, our homebrew fantasy setting. To kick-start this process, John and I got together in the waning days of December to play Saga: Age of Magic, which is quickly becoming our go-to ruleset for generic, narrative fantasy wargaming.

We set this game during The Famines, a period of Üthdyn’s history when crop failures swept the land and highwaymen and raiders preyed on the isolated settlements on the borders of Muratollnic (our Eastern Europe analog region, with lots of little feudal states jammed side-by-side in a volatile and claustrophobic relationship).

The instability caused by The Famines gave rise to opportunistic attacks by ratmen warriors that lived in the mountains surrounding Muratollnic. What began as a raid on the soggy hamlet of Glodd soon gave rise to pitched battles, as a swollen army of hungry ratmen warriors marched down from the mountains. Eventually the rats battled their way into the outskirts of Drazenko, one of many similarly sized holdings on the western borders of Muratollnic.

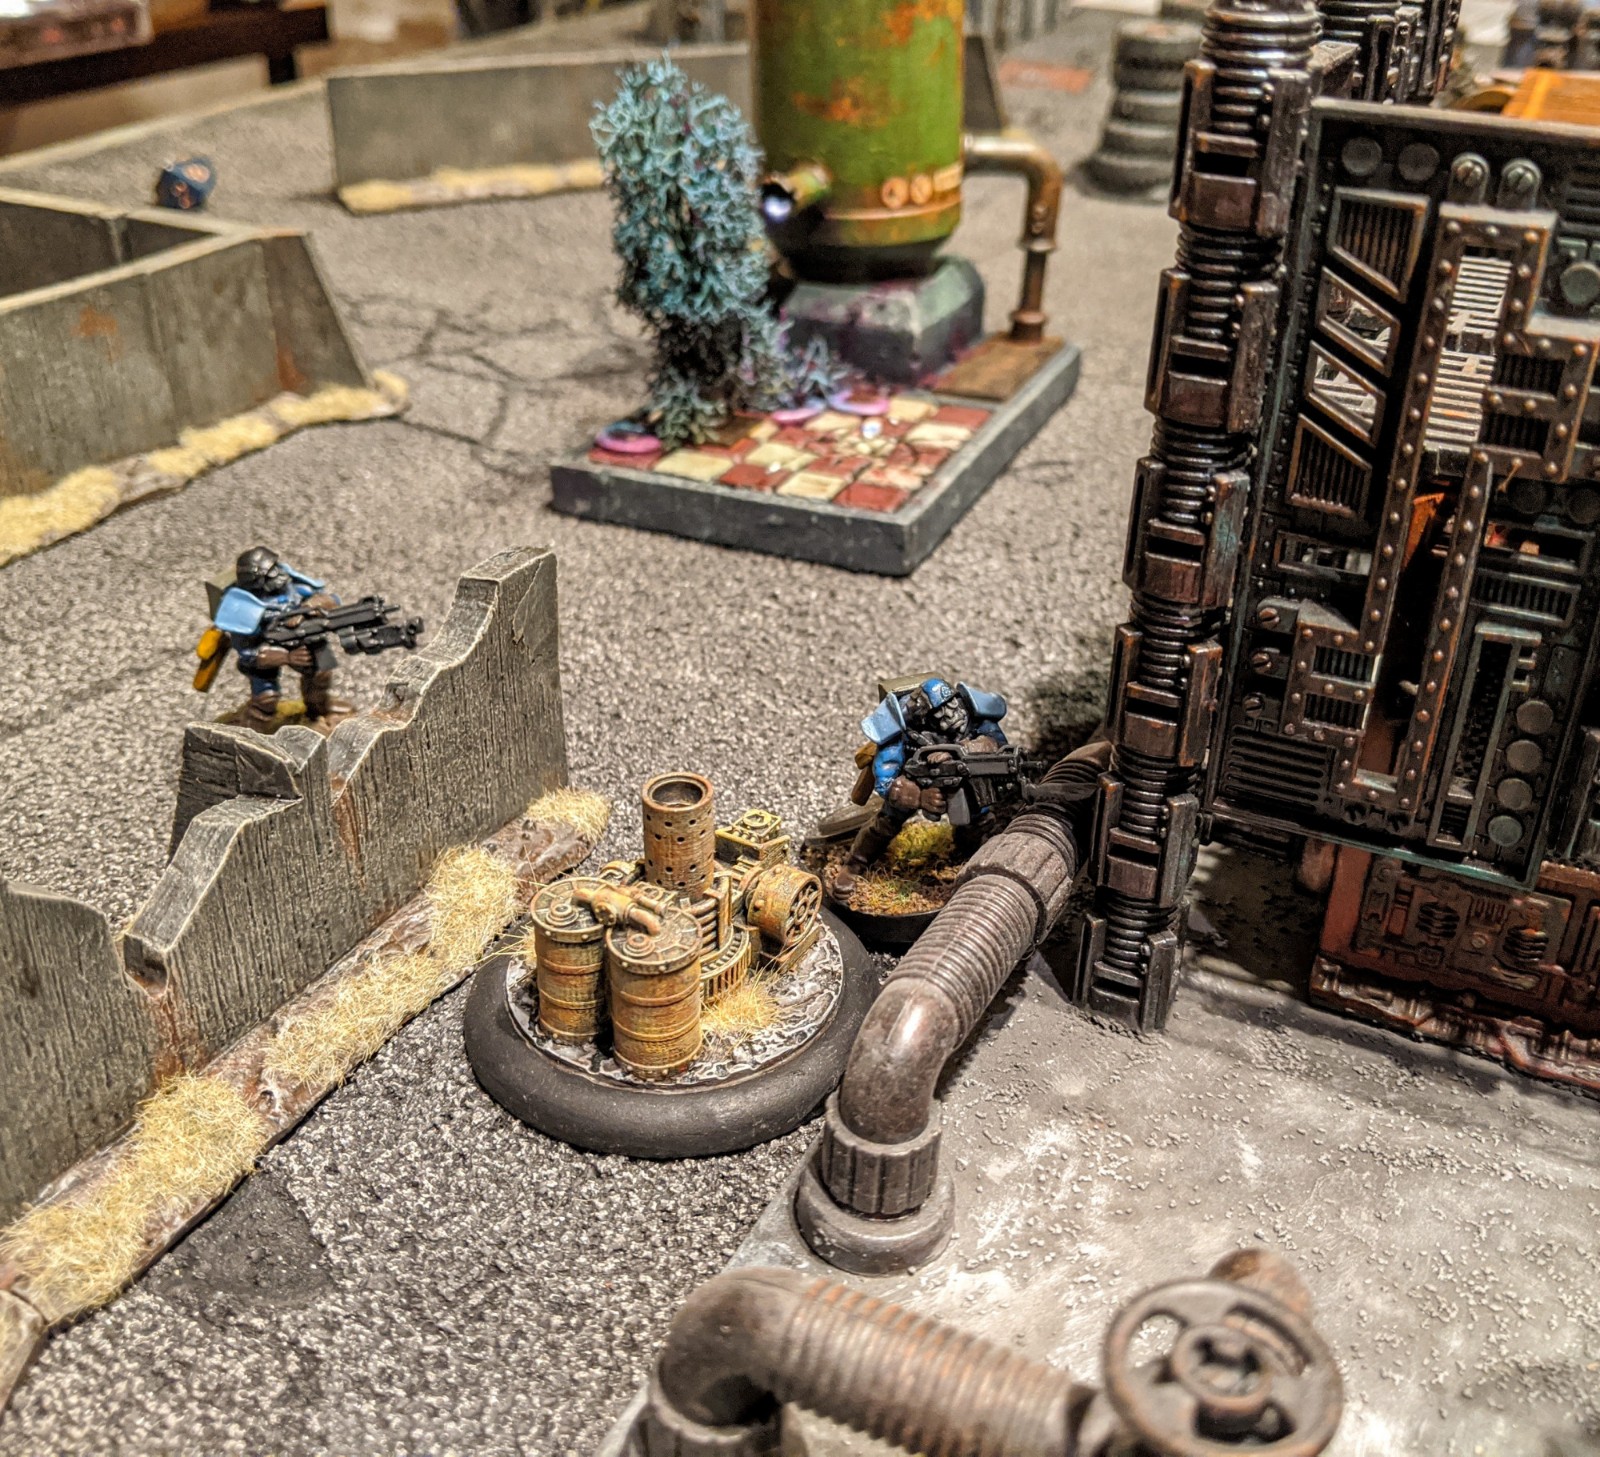
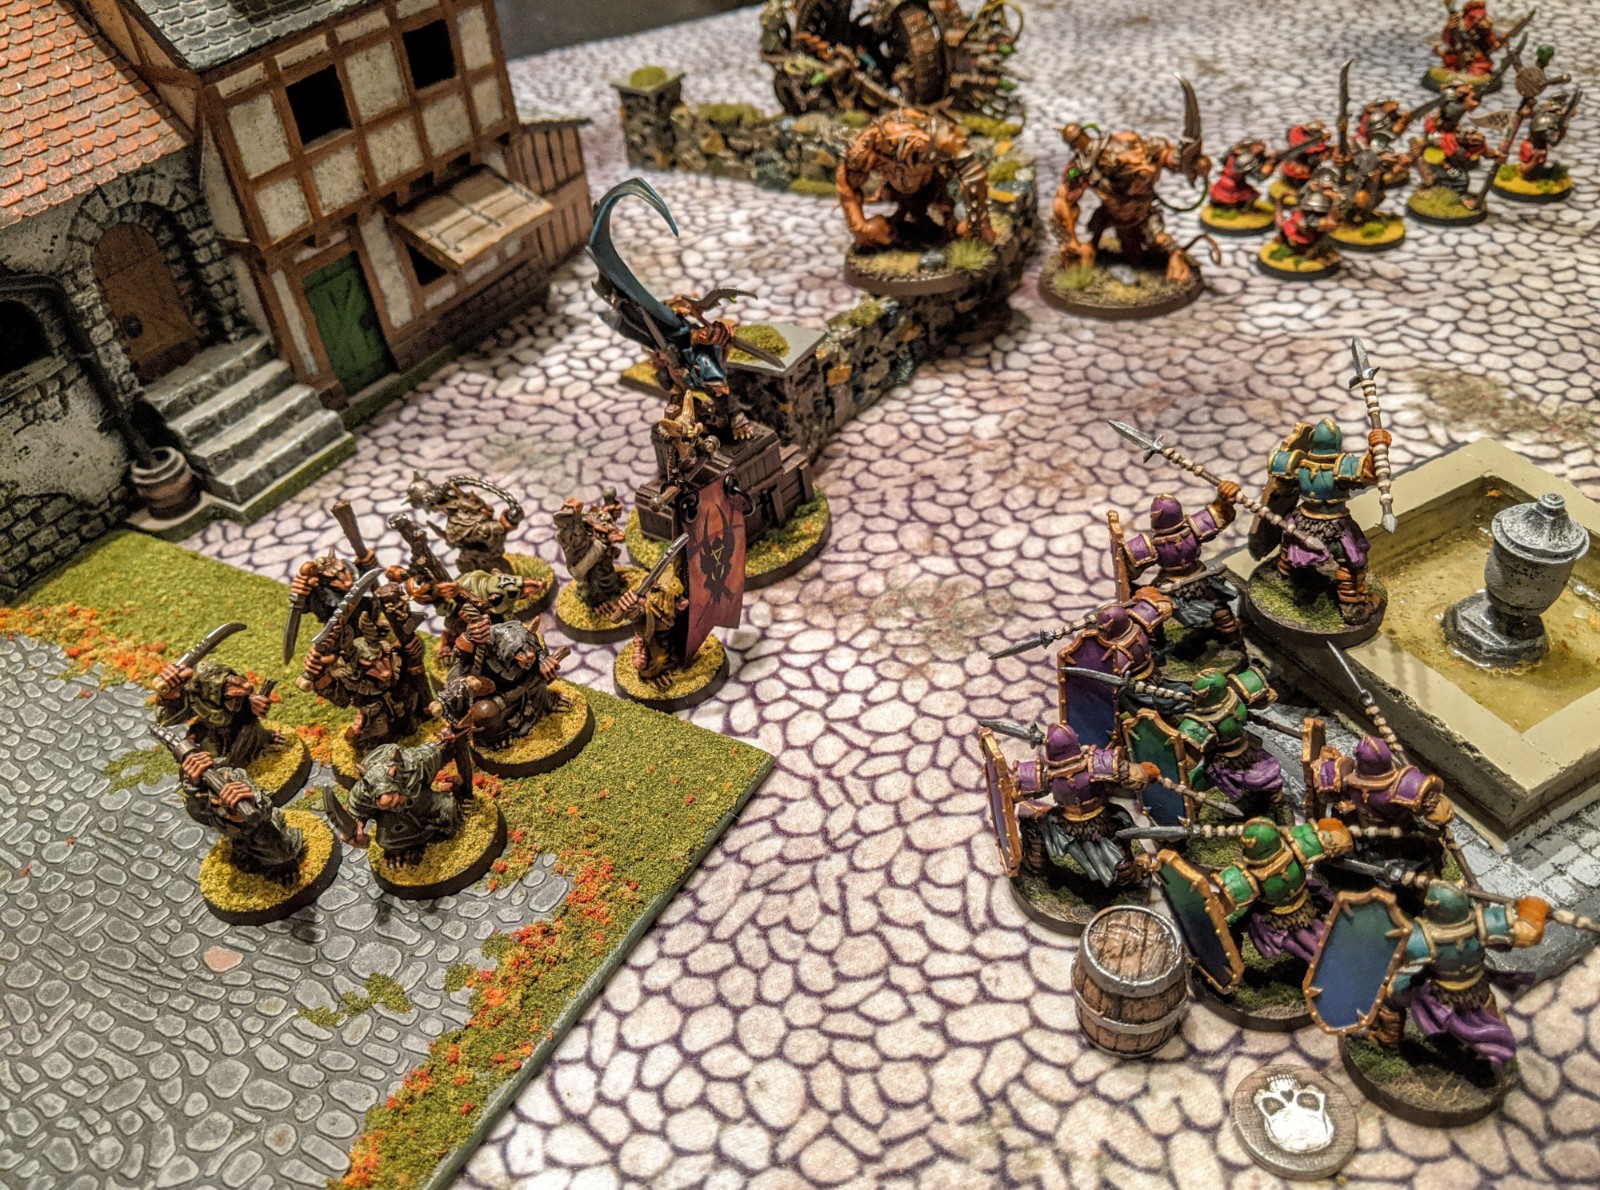
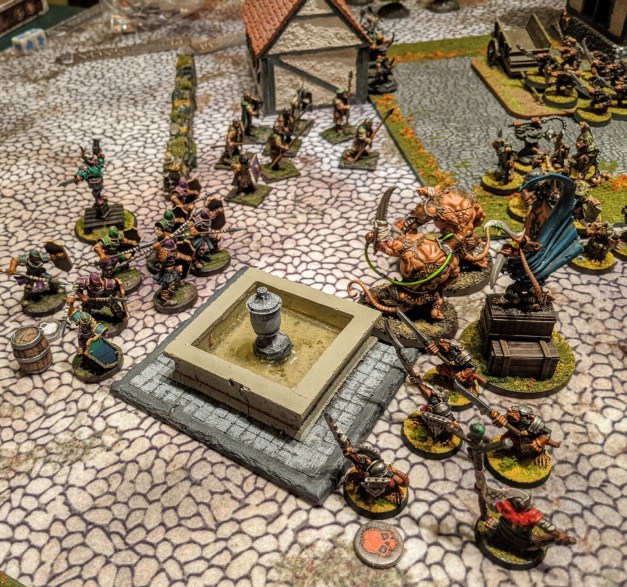
This battle represents a defense by Wealth Begovic, one of the most influential factions in the region, as it musters a stout militia to stand against the ratmen. We set the game in an urban area at the point where the ratmen advance reached the Begovic defenders.

OK, is that enough background for you? Sometimes I get carried away, but I really like giving a little narrative flavor to my games. Plus we’ve collectively put a lot of creativity our Üthdyn setting!

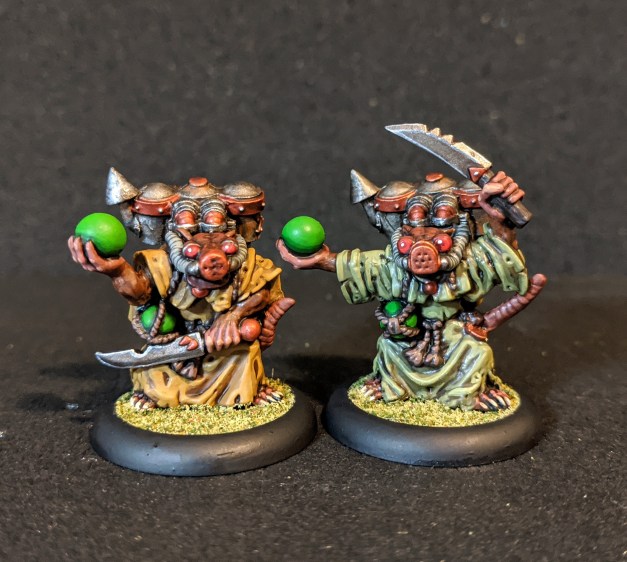
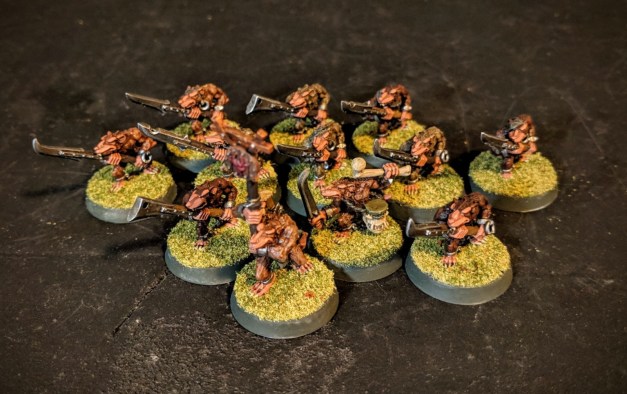
For this game, John was running his human army using the Great Kingdoms battle board, and I was fielding my Skaven ratmen using the Masters of the Underearth battle board.

We were playing the “Feasting and Pillaging” scenario from the Saga: Age of Battles book. The scenario called for three objective markers placed in a line in the center of the battlefield, equidistant from the two armies’ deployment zones. We used wooden barrels to represent the objectives, reasoning that they represented much-needed food stores that the citizens of Drazenko desperately needed to see themselves through the winter. We set up our cool toys, introduced them to each other, and got started with the battle.

I realized almost immediately that I had made a fatal flaw in my army’s design. I had gotten enamored with the variety of oddball support units available to the Masters of the Underearth, and consequentially I had forgotten to include enough core units to generate the all-important Saga dice that are used to activate units and use Saga abilities.

John was able to muster 6 Saga dice with his army, whereas I could only muster 4 Saga dice. Oops! So I was a bit hamstrung from the start.

With that said, I proceeded gamely, and actually managed a nifty maneuver on the opening turn. The Masters of the Underearth have this cool ability called Chasm that allows them to open up a rift in the earth near the opposing army. Depending on the proximity to the Chasm, nearby units might take casualties. The Chasm ability is very hard to pull off because it requires a very specific set of Saga dice results.

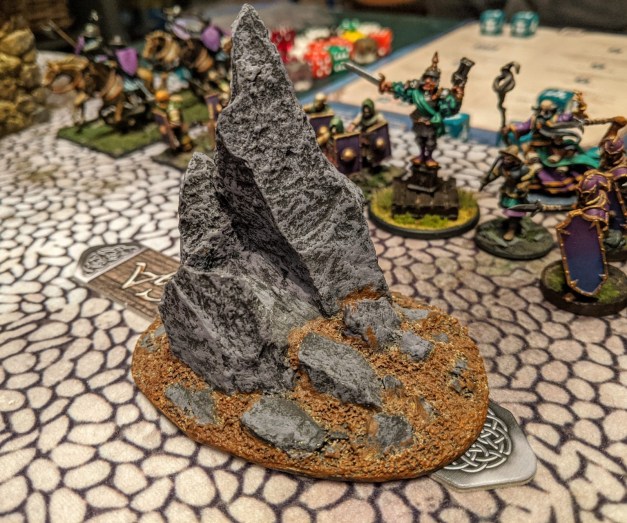
As luck would have it (possibly my last luck of the game?), I was able to activate Chasm on my first turn, before John had even had a chance to move! I dropped the Chasm marker (we used a jagged piece of rock ripping up through the ground) right in front of his army, in the area it was probably looking forward to moving through on his first turn.

The Chasm immediately threw John’s careful deployment into disarray. He had to basically scatter his guys to avoid falling into the gaping pit. In doing so, he lost some (but not all) of the cohesiveness and overlapping benefits of his army. Through careful maneuvering, he was able to avoid any casualties related to the Chasm.

After that, things settled down a bit. No more Chasms for me! In fact, I found myself suffering each turn due to a lack of Saga dice. This forced tough decisions about which units to activate and which units to leave stationary.

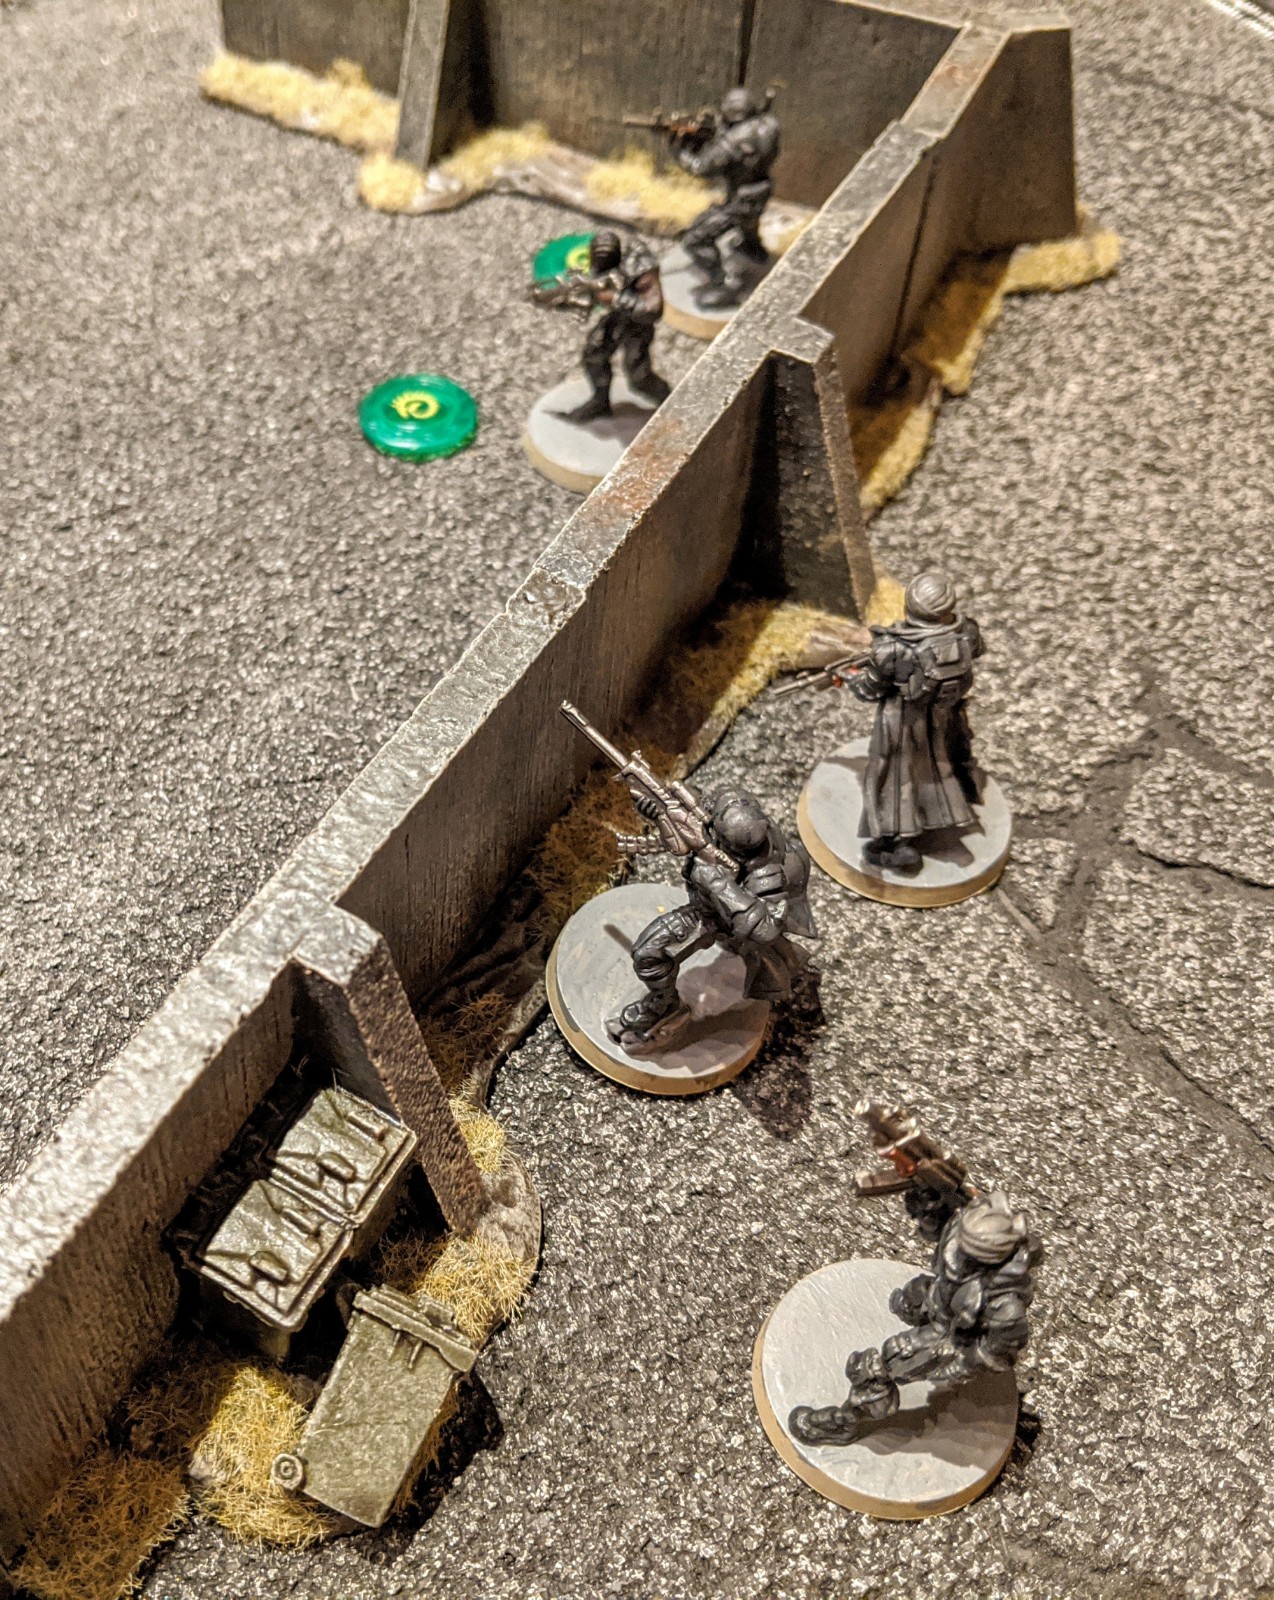
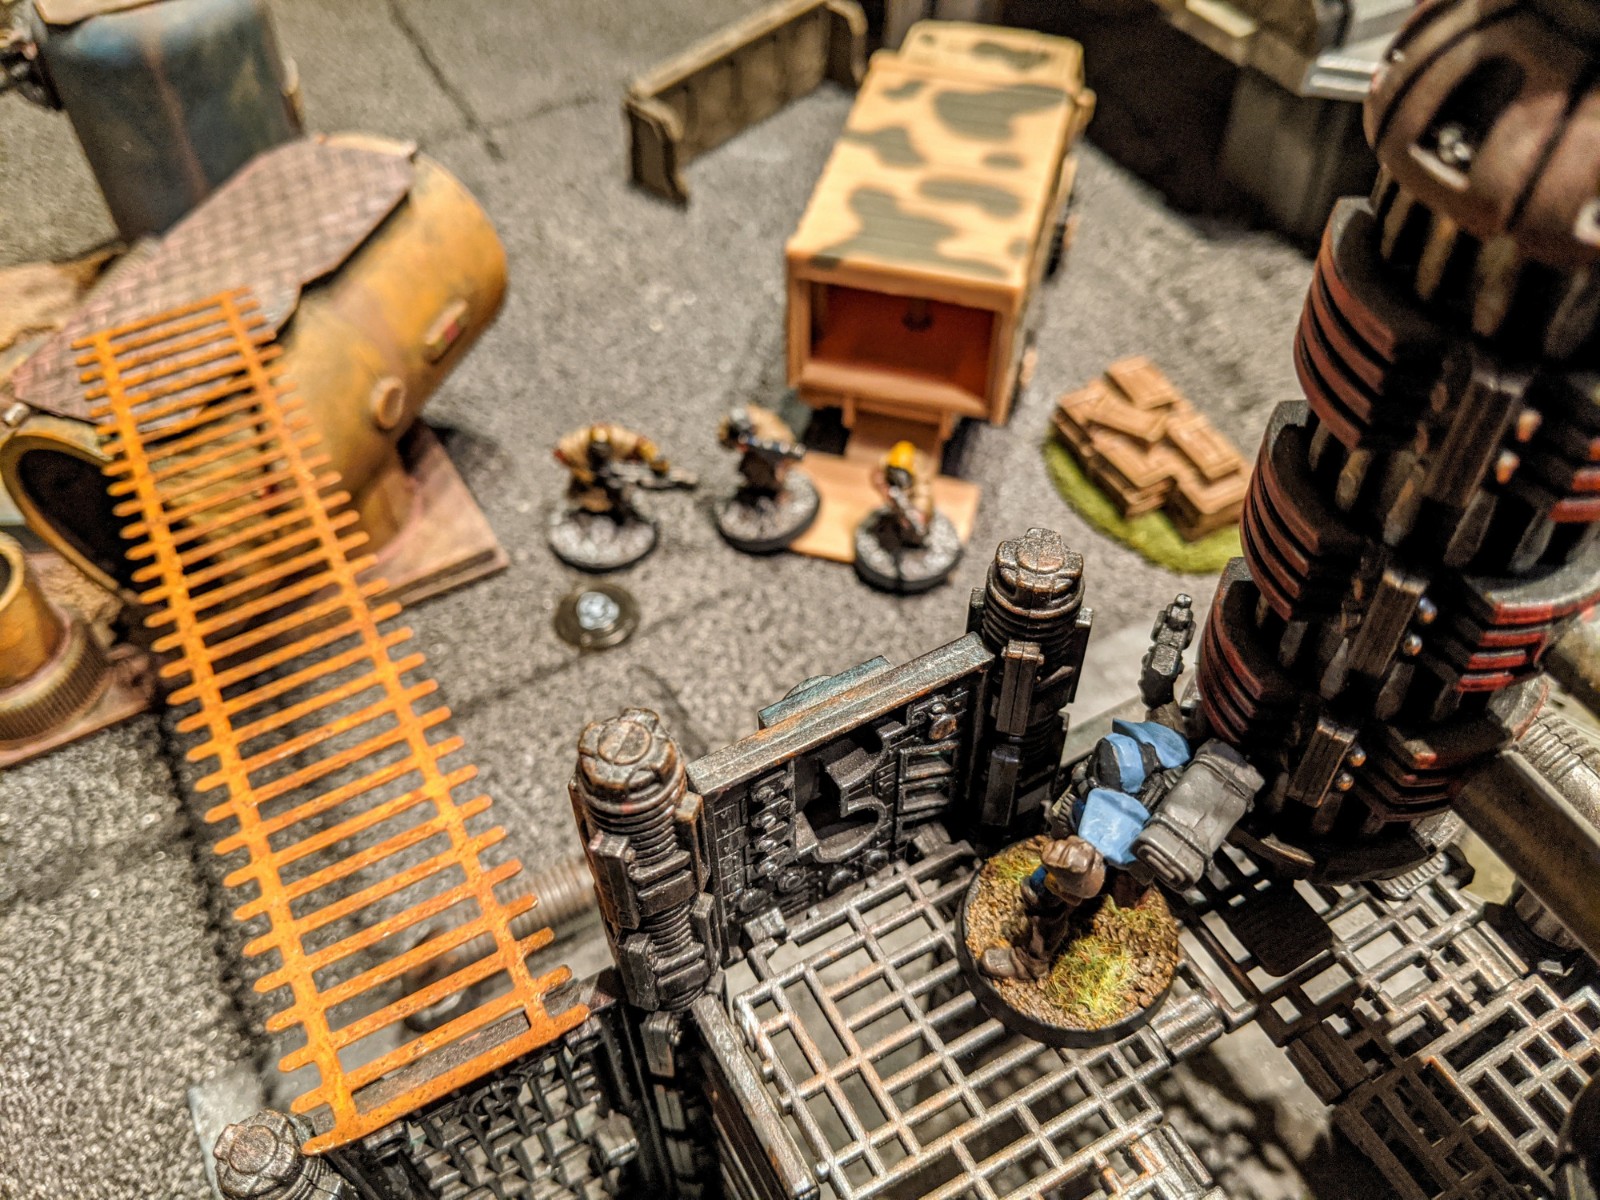
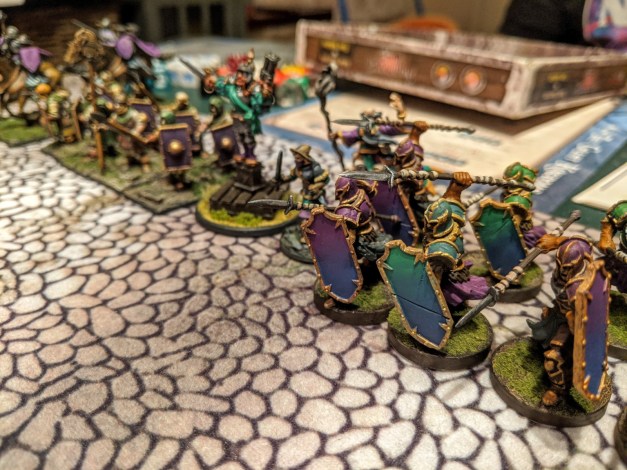
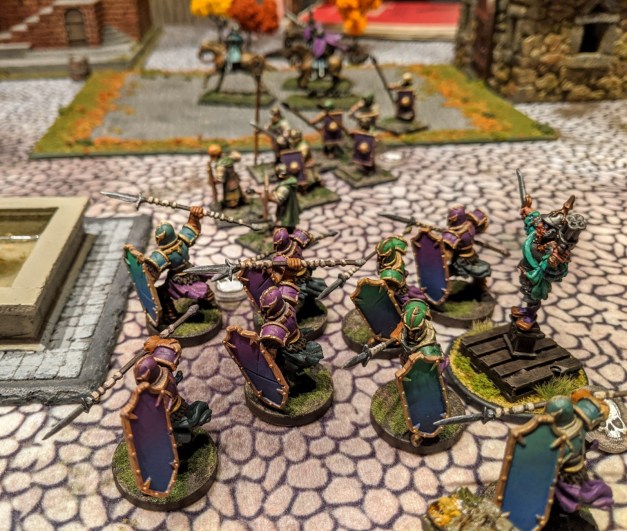
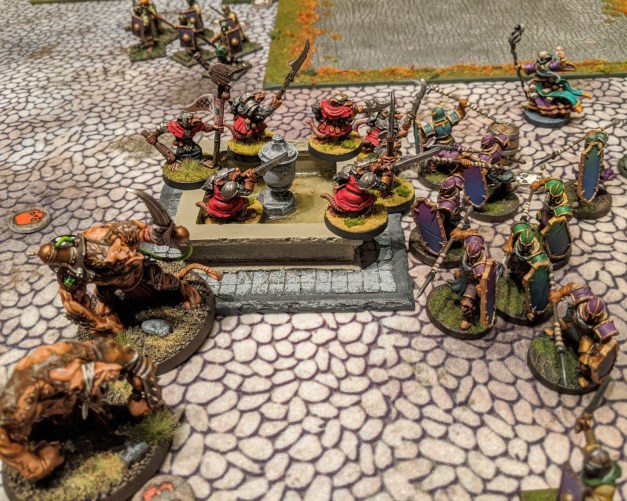
Those three barrels were calling to us, though. By moving through the buildings that lined the perimeter of the town, I was able to knock my team into a loose skirmish line as we approached the central objective. Unfortunately, John’s hearthguard (hard-hitting veterans, always good in a scrap) got there first, seizing the barrel and presenting me with a wall of spears and shields as the rats approached.

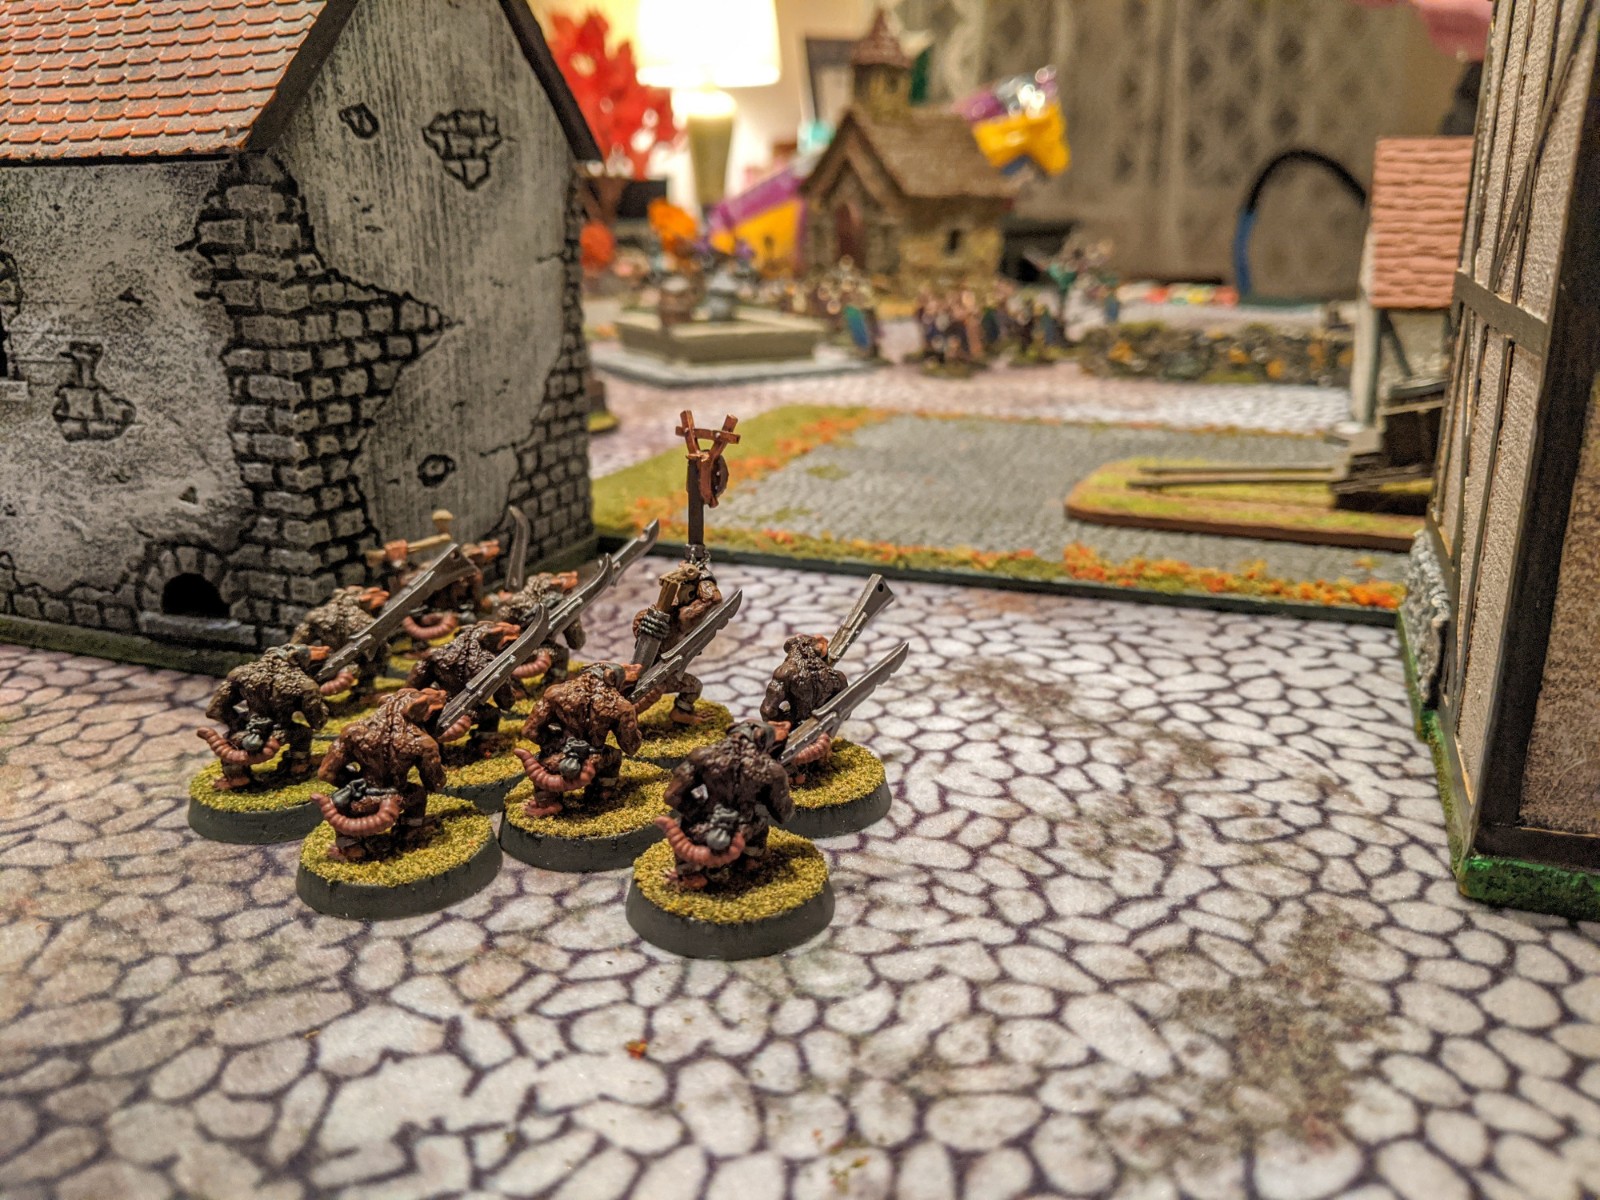
While this was happening, a lone squad of rat warriors was sneaking up to a barrel on the left flank. John had several units garrisoned in a building nearby, and they fired off some ineffectual arrows as the ratmen closed in. This was to be my only swipe at victory, as I didn’t get close enough to any of the other barrels in this game.

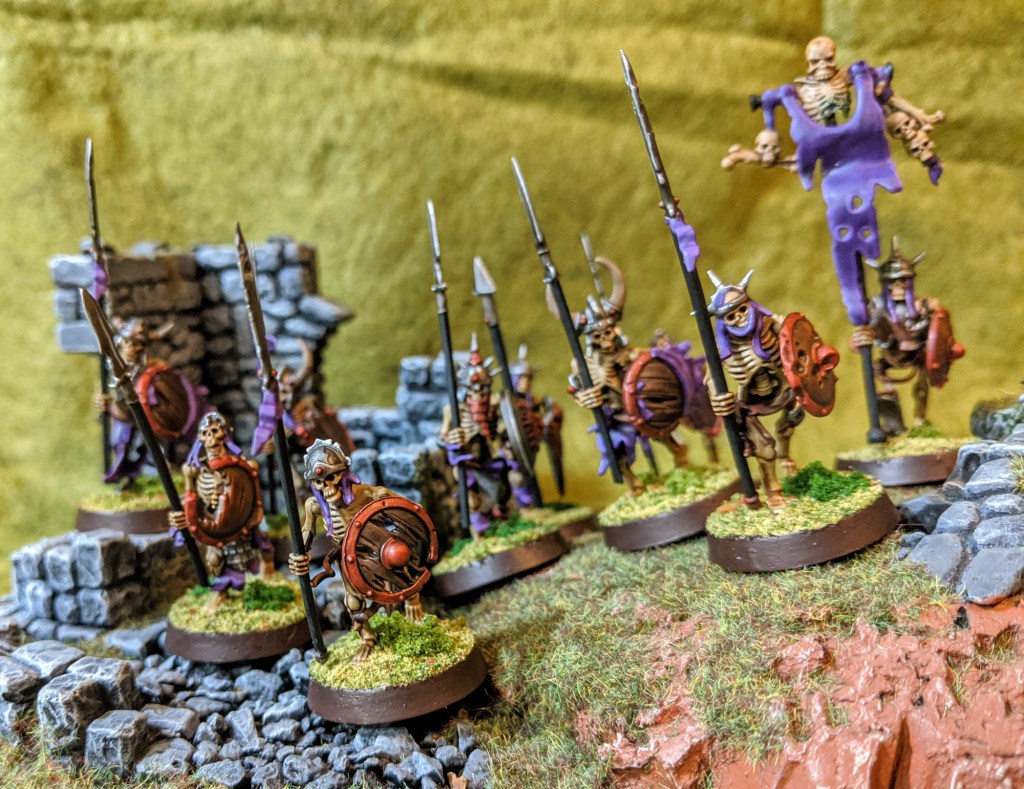
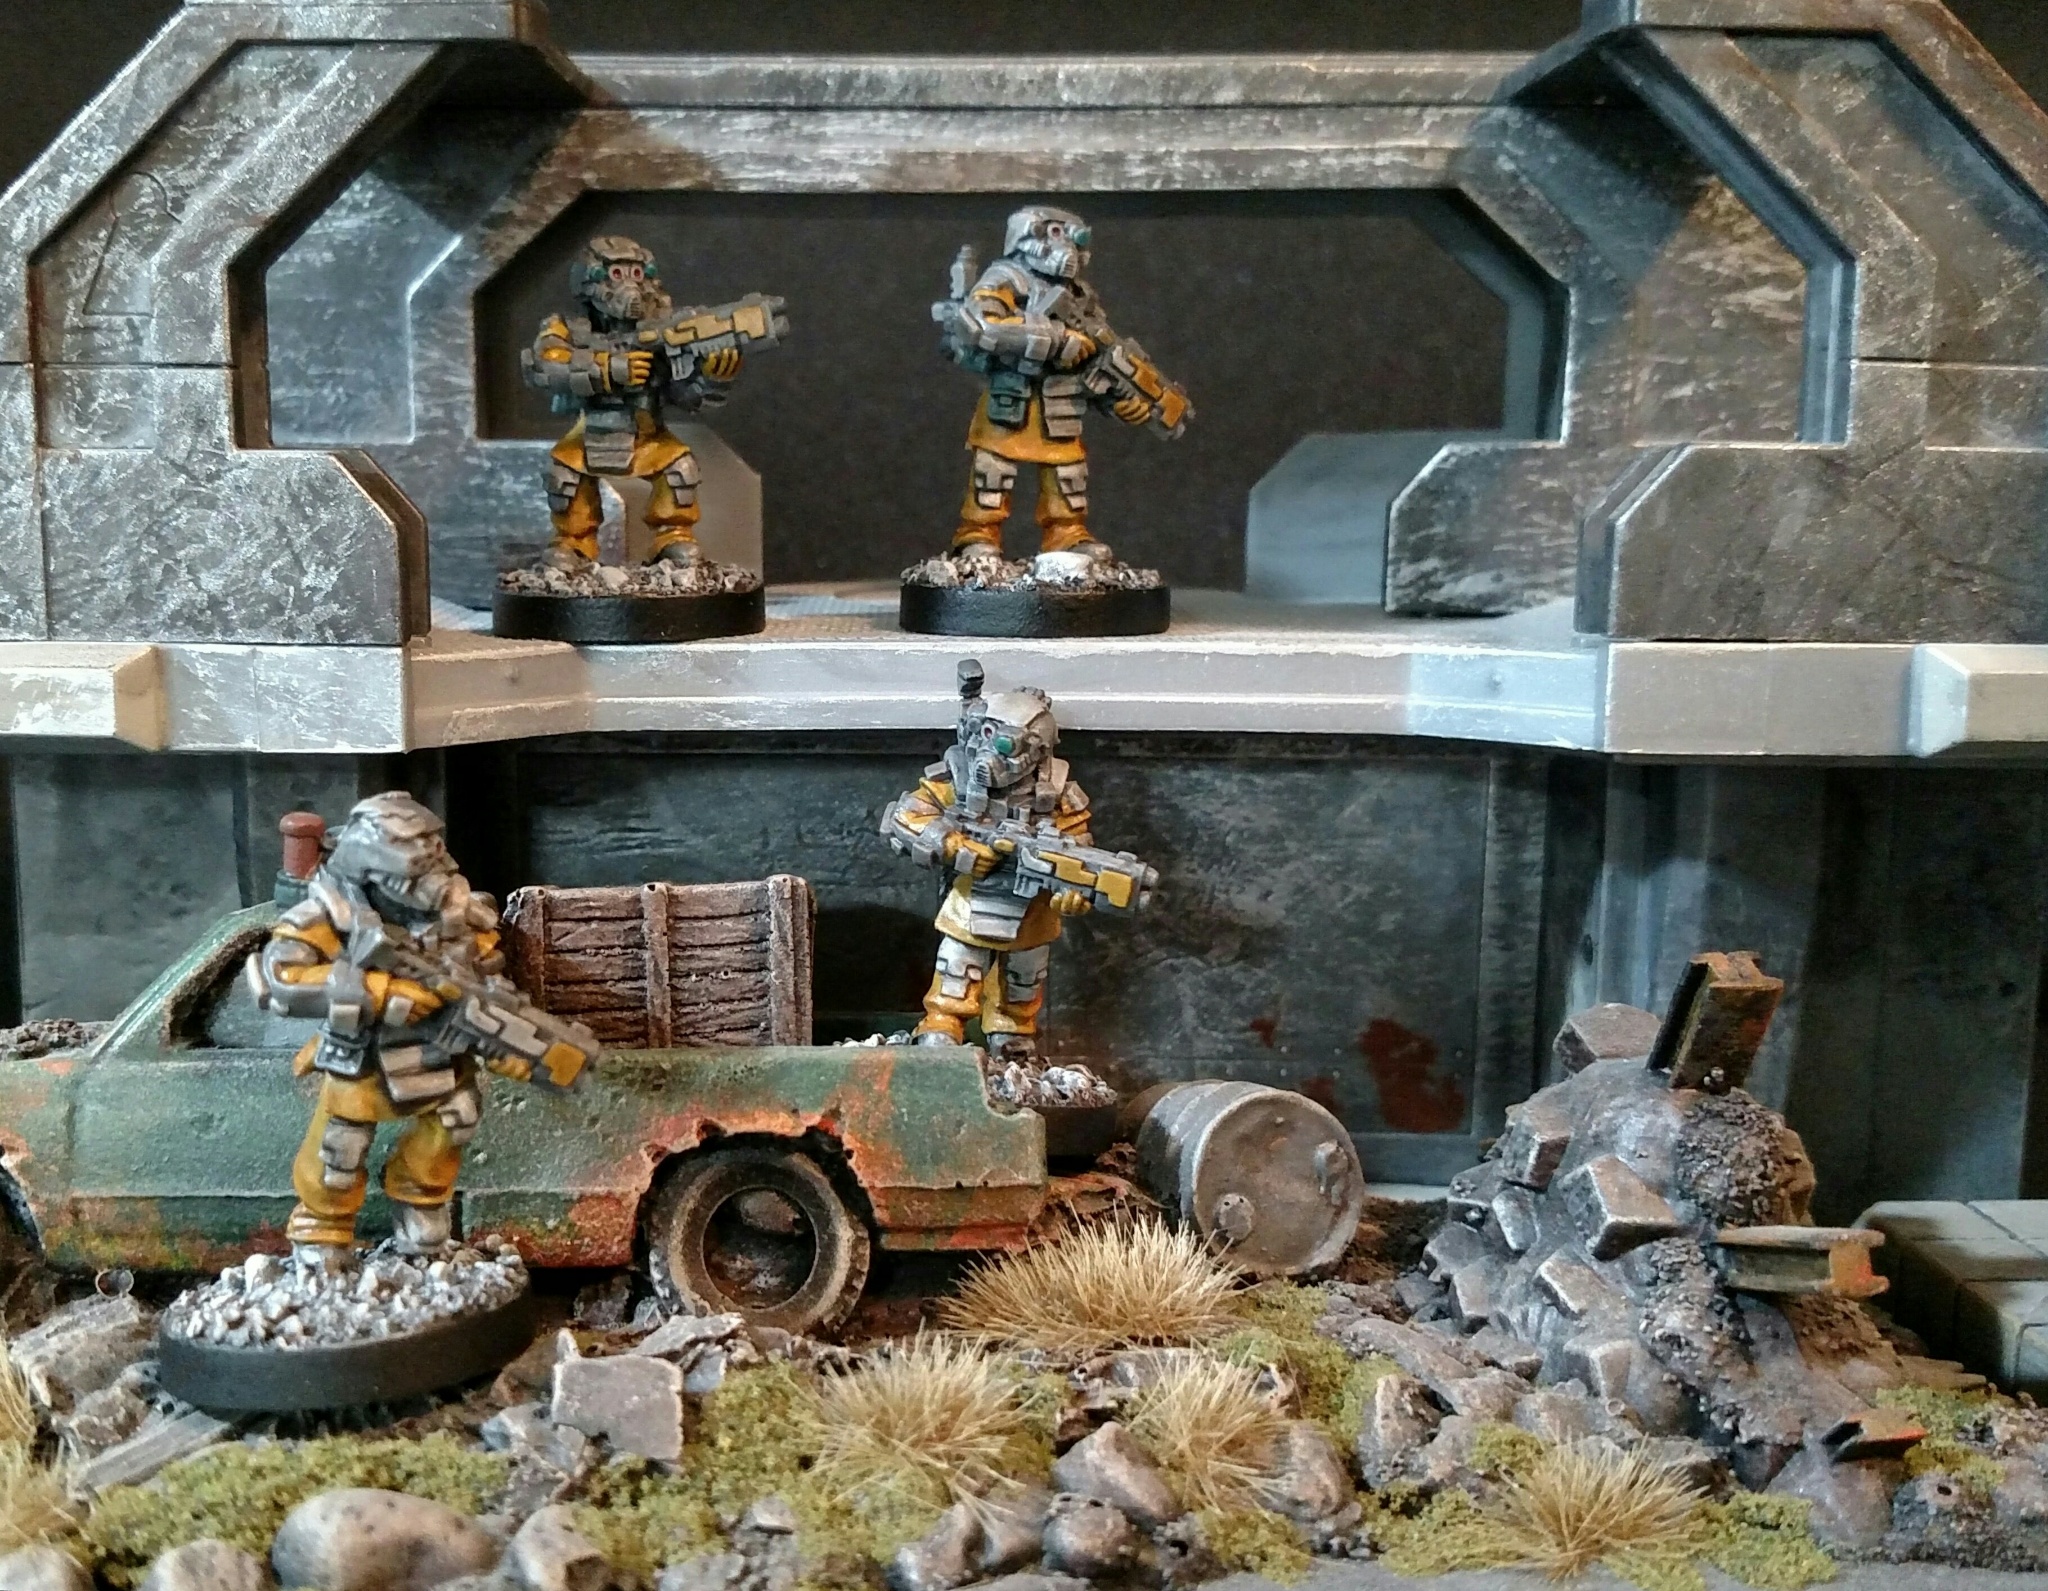
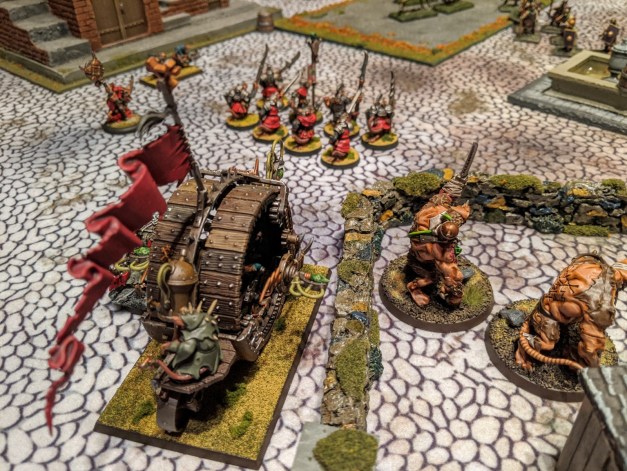
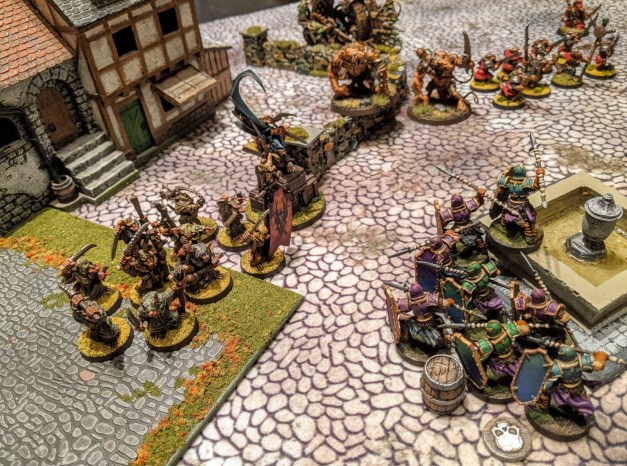
You can almost hear the chaotic din of the battle taking place behind these guys. Glorious!

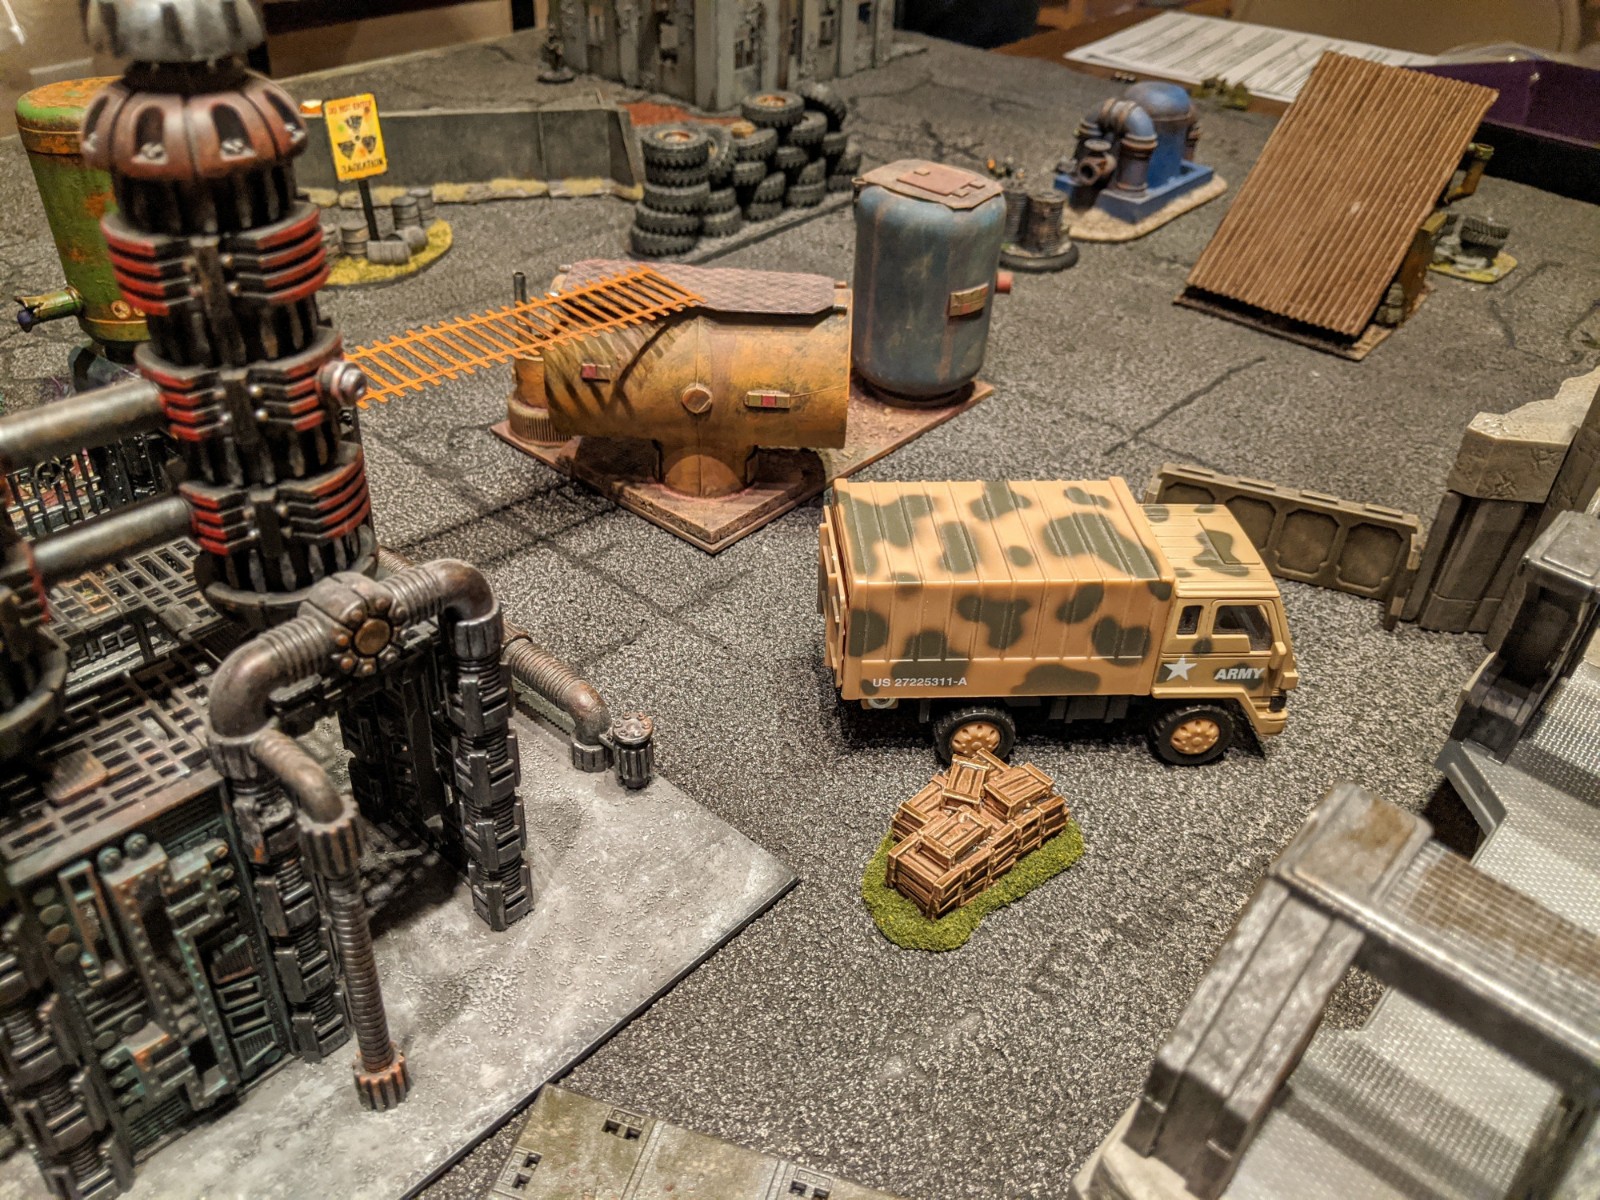
Sidenote: We were both really pleased with how Saga handles buildings. Most skirmish and army-level games I’ve played tend to ignore buildings, or treat them as generic cover. Saga adds a few more thoughtful rules that encouraged the use of buildings, particularly moving into them and gaining some marginal benefits.

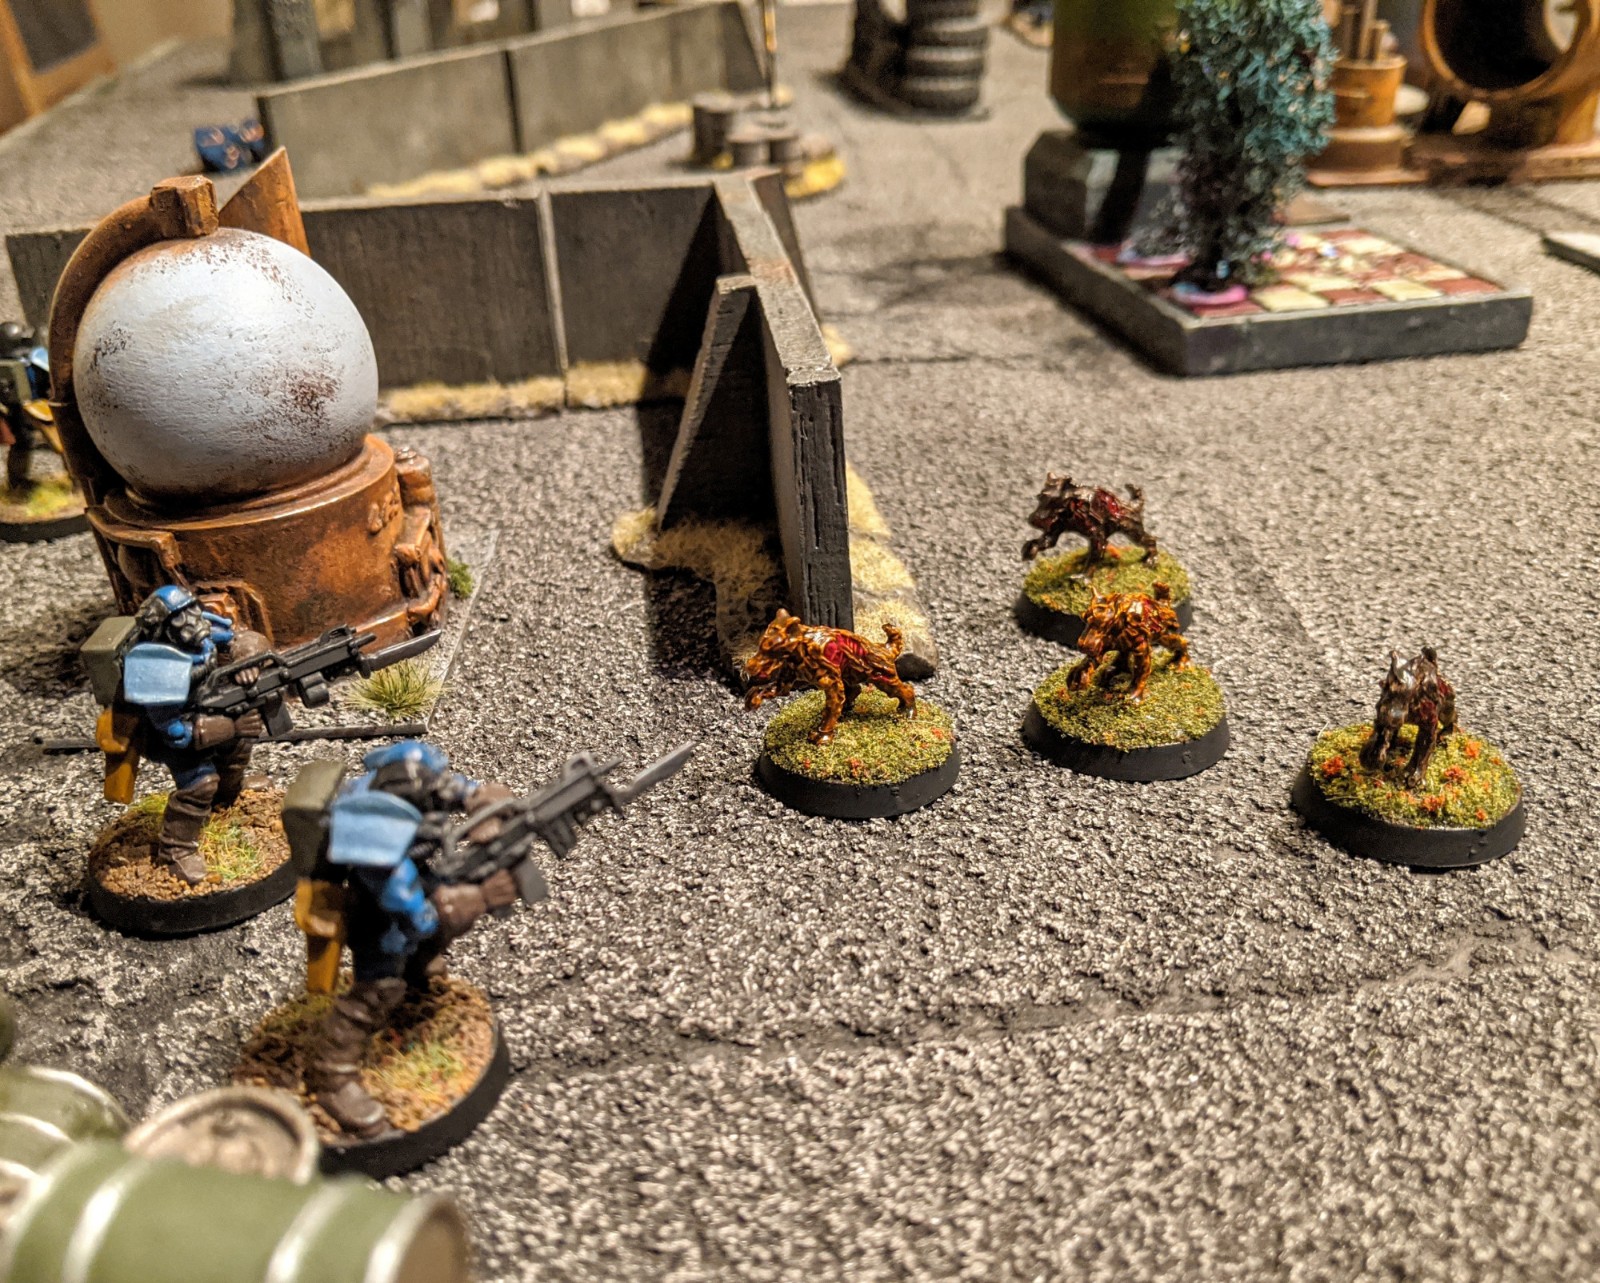
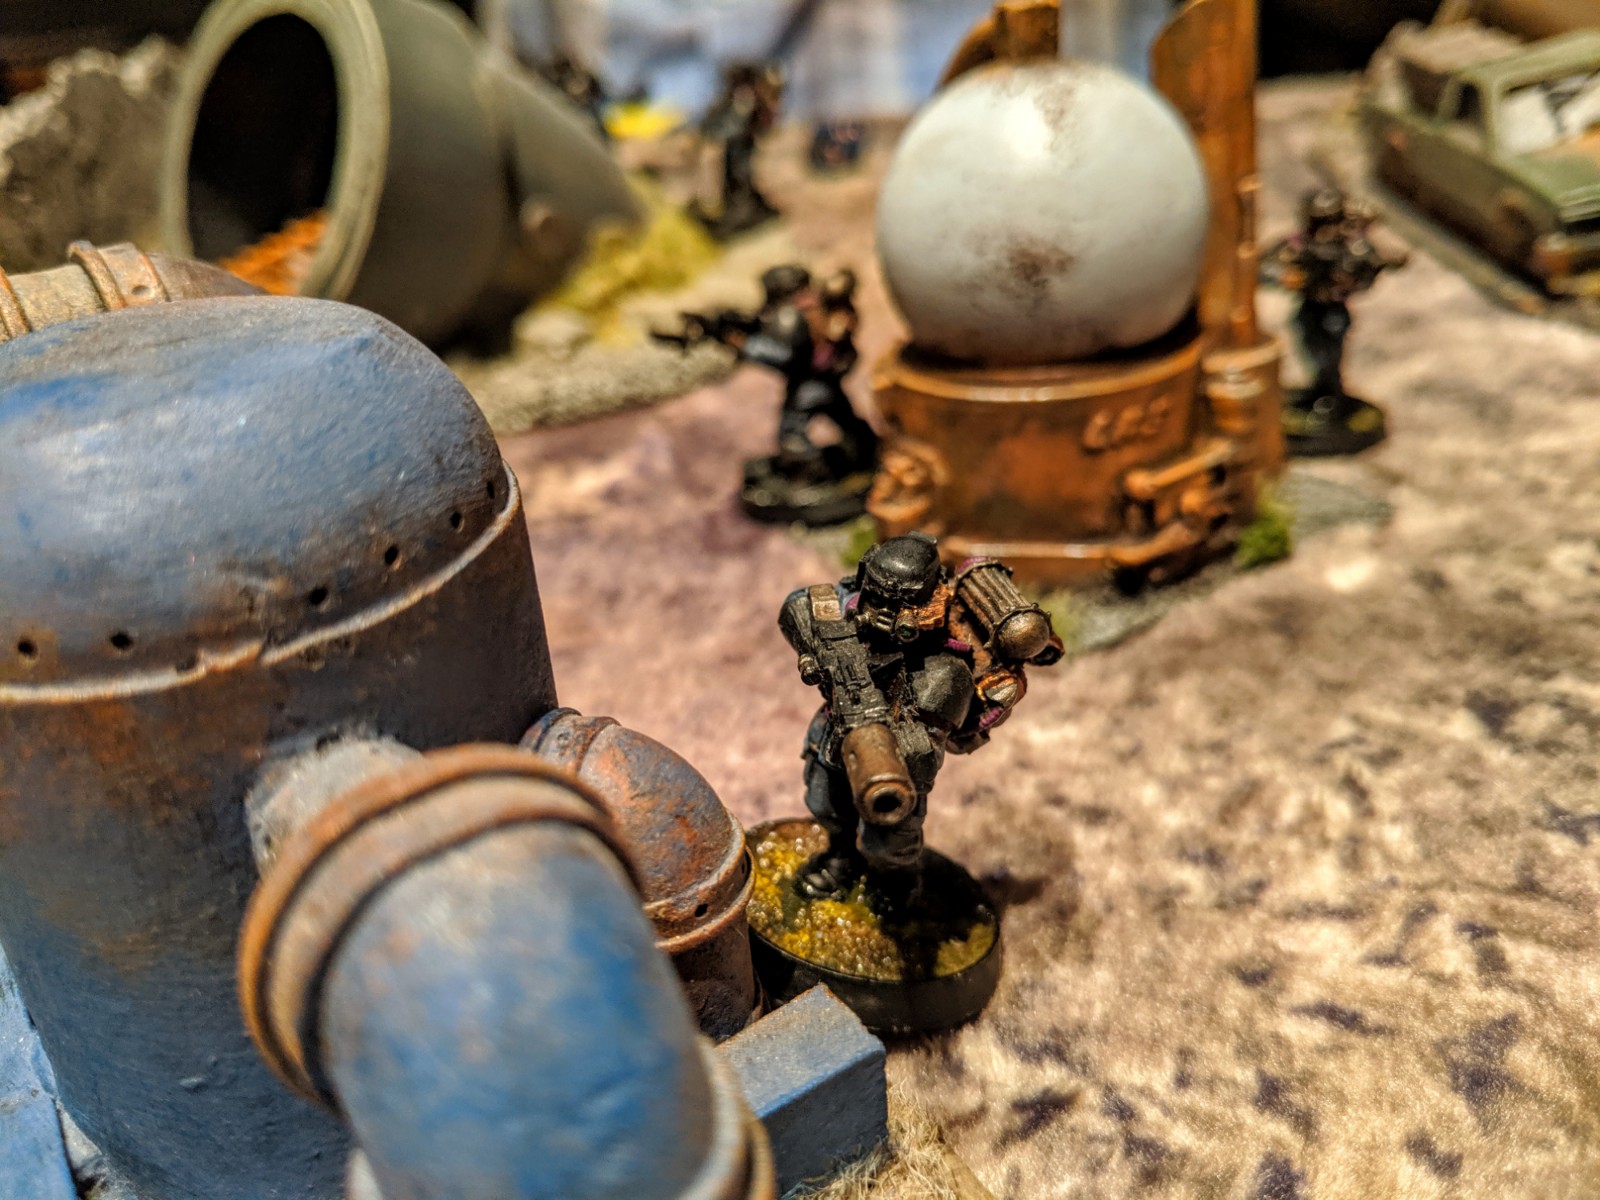
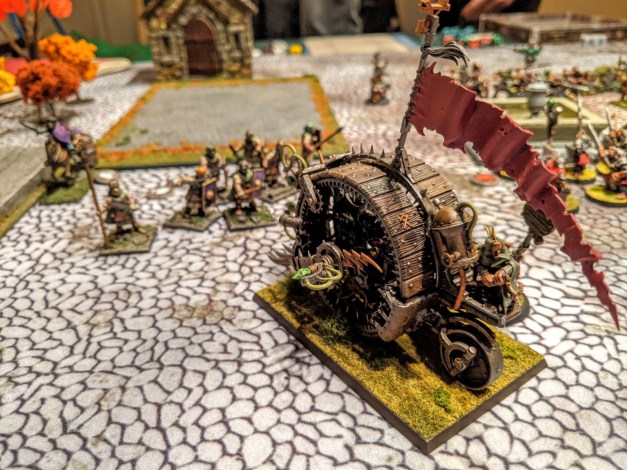
On the other flank, John’s mounted hearthguard (again, a tough nut to crack) closed in on the other barrel with frightening speed. I tried putting a ratling gun (destruction team, in the parlance of Saga: Age of Magic) in their way, and the gun caused a couple casualties, but the rats were ultimately destroyed in a stampede of hoofs and slashing swords.

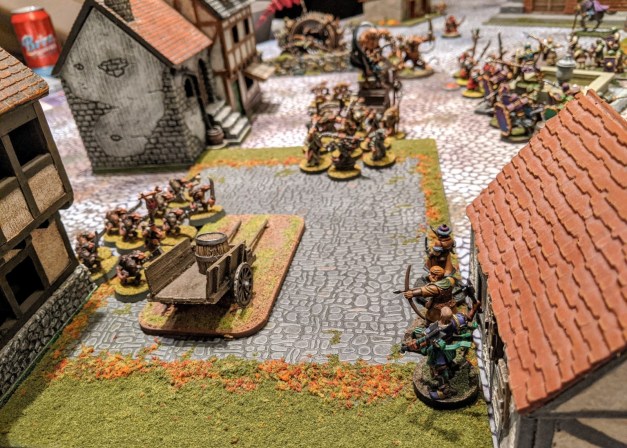
You can see the barrel just behind the surviving horsemen. Hearthguard are one of the few units in the game that continue to generate Saga dice irrespective of how many casualties they’ve taken. So while I definitely piled on the punishment against these horsemen, I wasn’t able to annihilate them entirely — and thus they continued to generate Saga dice and contribute to John’s tactical advantage over the course of the game.

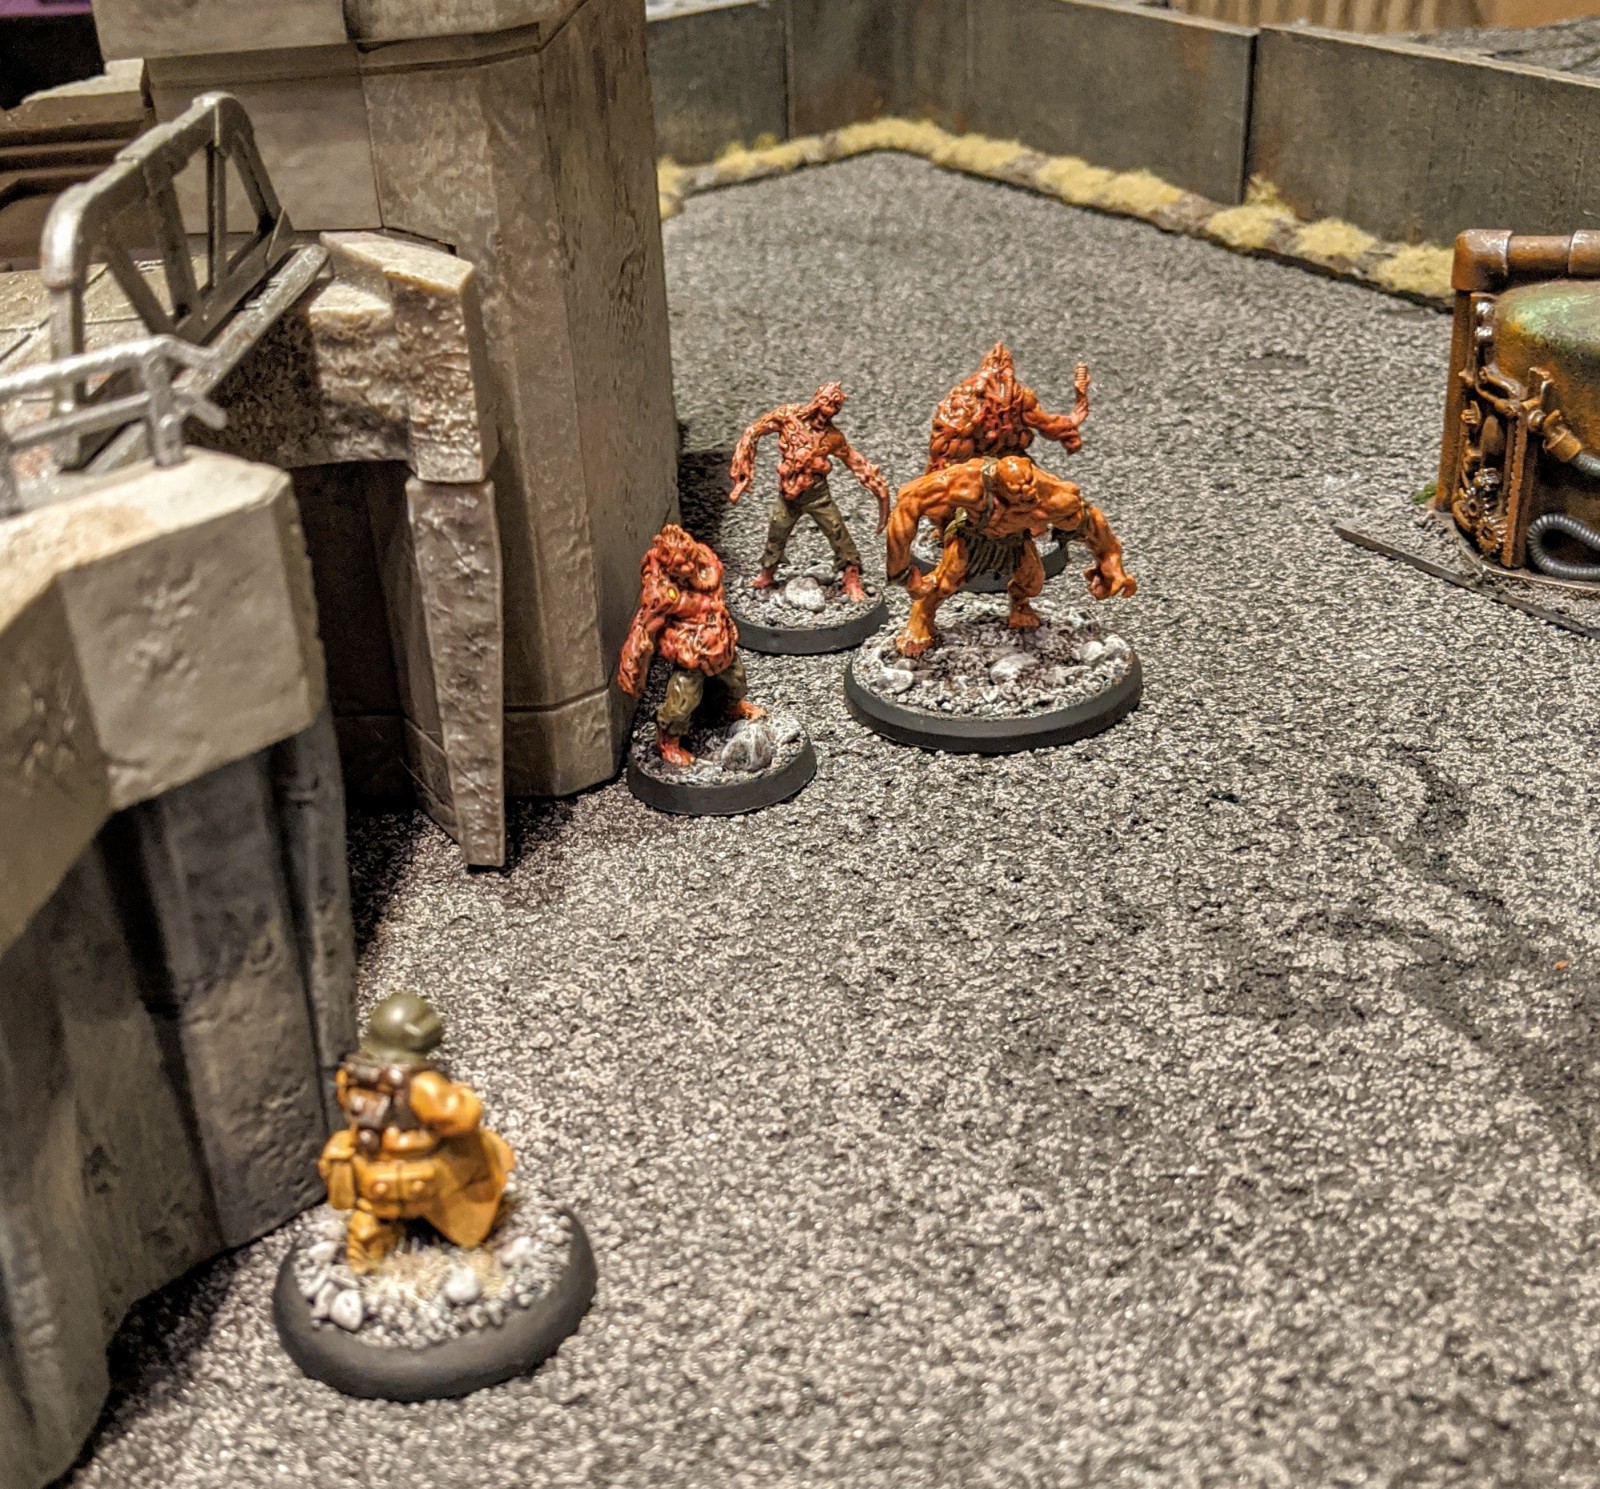
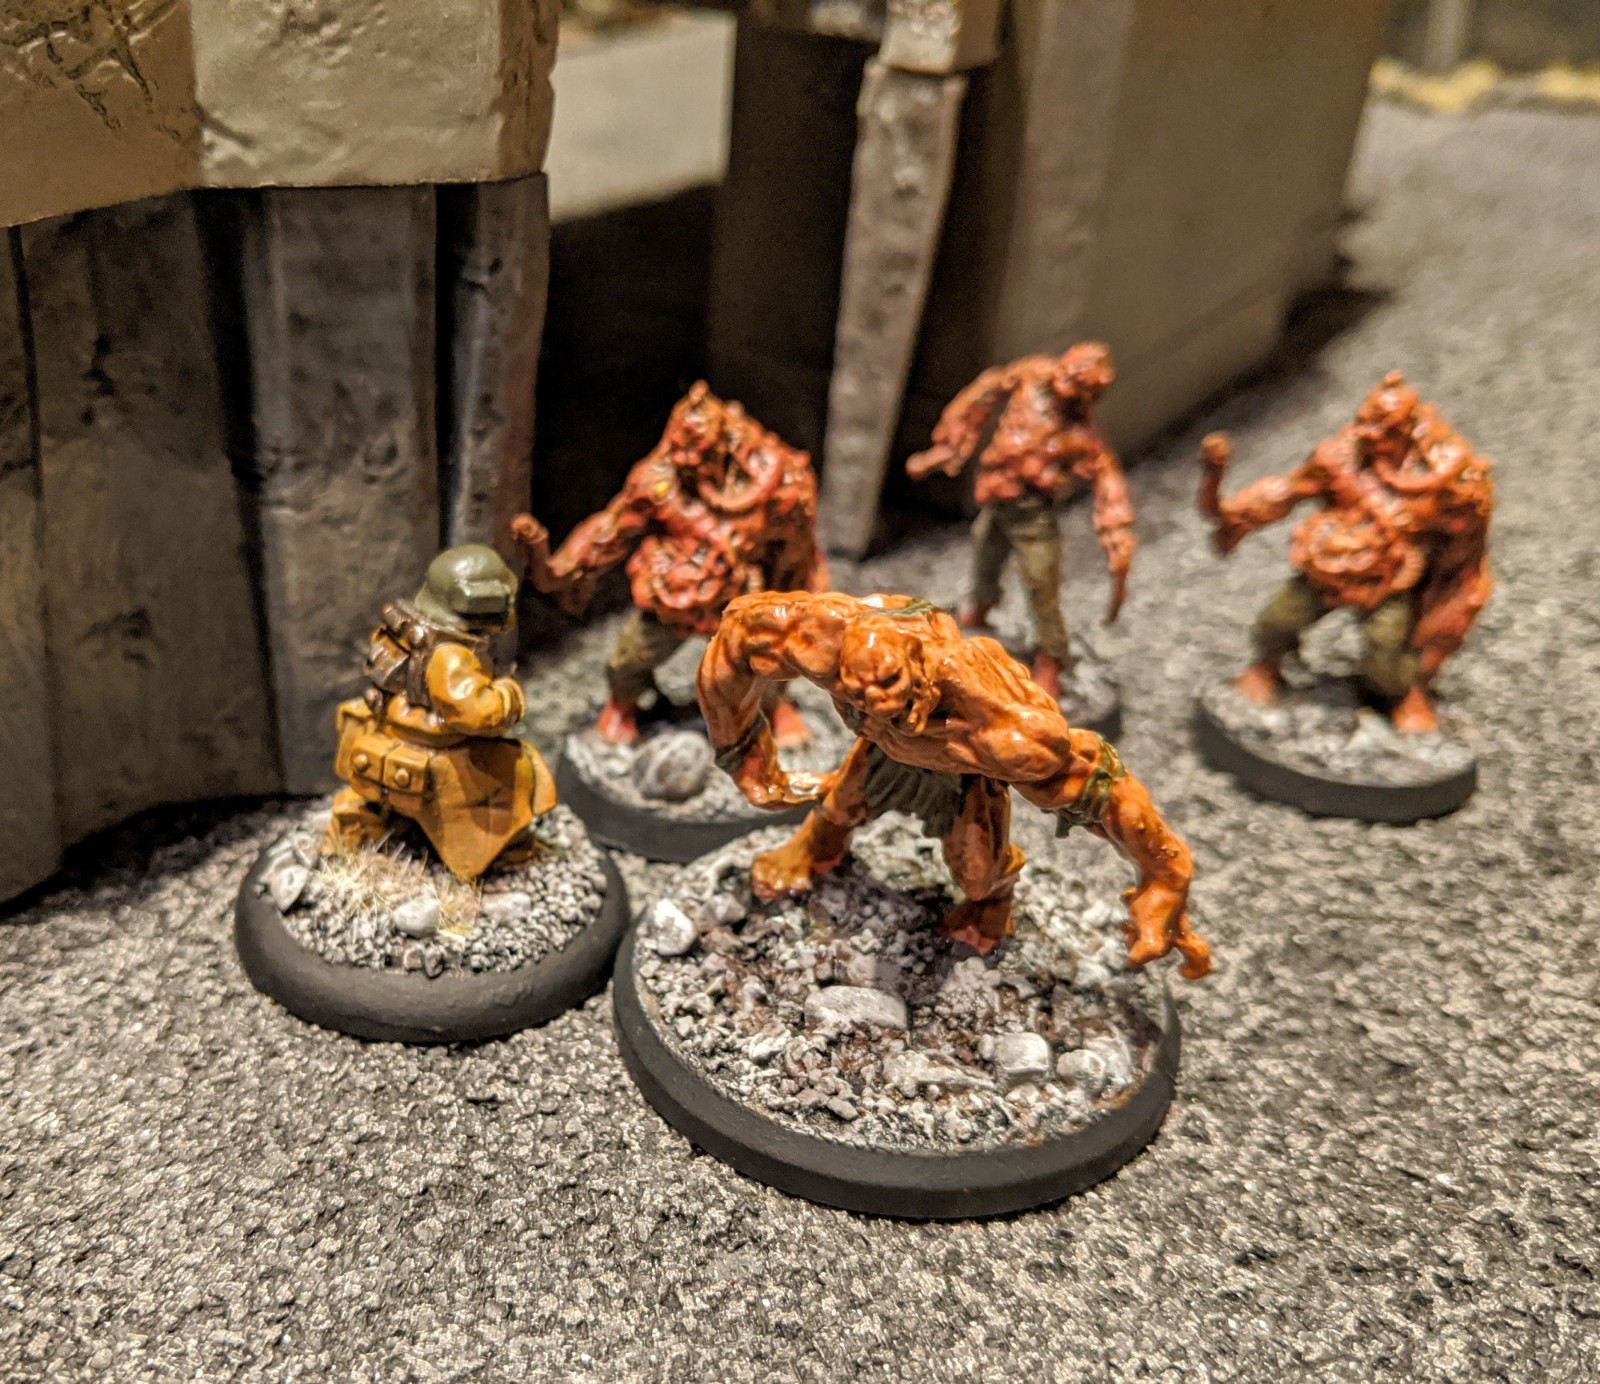
Meanwhile, the scrap in the center of the table was heating up. Once he secured the supply barrel, John began a slow retreat with his hearthguard. I tried to thwart that as best I could by charging his hearthguard repeatedly with various packs of frenzied rat creatures!

Alas, the hearthguard did what they did best, by withstanding the worst of the brutality and continuing their slow, plodding retreat. With a few more Saga dice, I think I could have hampered his strategy a bit more effectively. As it was, he had enough supporting units nearby to facilitate a tactical withdrawal even as I nipped at his heels.

One last interesting tactical situation arose as the game was nearing its final turns. Over on the right flank, John’s mounted hearthguard had succeeded in snagging the other barrel, but only after suffering some serious casualties. With just one horseman left, I realized that I had a decent chance of blasting it to pieces with my zany shooting units (including a Doomwheel and my chittering rat alchemist). Both were able to get in range in the final turn, thanks to some careful maneuvering and use of magic spells.

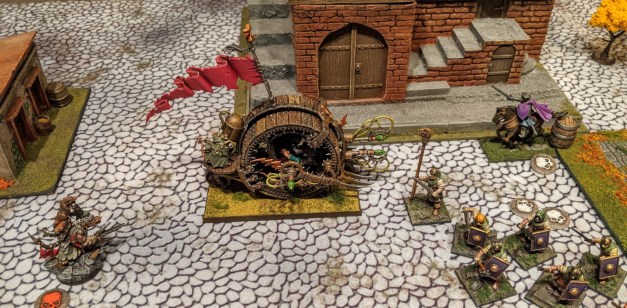
Alas, even with some nifty Saga abilities to help my shooting, the pesky hearthguard survived and retained the supply barrel. Argh! I gave it my best shot(s), but those hearthguard are just so damned … hard!

And with that, the game was over. We actually scored using both on-table objectives and “survival points” for units that survived the game. Taken together, John won handily.

I should note that my last-ditch ranged combat ploy required the use of every single Saga die that I was able to generate that turn! All of that, just for the ability to move and fire … two units. Everything else in my army was forced to remain stationary. This really drove home my comprehension of the value of Saga dice and how they are generated.

Upon review, John’s strategy of sending his hearthguard at the objectives while everything else played supporting roles turned out to be the correct play. The hearthguard were few in number, but once they got in position, they were very difficult to budge. My own Saga dice deficiency really amplified the impact of his hearthguard when I could not manage to string together a way to stop them.

Once again Saga gave us a fun and fairly well balanced game. I’m really enjoying the narrative that we’re building here, with the ratmen gnawing at the perimeter of Drazenko while the Begovic defenders seem, at least for the time being, to be able to stop their advance. Let’s see where this one goes in the future!

2019 Year in Review

Posted by Comrade on December 31, 2019
Posted in: Posts. Tagged: 28mm, army, club, fantasy, hobby, painting, project, sci-fi, wargames. 7 Comments

Ever since I returned to this hobby in 2009 (and really before that, back when I played as a kid), I set a mantra for myself: only painted figures on my gaming table. I don’t play tabletop wargames merely to run a combat simulation and roll some dice; I play to create a visually stunning shared tabletop spectacle with my friends. Fielding painted toy soldiers is the core aspect of my philosophy. It also means I gravitate toward smaller-scale skirmish games where I can get away with putting just a handful of figures on the table. That’s OK. It’s all part of the experience.

With that said, let’s take a look back at what I accomplished in 2019. As I went through these photos, I noticed that my raw output diminished in 2019. I chalk that up to increased family obligations — my kids are almost 2 and almost 5, so parenthood is starting to kick into high gear. We’re also in that weird period where they can’t really join me in the hobby, as they’re still too immature to grasp the concepts. Moving forward, I’ll look for more way to ease them into the hobby.

Up first is a batch of Skaven slaves I painted up for my burgeoning all-metal Skaven army. I’m building this army for Dragon Rampant and Sage: Age of Magic, so it won’t become quite as large as an old-school Warhammer Skaven horde. I’m hoping to finish up this army in 2020.

After that, I turned my attention to a cheap Doomwheel I picked up from Mindtaker Miniatures. Sure, it’s not metal, but it’s really cool! You can read more about it here.

From there, I acquired most of Deathmaster Snikch for my Skaven army. I say “most of” because this figure was missing both of his hands. I solved the problem and gave him a ranged attack option in the process! This guy will be one of the warlords in rotation for my Skaven army.

After that, Chaos fever gripped me! The new Shadowspear boxed set came out in early 2019 and my attention was once more pulled toward my Night Lords army. This army is always a work in progress and it’ll probably never be done. Haarken Worldclaimer was a nice new addition. Yeah, I painted him up as a Night Lord. Read more about him here.

He was joined by my first-ever Forge World model: the Night Lords Ferrum Infernus Dreadnought! This is a classic model that I’ve always loved, and I was excited to get it for fairly cheap on ebay.

After that, I started working on a new centerpiece model for my Night Lords: a Chaos daemon prince! I had the brilliant idea to paint his skin a pale, icy blue … over a black undercoat! What was I thinking?! I think he turned out nice enough, though. Read more about him here.

From there, I went to work on the basic Chaos Marines from the Shadowspear boxed set. They were a joy to work on, but I’m ashamed to report that I only completed a basic five-man squad before my attention wandered to another project.

That “other project” was something that’s been sitting on my workbench for at least a year, maybe more: my Chaos Vindicator! I’d been tinkering and modifying this thing for months since I acquired it mostly broken and disassembled in a large lot of Chaos stuff. I love rescuing old kits like this, so look for more in the future.

I needed a palette cleanser after all that blue, so I grabbed a lonely Chaos horseman from my bits pile and went to work on him. The end result was The Last Chaos Horseman, finishing off a 5-man unit that had lingered incomplete for nearly a decade.

I found some time for terrain in 2019, too. First up was a small 3D printed supply cache that I embellished with some new signage. Great for ZONA ALFA or other post-apoc games.

I also tackled some pieces from the GW Arcane Ruins kit, intending to use them as a Temple of Malice in our 40k campaign. I was particularly pleased with the ethereal blue paintjob on the stones, and the piebald skull faces on the glyphs.

After that brief diversion, it was back to the Night Lords! The endgame of our annual 40k summer campaign was looming, and I needed to finish off a few very specific models for my army. Namely, this awesome Chaos Lord with a jump pack.

And this random guy with a plasma gun, because you can never have too much plasma. (In regular 40k, that is. Plasma weapons don’t exist for squads in Apocalypse!)

I played my first game of Saga a few months ago, and as frequently occurs after a new game, I found myself inspired to add some units to whatever army I ended up fielding. In this case, my undead army! I built most of the core of this army about 8 years ago and have been slowly adding units to it as inspiration strikes. Here, inspiration struck in the form of three Barrow Wights (Reaper Bones).

As well as a handful of zombies.

And an undead knight, who will serve as the Black Knight in my Saga.

I was enjoying undead at this point, so I turned to a boxed set that had sat ignored on my desk for far too long: the Sepulchral Guard! I absolutely love these skeleton models. Read more about them here.

Around this time, my game club decided to do a holiday Secret Santa-themed miniature swap. The idea was that we could draw names from a hat, then paint up a single infantry-sized figure that would go with our chosen person’s army or warband. I drew John, who loves hordes of poorly trained, sad sack infantry. Well, every regiment of doomed misfits needs a leader, right? Enter Bartholomieu Begovic, a seasoned field commander who loves espousing tactics and doctrine while gesticulating wildly with his saber.

This guy is the old Empire Steam Tank commander figure, and I was so pleased to give him to John as a commander for his fantasy human empire army. I even matched his army’s color scheme (more or less).

After that, it was a sprint to our annual 40k Apocalypse game. In a fit of madness, I decided to try and paint up a Forge World Night Lords Contemptor Dreadnought (another rescue/repaint) in the last week before our big event. I was literally splattering on the last layer of Blood for the Blood God a few hours before our Apocalypse game.

He acquitted himself well in the game, and by that I mean he did not get destroyed immediately! Check out this action shot. Get wrecked, Guardsmen!

Whew! This has been quite the retrospective. I sure did paint a lot of blue this year!

Our game club has declared a pivot to fantasy for at least the first portion of this year, so look for me to tackle a few more units for my Skaven army, followed by (perhaps) some of the smaller warband-sized batches of models I’ve collected over the years. Stay tuned for more!

Posts navigation

← Older Entries
Newer Entries →
  • Recent Posts

    • Building a Grimdark Battle Board
    • Hobgoblin: More Thoughts and Musings
    • Grimdark Future: The Scouring of Hundvolst
    • Shadow War: Armageddon Battle Report & Review
    • The Expedition Soldiers On
  • Follow Comrade's Wargames on WordPress.com
  • Tags

    28mm 40k army battle report caluphel campaign chaos club death guard dragon rampant dwarves fantasy game night grimdark hobby miniatures narrative nurgle painting post-apoc project saga sci-fi skaven skirmish terrain warbands wargames warhammer workshop
  • Archives

    • January 2026 (1)
    • November 2025 (1)
    • October 2025 (2)
    • September 2025 (1)
    • October 2023 (2)
    • September 2023 (1)
    • August 2023 (2)
    • July 2023 (3)
    • June 2023 (3)
    • May 2023 (4)
    • April 2023 (2)
    • March 2023 (5)
    • February 2023 (2)
    • January 2023 (2)
    • December 2022 (1)
    • November 2022 (1)
    • October 2022 (4)
    • August 2022 (2)
    • July 2022 (1)
    • June 2022 (2)
    • May 2022 (5)
    • March 2022 (1)
    • February 2022 (1)
    • January 2022 (3)
    • December 2021 (1)
    • November 2021 (2)
    • October 2021 (1)
    • September 2021 (2)
    • July 2021 (1)
    • June 2021 (1)
    • May 2021 (2)
    • March 2021 (3)
    • February 2021 (1)
    • January 2021 (3)
    • December 2020 (1)
    • October 2020 (1)
    • September 2020 (2)
    • August 2020 (1)
    • July 2020 (1)
    • June 2020 (1)
    • May 2020 (1)
    • April 2020 (1)
    • March 2020 (1)
    • February 2020 (2)
    • January 2020 (3)
    • December 2019 (5)
    • November 2019 (1)
    • October 2019 (1)
    • September 2019 (2)
    • August 2019 (2)
    • July 2019 (4)
    • June 2019 (3)
    • May 2019 (3)
    • April 2019 (1)
    • March 2019 (1)
    • February 2019 (2)
    • December 2018 (3)
    • November 2018 (3)
    • October 2018 (5)
    • September 2018 (5)
    • August 2018 (5)
    • July 2018 (5)
    • June 2018 (2)
    • May 2018 (1)
    • April 2018 (3)
    • March 2018 (1)
    • February 2018 (1)
    • January 2018 (1)
    • December 2017 (1)
    • November 2017 (5)
    • October 2017 (1)
    • September 2017 (2)
    • August 2017 (4)
    • July 2017 (4)
    • June 2017 (3)
    • May 2017 (4)
    • April 2017 (3)
    • March 2017 (7)
    • February 2017 (6)
    • January 2017 (2)
    • December 2016 (5)
    • November 2016 (2)
    • October 2016 (3)
    • September 2016 (4)
    • August 2016 (5)
    • July 2016 (6)
    • June 2016 (8)
    • May 2016 (2)
Create a website or blog at WordPress.com
Comrade's Wargames
Create a website or blog at WordPress.com
  • Subscribe Subscribed
    • Comrade's Wargames
    • Join 154 other subscribers
    • Already have a WordPress.com account? Log in now.
    • Comrade's Wargames
    • Subscribe Subscribed
    • Sign up
    • Log in
    • Report this content
    • View site in Reader
    • Manage subscriptions
    • Collapse this bar
 

Loading Comments...