Today’s Grimdark Future battle report (the next installment in The Cauldron, our ongoing grimdark/Inq28 themed narrative campaign) took place far from the glittering spires of Hive Sacrament on Gamma Euphorion Prime. While the miserable defenders of the Imperium struggled to stem the dark tide surging up from the depths of the underhive, our factions were making a move on the nearby industrial moon Drusichtor.
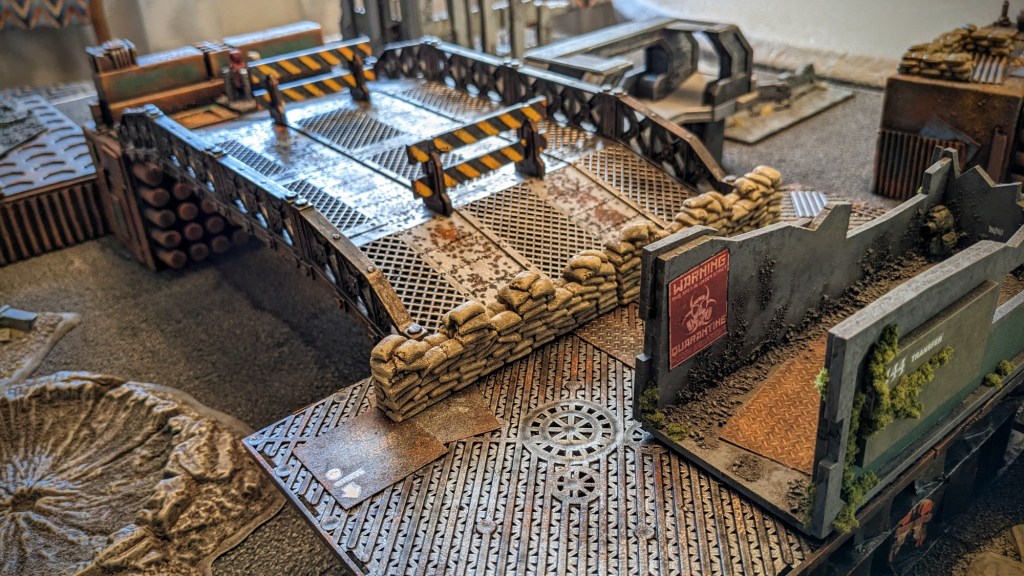
The moon hangs like an overripe plum in the leaden skies of Gamma Euphorion Prime, swollen with mineral resources and riven with scars from centuries of careless extraction activity. In my head, Drusichtor is kind of like LV-426 crossed with the Australian outback. Lots of crumbling industrial facilities, isolated mineheads, abandoned strip mines, weather-worn hab blocks, windswept cliff faces, etc. Ripe for narrative gaming in our homebrew setting. In this game, the factions were converging on the Xenarite Interchange, one of several heavily fortified industrial mining facilities that dot the tortured, windswept landscape of Drusichtor.

For this game, a splinter warband of Death Guard commandos from the Maggot Magnates faction was pushing to seize the security station. Opposing them was a ragtag band of miners who, by pure happenstance, were swooning under the influence of a nefarious genestealer cult. A band of ork raiders lurking in the hills flipped a coin and decided to ally with the genestealer cultists during this raid.

Three security stations located within the perimeter of the Xenarite Interchange offered access to the base’s robotic sentinels. The faction that could seize and activate the security stations would be able to direct the robotic sentinels to swarm and destroy the opposing faction. Gulp!
Our game got underway with a general advance by the Plague Marines of the Death Guard. They had two sizable hordes of shambling Poxwalkers, and these they prodded toward the objectives in the center of the board.

The genestealer cultists responded by directing the fearsome flame weapons on their vehicles to mow down the poxwalkers as they advanced. Yikes, I was not expecting so many flamethrowers!

On the opposite flank, a Chaos Rhino delivered a squad of Plague Marines to another objective, located in a toxic spill zone. Before the game, we had designated this area as “dangerous terrain” per the Grimdark Future rules, which caused units to risk casualties if they moved into or through the terrain. Thus, this objective was objectively more hazardous to secure!
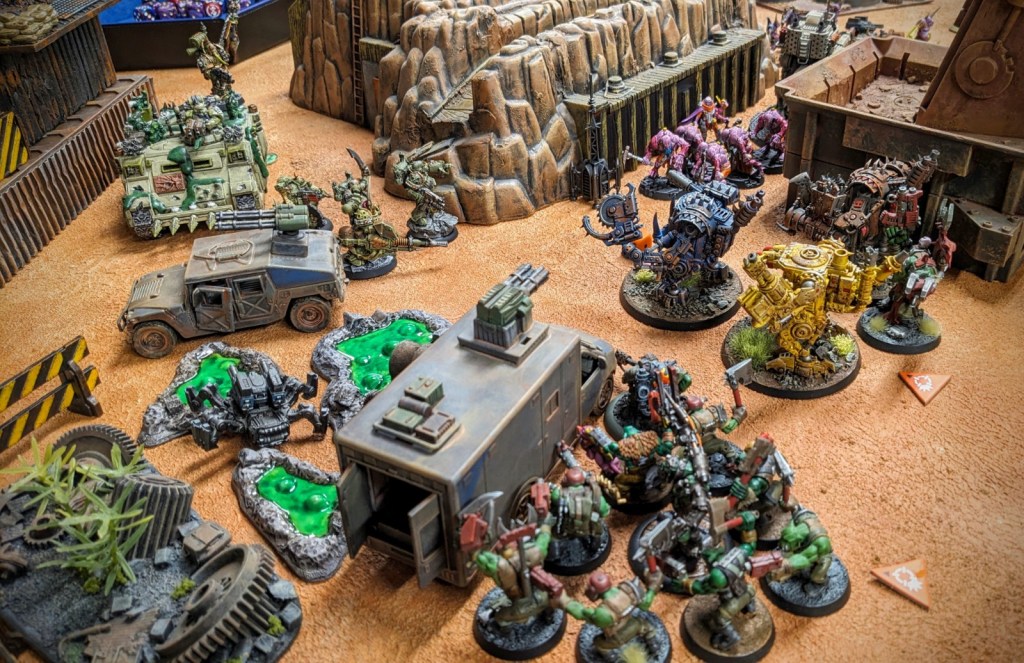
You can see in the photo above that Jim had a squad of Ork boyz waiting just behind the disabled vehicle, ready to pounce on my Plague Marines once they waded into the toxic soup near the objective.
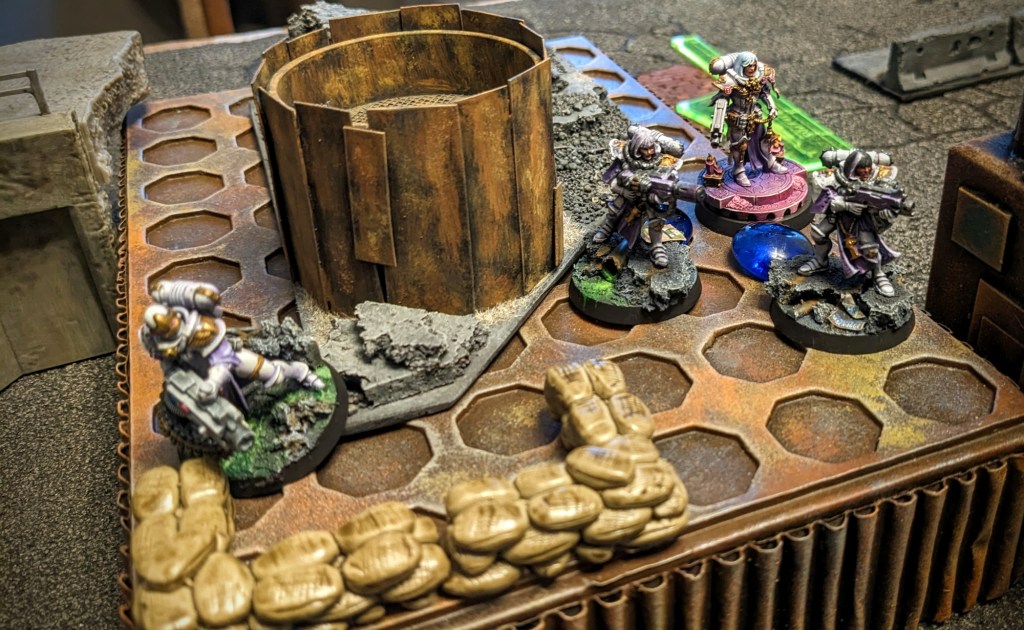
Daniel had also prepared an ambush – his mutant cultists popped out of a tunnel and charged my Plague Marines as they closed in on the objective, resulting in a brutal close combat.

And of course, eagle-eyed readers probably noticed the three Killa Kans stomping around in this general area. They were armed to the teeth, but thankfully they weren’t too tough, and we were able to pop them one after another (while simultaneously dealing with the genestealer cultists and marauding orks).


The MVP for popping Killa Kans turned out to be the Chaos Rhino! I had equipped it with the spiked ram upgrade, which gave it Impact (9), and this turned out to be devastating. In Grimdark Future, vehicles have no way to fight back in close combat, so they have an ability called Impact (X) that acts as a sort of tank shock, dealing X automatic hits when they rumble into a squad. After that, they’re often sitting ducks, but Impact can really even the odds when employed correctly.

Dealing 9 auto-hits proved to be just the tonic I needed to carve up the Killa Kans and grease the Orks.
Back on the left flank, the poxwalkers staggered forward even as they were coated with flaming promethium. A few made it into combat with the big cultist truck, but they were too diminished to do much damage.

We had better luck with a lone Chaos Terminator who arrived via deep strike (aka Ambush, in the parlance of Grimdark Future) and charged into combat with the cultists who had just spilled out of the transport truck. The Terminator carved them up with frightening ferocity!

The final clash of the game took place on the right flank, where a mob of advancing poxwalkers inadvertently uncovered the source of the xeno cult – actual genestealers!!

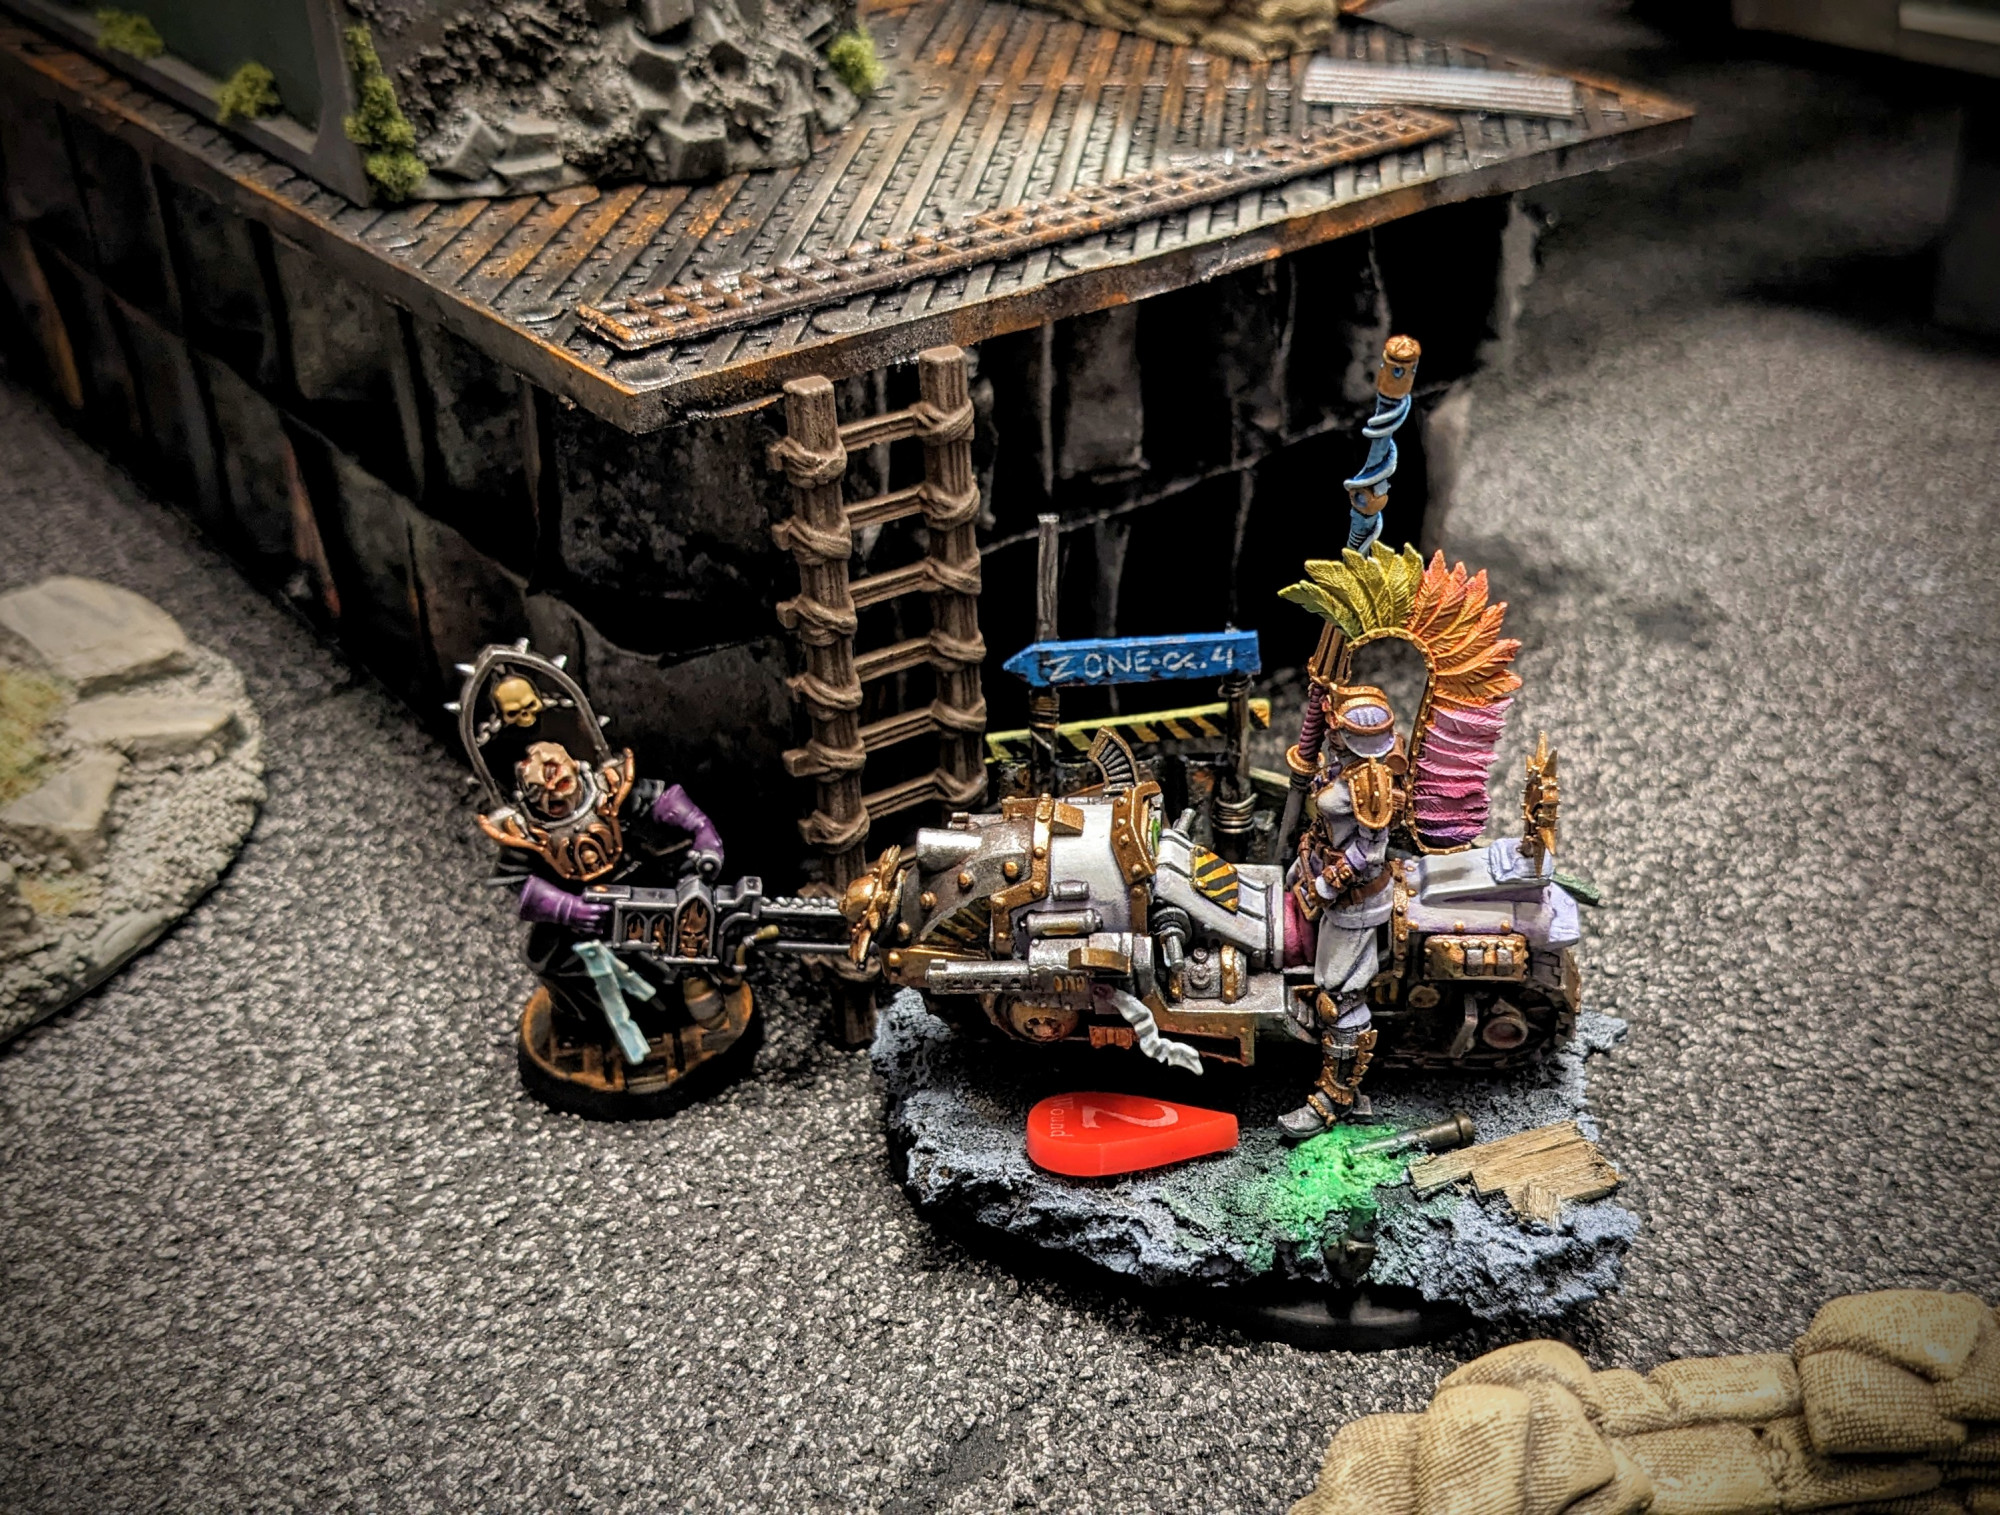
They were punished terribly for discovering this forbidden truth. The survivors continued the advance, supplemented by a grisly Myphitic Blight Hauler, aka murder tricycle.

By this point, Jim’s fearsome Ork Warboss was entering the fray. He hewed and cleaved with his mighty choppa, but ultimately he succumbed to the Death Guard onslaught, which paved the way for the Plague Marines to seize the objective and wrap up the game.

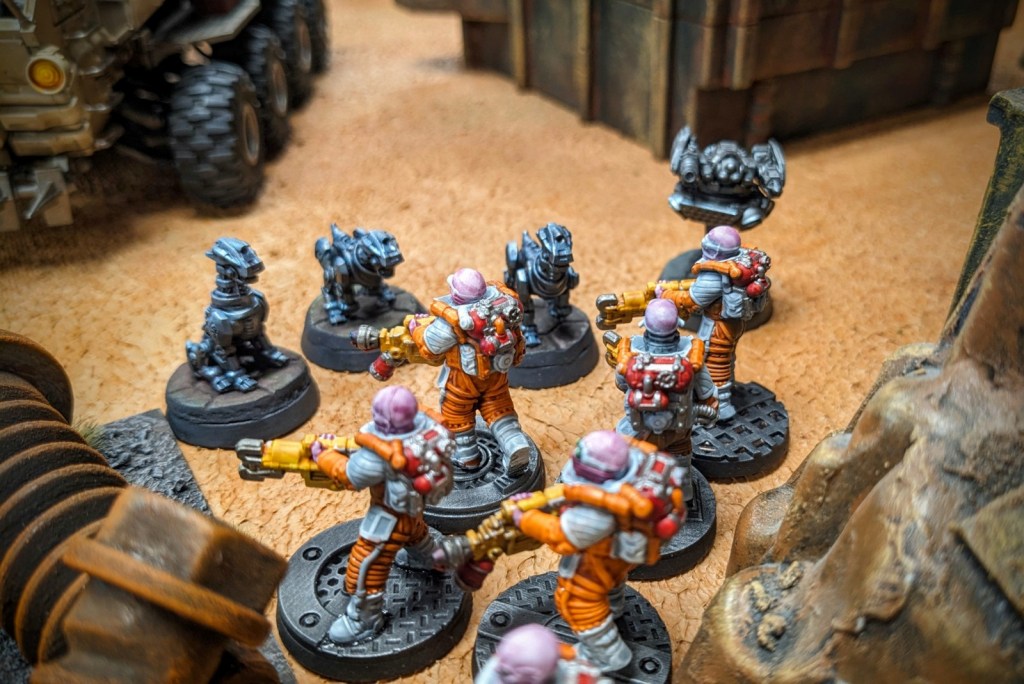
The outcome of our narrative scenario meant that the Death Guard were able to activate the base’s remote sentry robots, which bounded forth on four legs and proceeded to lay waste to the surviving cultists and orks. This was a great excuse for John to bust out some newly painted robo-puppers that served to close out this game with style.
And so the cultists and their erstwhile allies (the Orks) were driven back, and the Death Guard consolidated their position at the Xenarite Interchange and prepared to probe deeper into Drusichtor’s desolate industrial facilities. Who can say what strange discoveries await?
I should note that this game was just one of two games that were running concurrently in John’s garage game room. The other game is documented with aplomb over at Orcs Illustrated, the blog headquarters of fellow club member John. Here’s a sneak peek at the action in the Pilgrimage District.
We had a total of 10 players squeezed into the garage – a record, I believe, for our little game club. This game was also a bit of an “east meets west” event, as it featured a visit from Karl, my friend and co-founder of Chicago Skirmish Wargames (my old game club). So it was a real treat to set up a couple games with Karl and give him a chance to meet the guys in my group.

All in all, it was a glorious sight to behold. Fully painted miniatures, gorgeously crafted terrain and scenery, and an engrossing narrative campaign. Truly, this represents the zenith of what anyone seeks out when they gaze at the cover art of any ol’ box of miniatures.