I’m slowly working through my backlog of photos and content that I’ve been meaning to post over the last year or two.
One such info dump is our annual 40k Apocalypse game, which took place in December 2024. We used Grimdark Future for our ruleset of choice, since it was quick and easy to pick up and play; it has served our group well over the years.
For the game, Paul and I set up a narrative scenario featuring the siege of Hundvolst, an Imperial feudal world that had unfortunately drawn the attention of the evil factions operating near Warzone Endymion. Here’s the capsule blurb we came up with:
The feudal world of Hundvolst has suffered mightily under the yoke of the Imperial tithe. For
decades, village elders have watched as their sons and daughters were conscripted and
shipped off planet.
Now, the war has come to Hundvolst. Invading forces led by Heretic Astartes and foul xenos
scum have laid waste to the planet even as Imperial defenders mount a dogged defense. Mighty
armies churn the verdant soil of Hundvolst, reducing the planet’s forested hills and idyllic
villages into charred rubble.
The invasion is reaching its apotheosis. Imperial Navy ships, operating under a directive from
the Ordo Malleus, have taken up station above the benighted planet. In mere hours, they will
deliver the Exterminatus unto the cursed planet, scouring the surface of all life and rendering it
inert and lifeless – such is the Emperor’s divine wrath.
As the sun sets on Hundvolst, ragged Imperial units fall back to their evacuation sites. Several
plucky force commanders stage a daring raid to liberate the knucklebone of St. Theodosia the
Spiteful, seeking to spirit the saint’s relic away from the doomed planet and keep it from the vile
clutches of xenos and heretic alike.
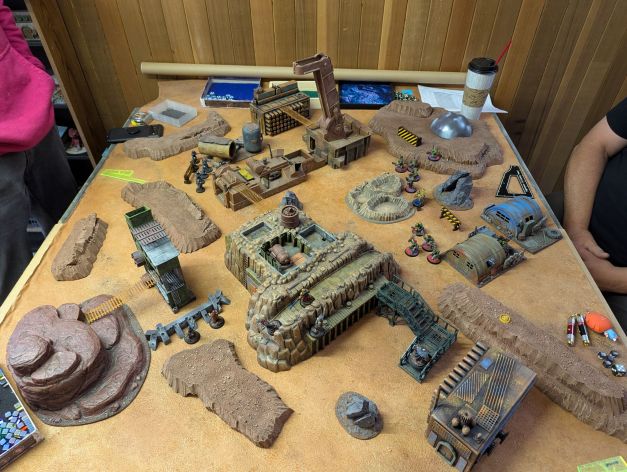
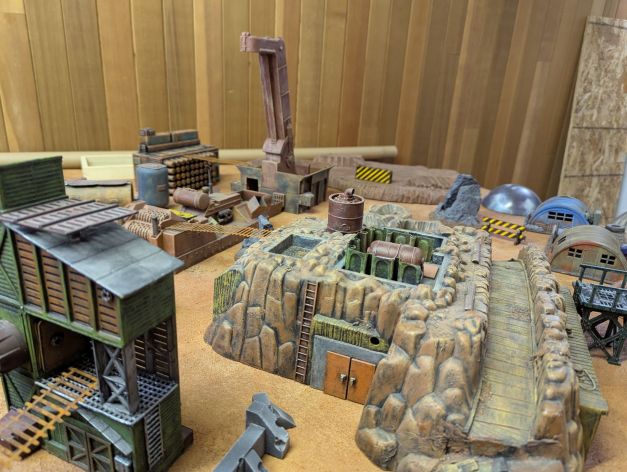
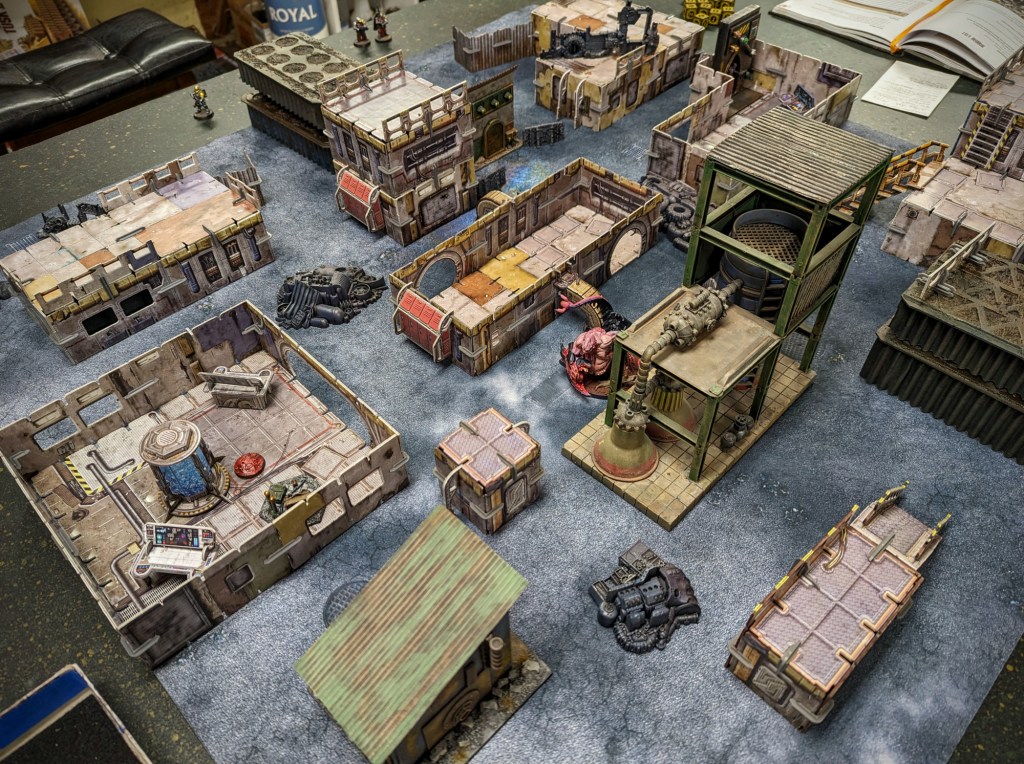
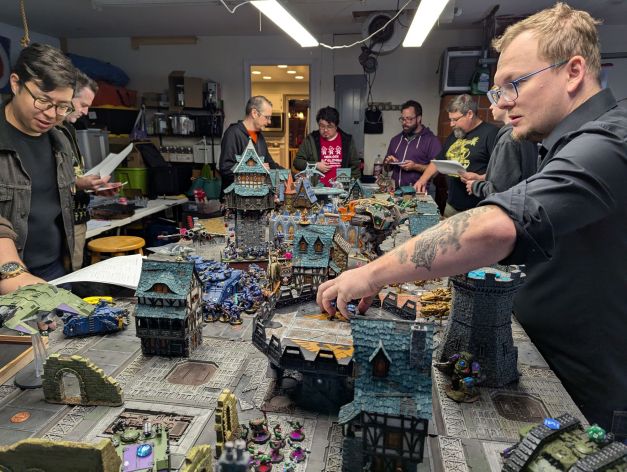
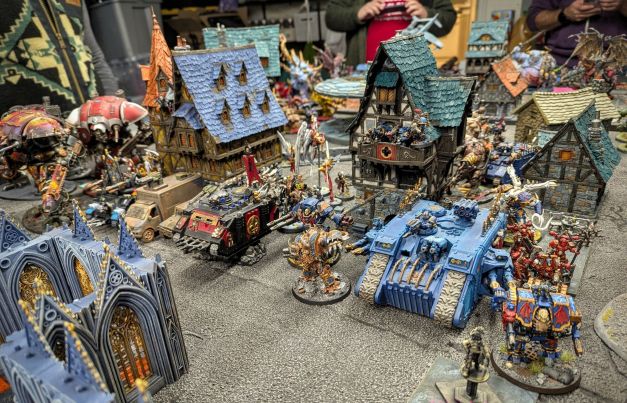
The scenario was intended to give us a reason to set up a weird mash-up of a feudal low-tech Imperial world being fought over by monstrous sci-fi war machines and armies. We wanted an excuse to set up a battlefield with our immense shared collection of gorgeous Tabletop World resin fantasy buildings, for one thing. We combined those with Daniel’s Sector Imperialis tiles to create a pleasing aesthetic.
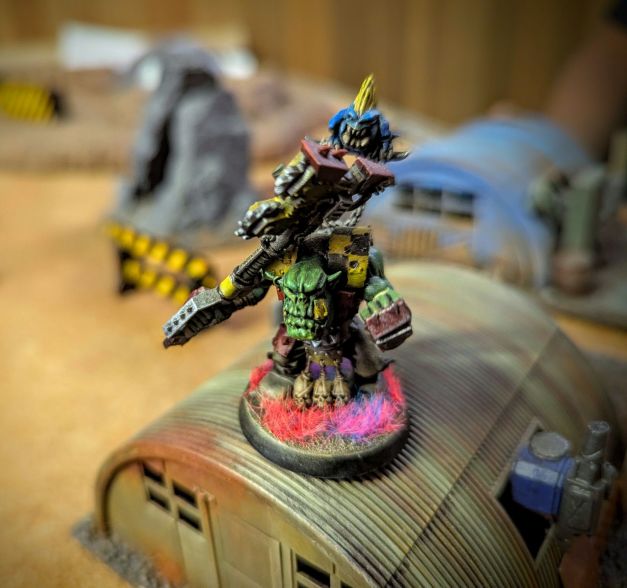
The game itself was absolutely massive, with each player bringing about ~5,000 points of their respective factions. It was a glorious stew of beautiful models, vehicles, monsters, and war machines. All fully painted, as is our standard approach here at Comrade’s Wargames.

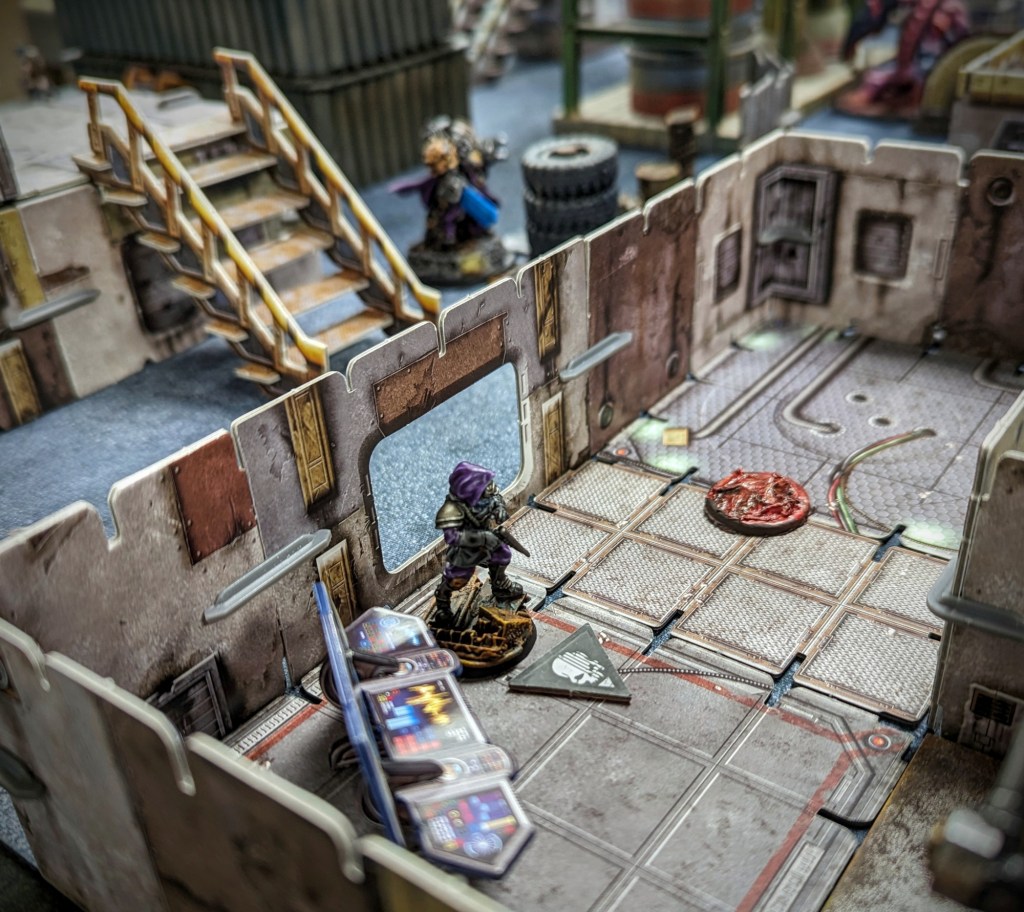
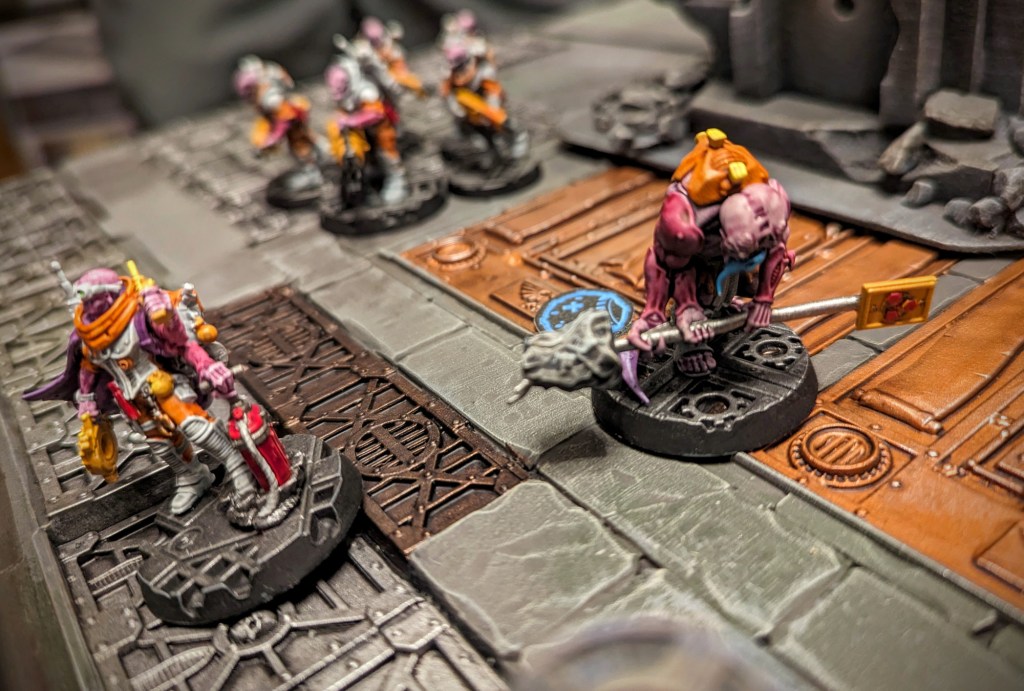
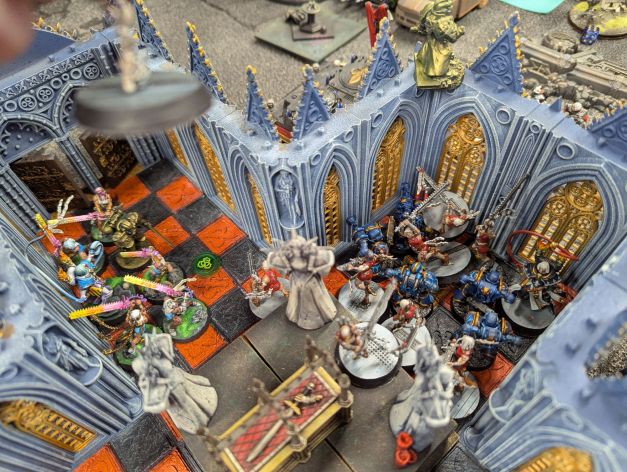
The cathedral in the building above housed the main objective — the knucklebone of St. Theodosia the Spiteful. The factions were competing to see who could seize the knucklebone before the virus bombs of the Exterminatus arrived to turn the surface of Hundvolst into a primordial soup of biological matter.
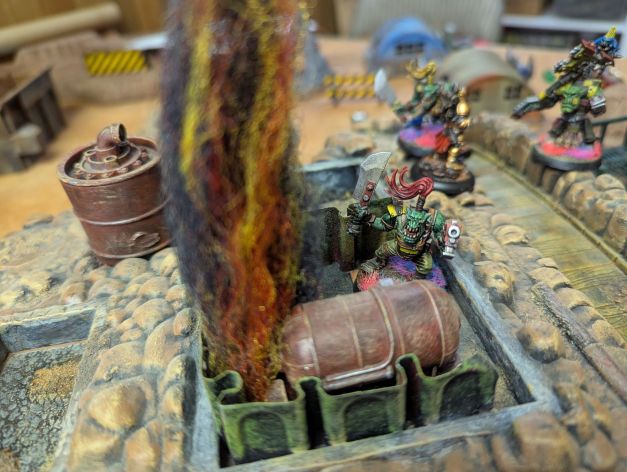
Here’s a peek at the action inside the cathedral. It was a bloodbath as the forces of Chaos tried repeatedly to gain control of the sanctuary, only to be pushed back by the combined guns of the Imperial Guard and Adeptus Sororitas!

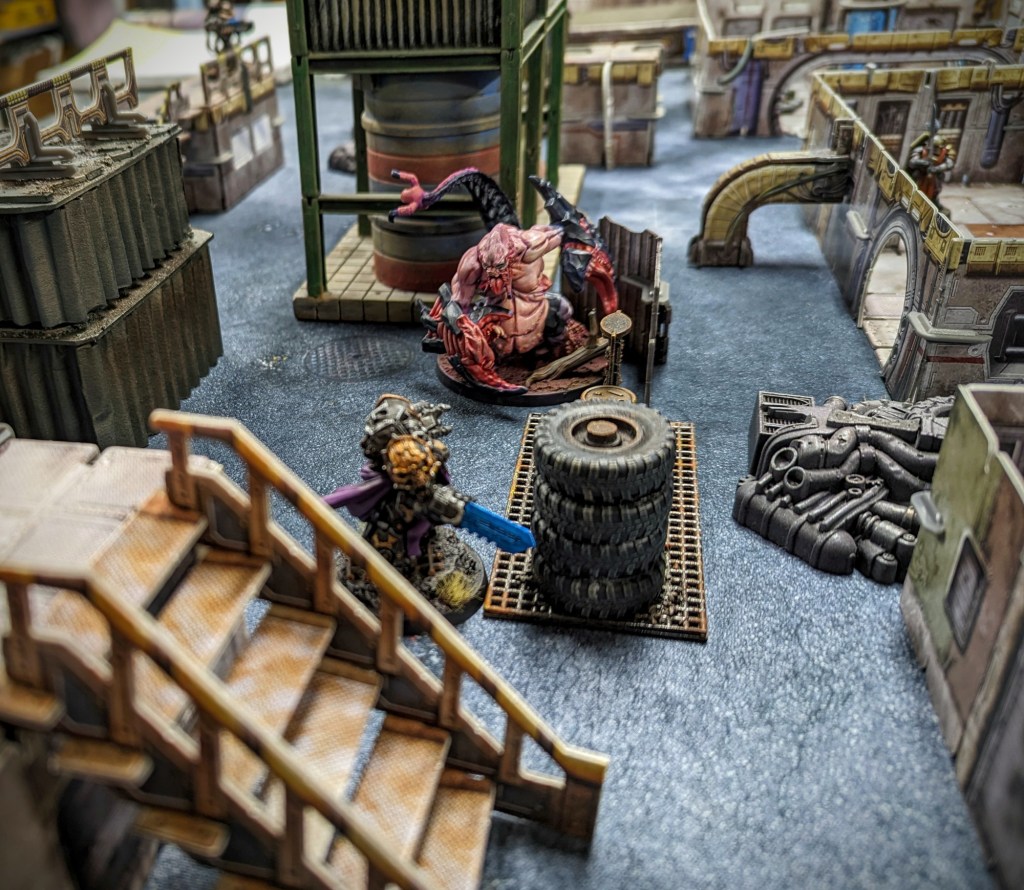
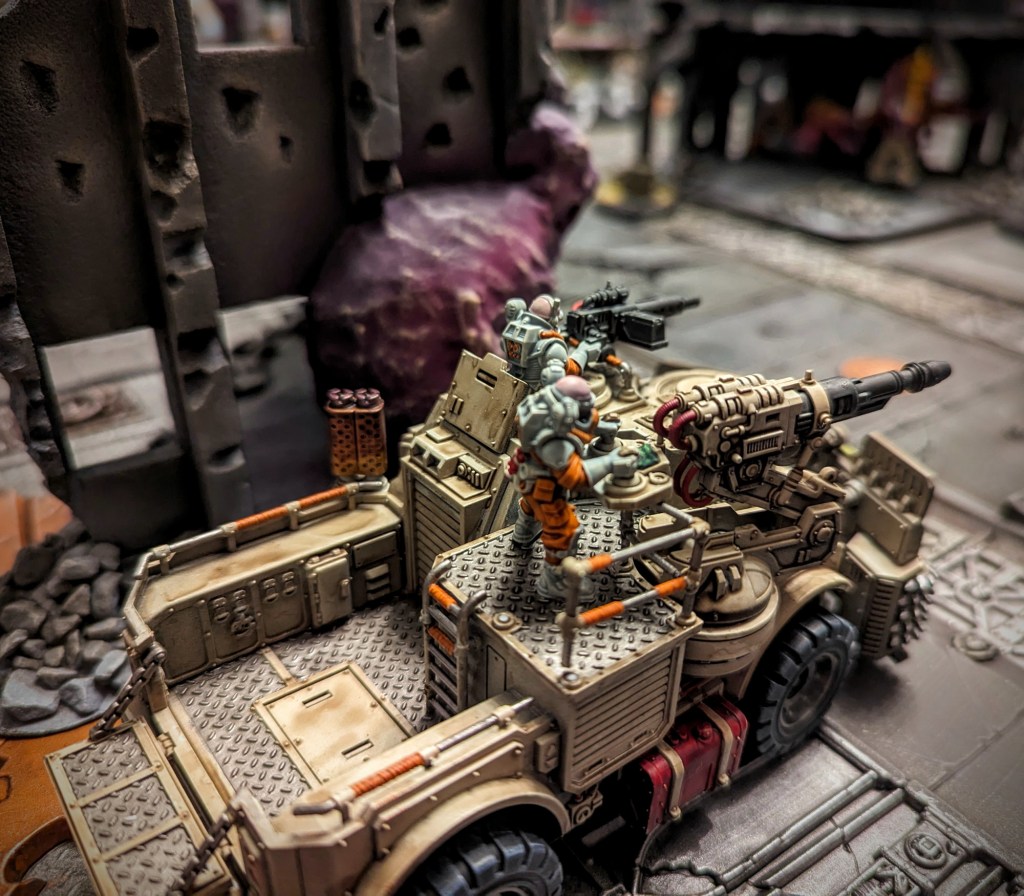
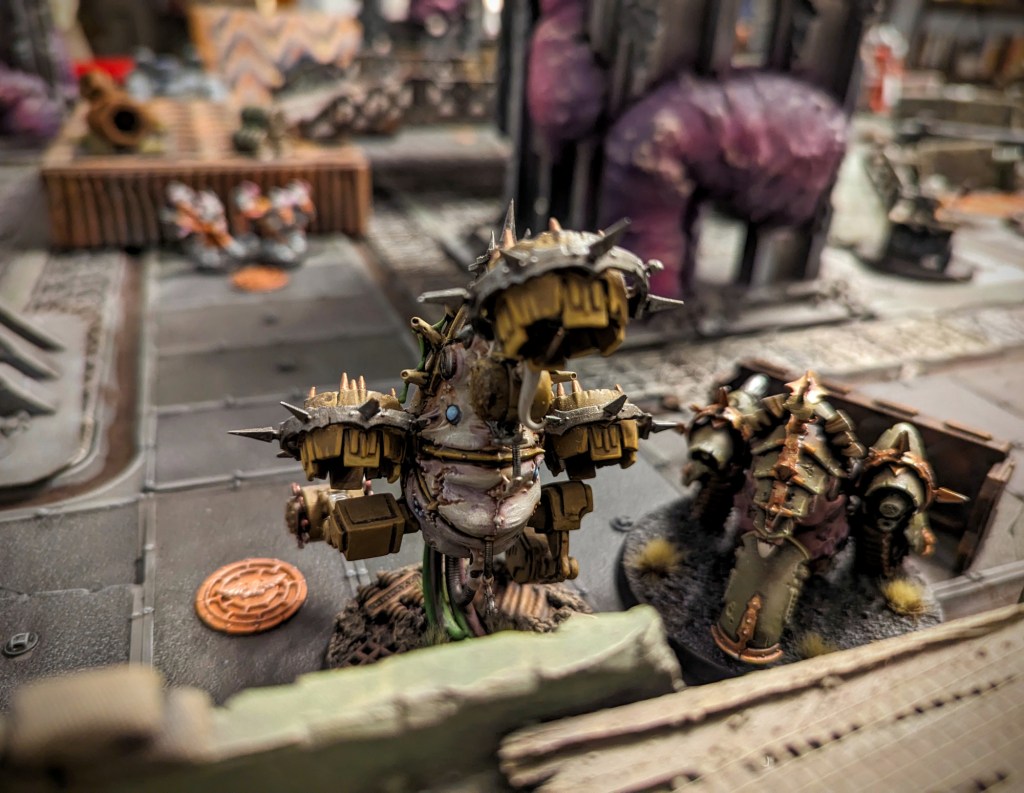
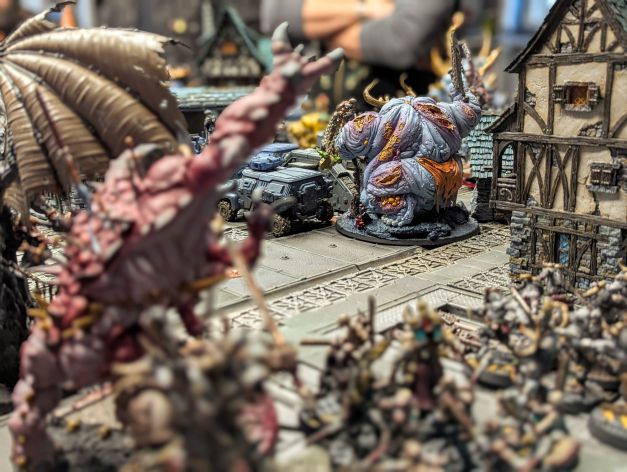
To be honest, I’m a year removed from the blow-by-blow action of the game, so it’s all a little hazy. I know we had some hot daemon-on-tank action, as seen below, followed by a gallant last stand by a gas mask-wearing commissar.
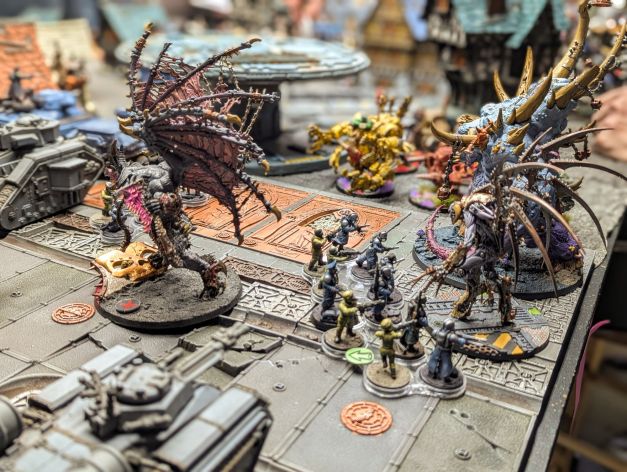

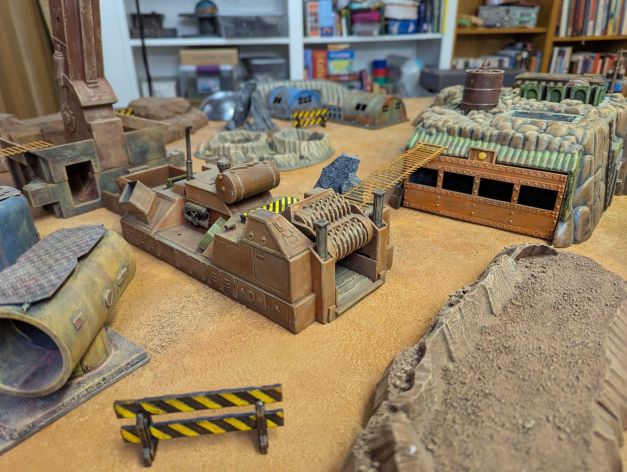
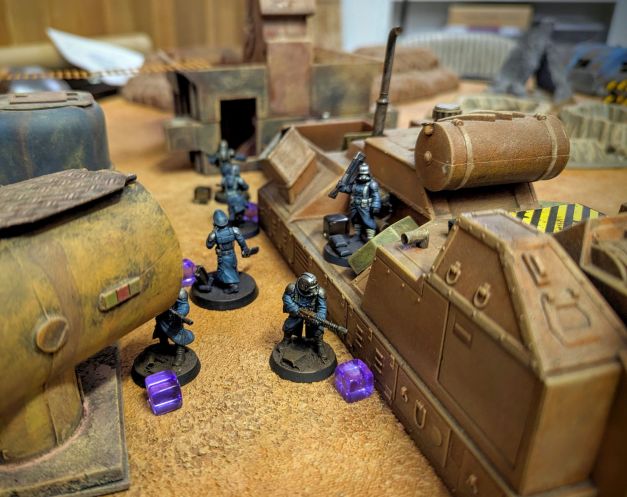
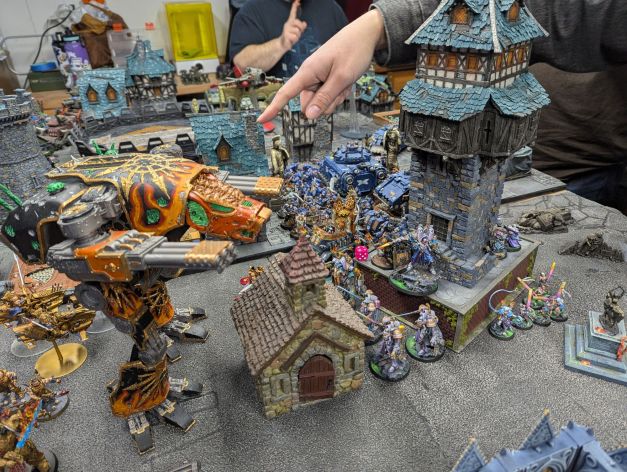
The streets nearer to the cathedral were choked with tanks as the heavy armor maneuvered for position. Troops scampered from cover to cover as the steel behemoths traded shots. The stone and thatch buildings provided tempting positions for heavy weapon squads, too.


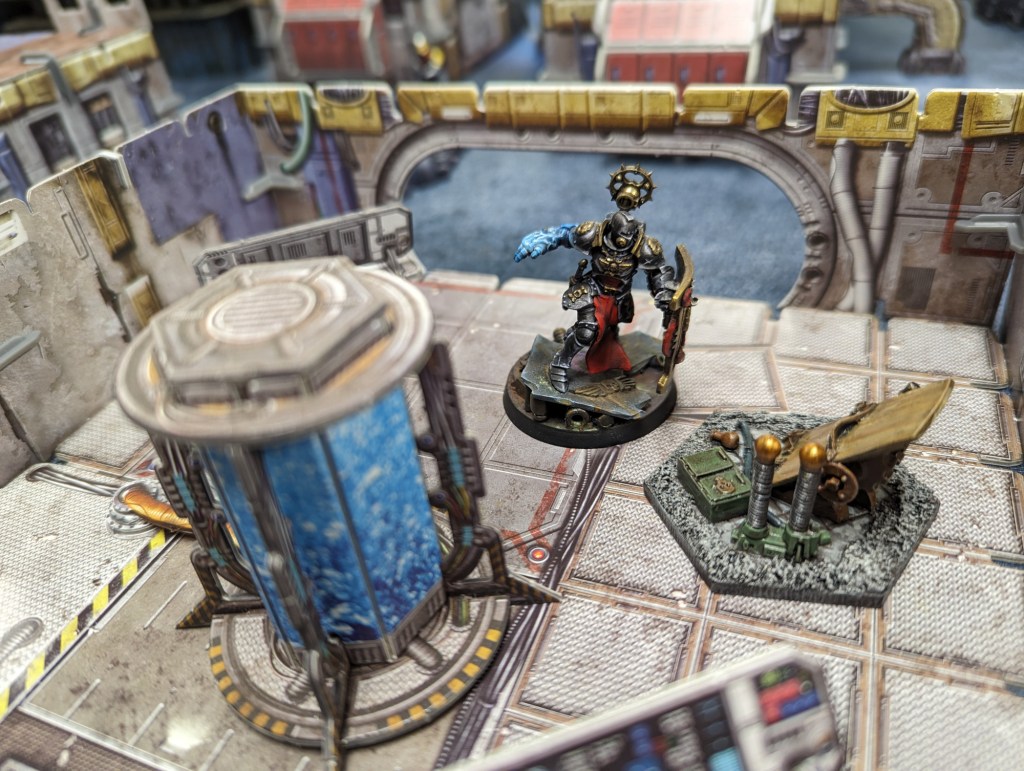
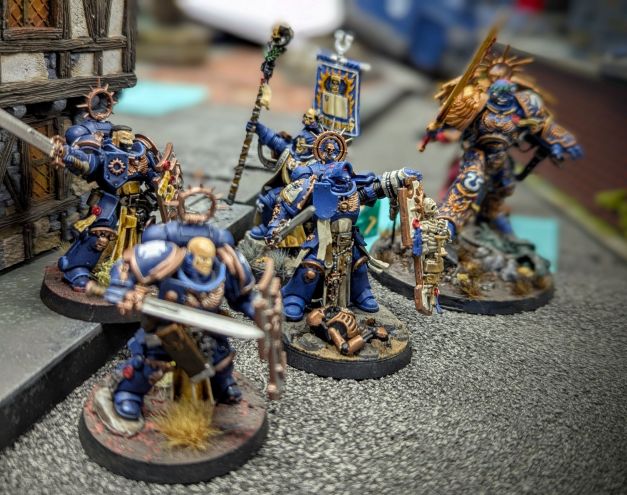
The defenders of the Imperium — Astartes, Sororitas, Custodes, and Astra Militarum — mounted a brave defense, selling themselves dearly even as the clock ticked down toward the planet’s doom.


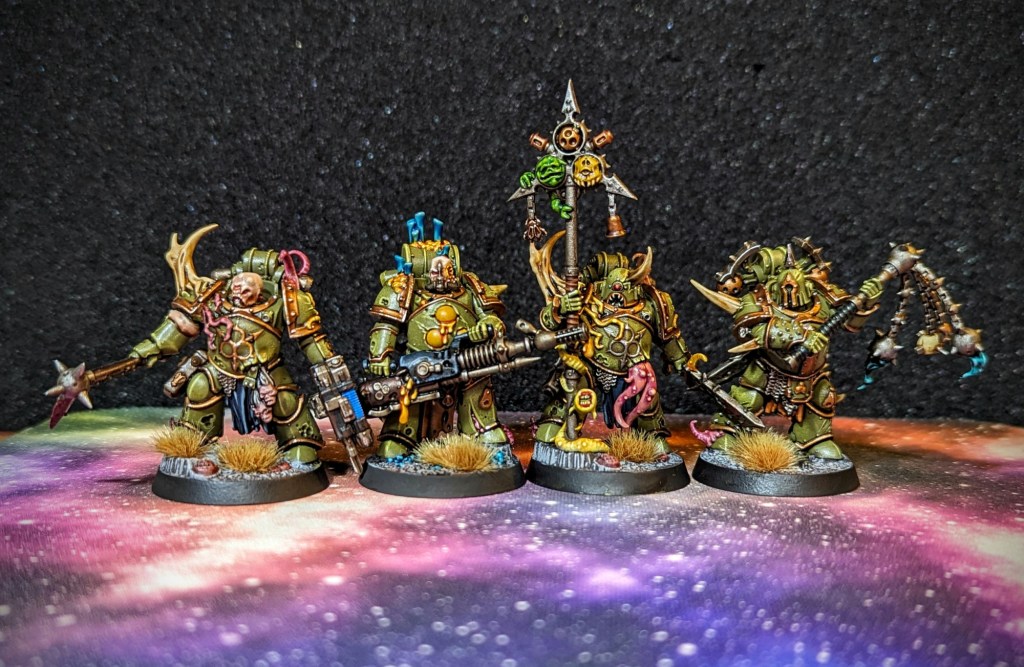
As the night wore on, the defenders rallied again and again in the face of the unending onslaught. But the forces of Chaos would not be denied their prize. Slowly, through gritted teeth and white knuckles, the defenders were pressed back and the attackers surged forward.


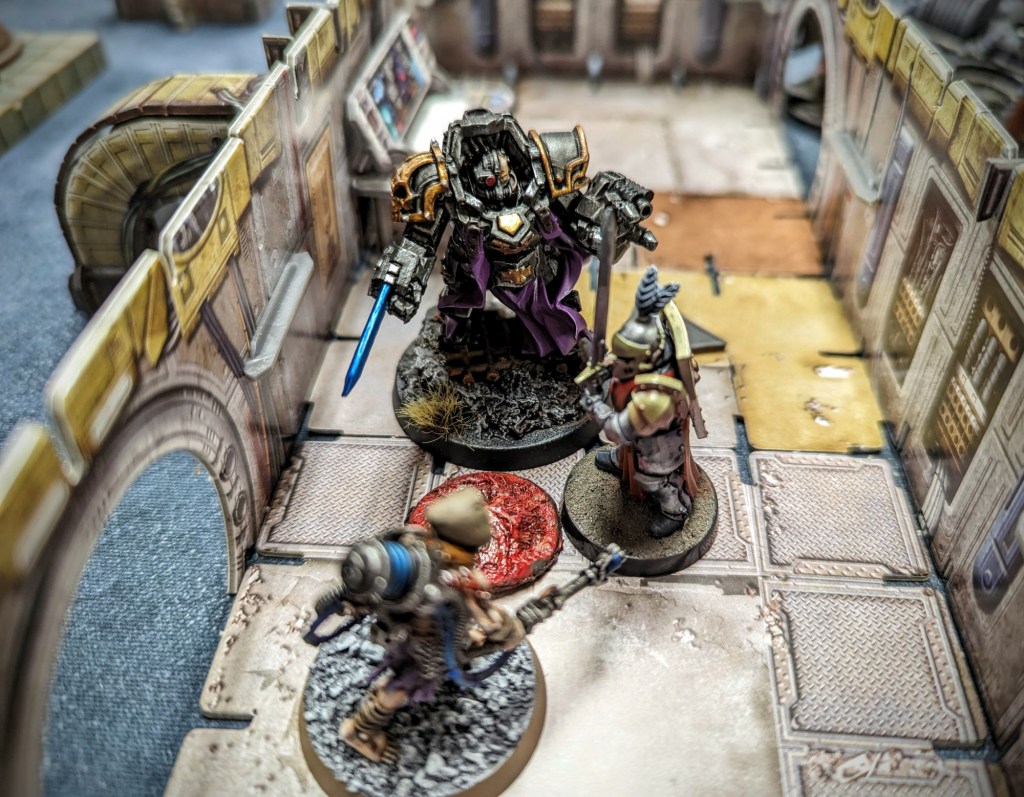
The battle reached its culmination as the forces of Chaos seized the knucklebone and began an extraction from the cathedral. Alas, this extraction turned into a rout as the combined forces of the Sisters of Battle and Imperial Guard fell upon the vile Heretic Astartes.


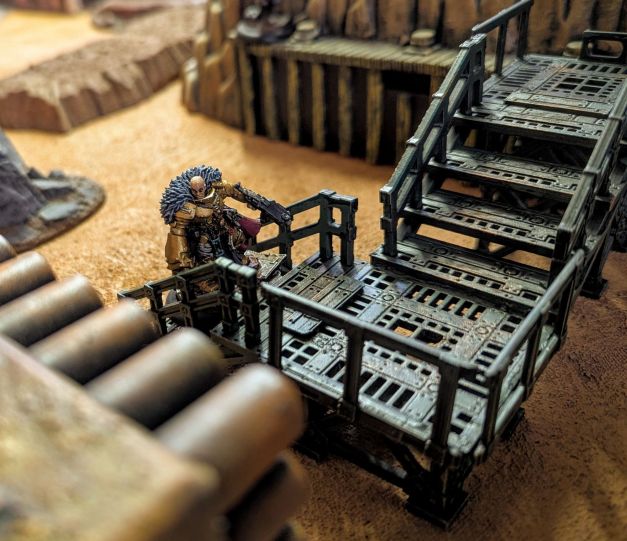
In a surprise no one saw coming, the defenders of the Imperium seized the holy relic, and an extraction squad managed to make it to a waiting Valkyrie gunship which lifted off mere moments before virus bombs rained down on the planet’s surface.

The image above shows the rearguard defending the landing site until the Valkyrie could escape. And then — a curtain was drawn back on the poor feudal world of Hundvolst, and no further missive is recorded herein about the fate of the world. Perhaps in a thousand years, Imperial surveyors might return and divine some clue about the ultimate fate of those trapped on the surface when the virus bombs fell. Or perhaps not.
Conclusion
As in years past, Grimdark Future gave us a great game that kept everyone engaged and rolling dice until the bitter end. We brought food and drink and enjoyed a meal together about midway through the game, as is our tradition with these end-of-the-year Apocalypse sized games.
And seeing as how I’m writing this in October, it’s a good reminder that we have just a few months before the next Apocalypse game. I’ll try to come up with a suitably epic scenario and tabletop setup, so stay tuned!