Our Nightwatch campaign ratcheted up another notch at the game last month. This was our fourth session of our anticipated seven-mission Long Hunt, and the threat level was increasing as our heroes ventured further into the Hattendorf Border Marches.
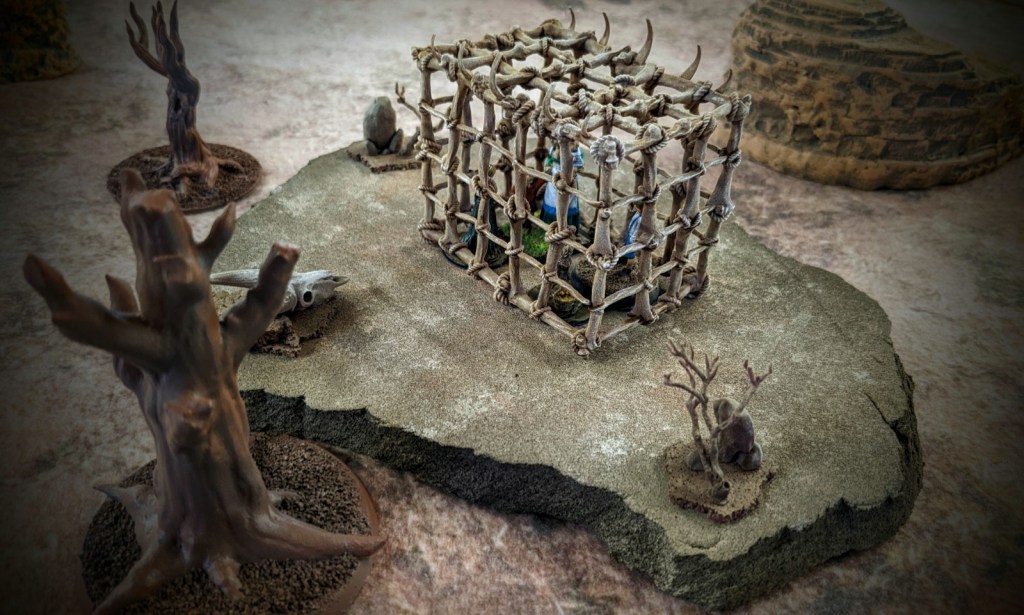
Picking up where last session’s game left off, this game saw the children who had been rescued from a gruesome fate delivered safely to an abandoned minehead located inside Bloodwater Canyon. I’m sure that name is just a colorful local metaphor, right? And I’m certain, absolutely certain, that the mining site was closed down because its local mineral wealth had been extracted successfully. Not abandoned because the crew was dragged into the badlands and eaten alive. Right? Guys?

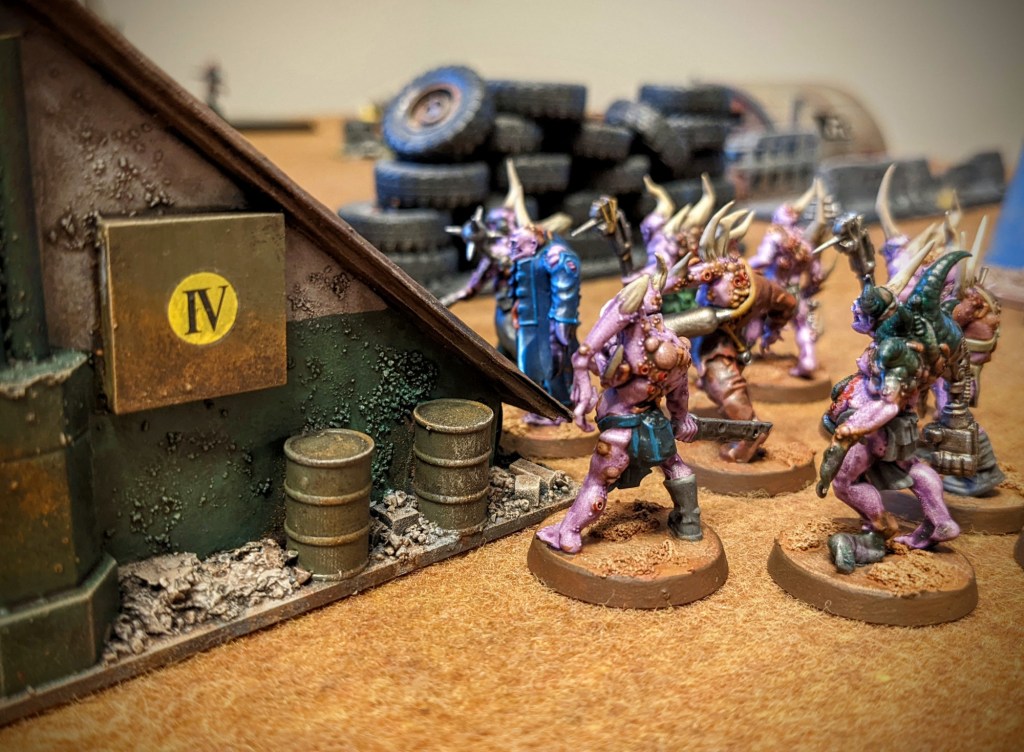
Anyway, the children were wisely left at the mine site while the heroes set up camp nearby. During the 20 minutes they were gone, however, a band of feral beastmen arrived atop the canyon ridge, war horns a-blaring and skin drums a-banging. It seems the abandoned minehead was not the sanctuary it seemed. To arms, hunters!

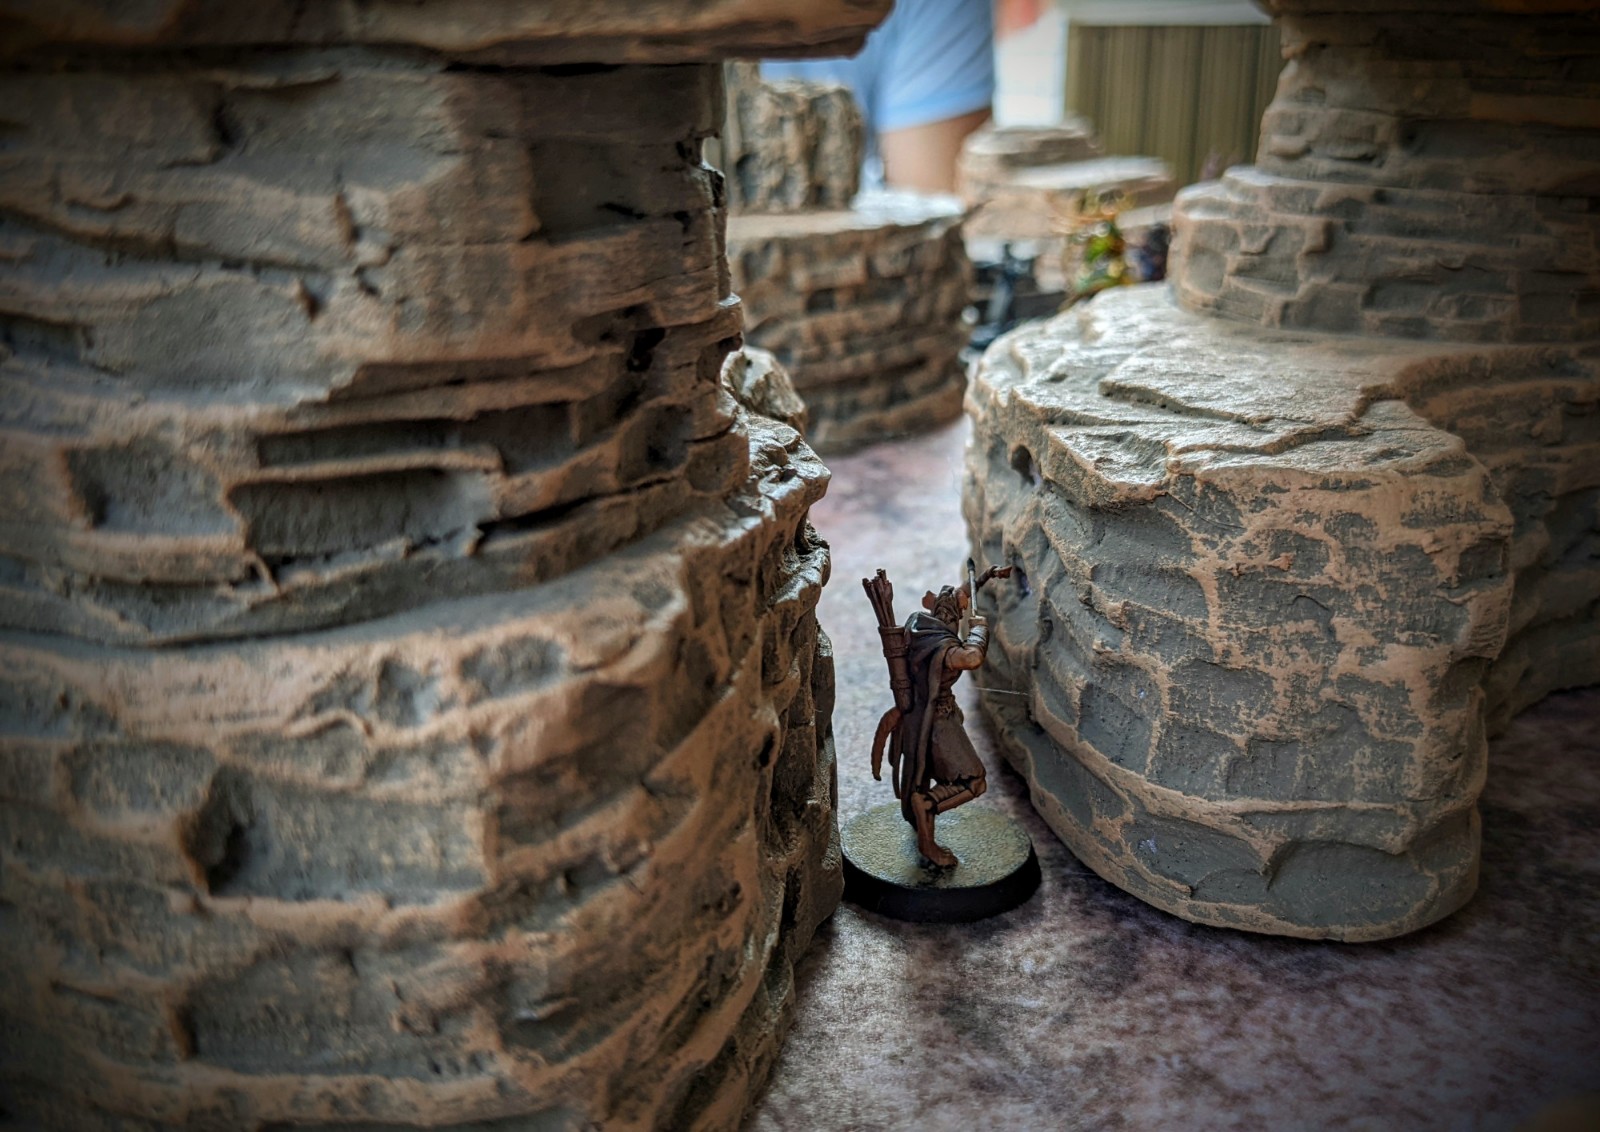
This game was an opportunity to use a giant piece of terrain that John had created months ago during the initial worldbuilding phase of our Nightwatch campaign. The canyon wall was placed along one edge of the battlefield to create an imposing physical feature for the beastmen to use as they swarmed into the mine site.
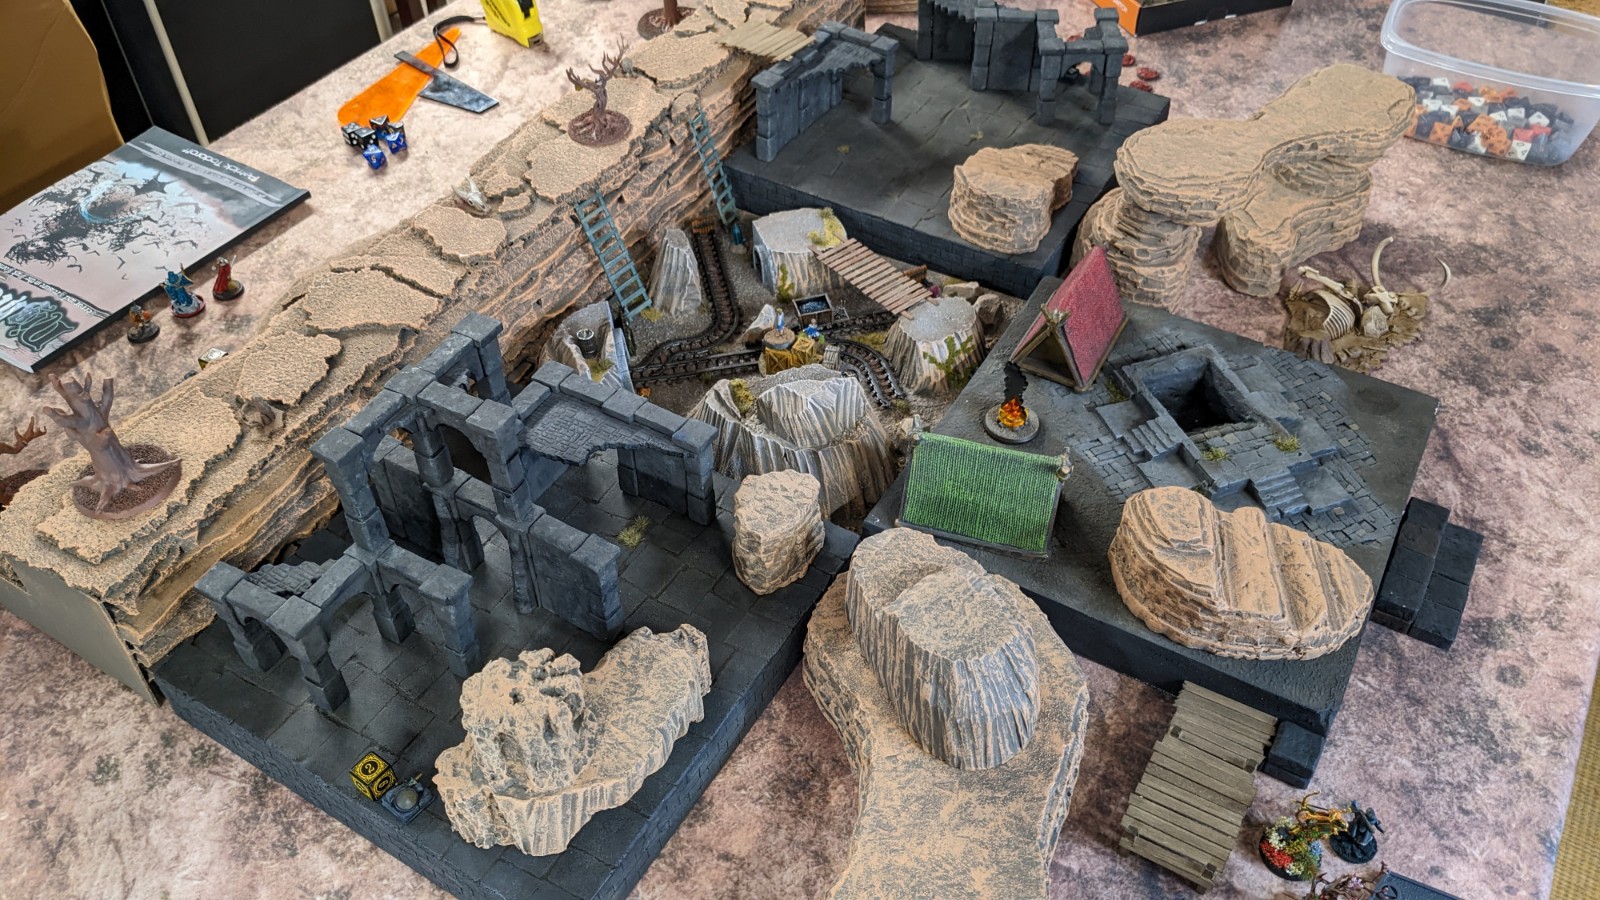
We put two of the four spawn points (from whence the bad guys would arrive each turn) behind the canyon ridge, and by the first turn, the bad guys started scaling the cliffs to menace and mangle the stalwart defenders!!
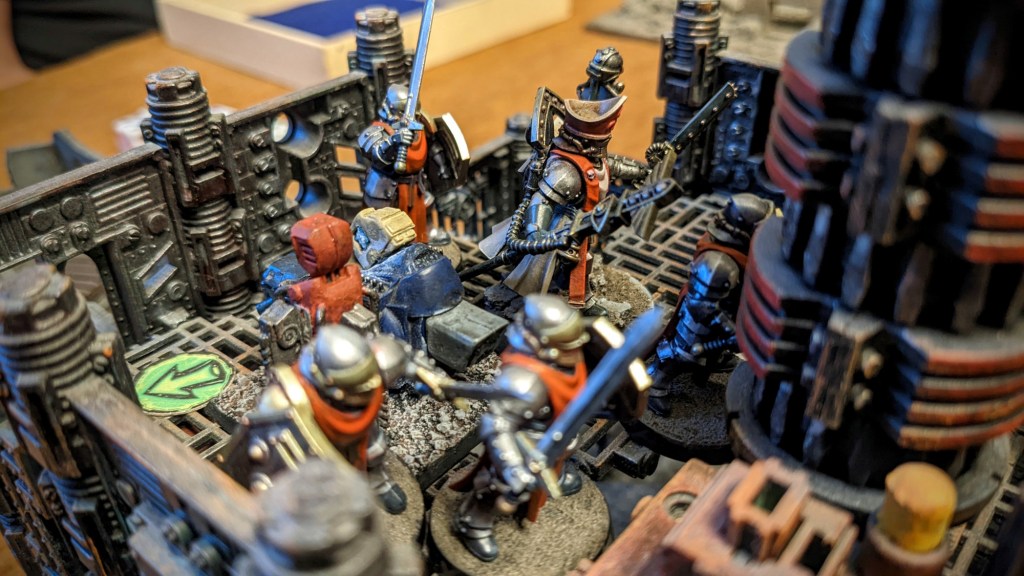
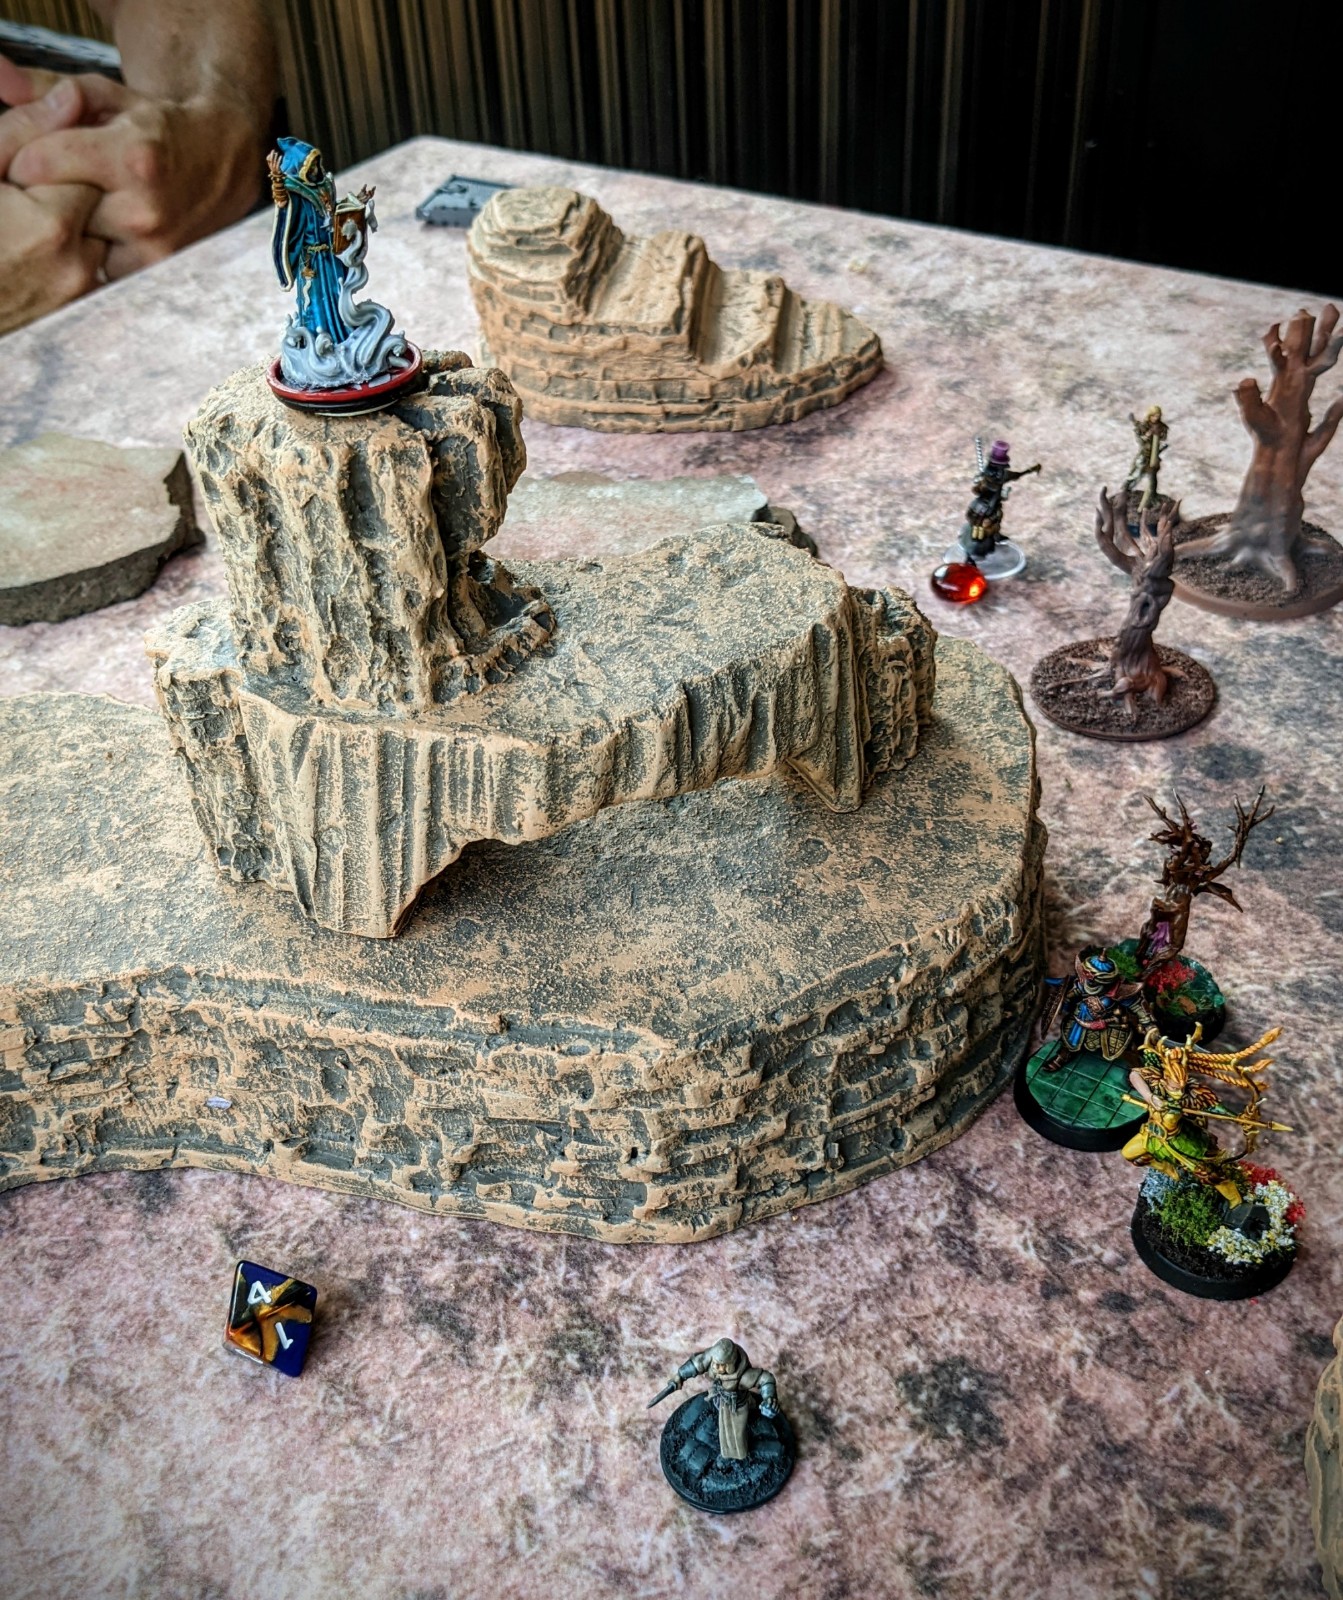
The heroes initially placed their defenders in the comparative cover of the mining site. They quickly realized that the sheer pace of arriving monsters meant they would be rapidly overwhelmed.


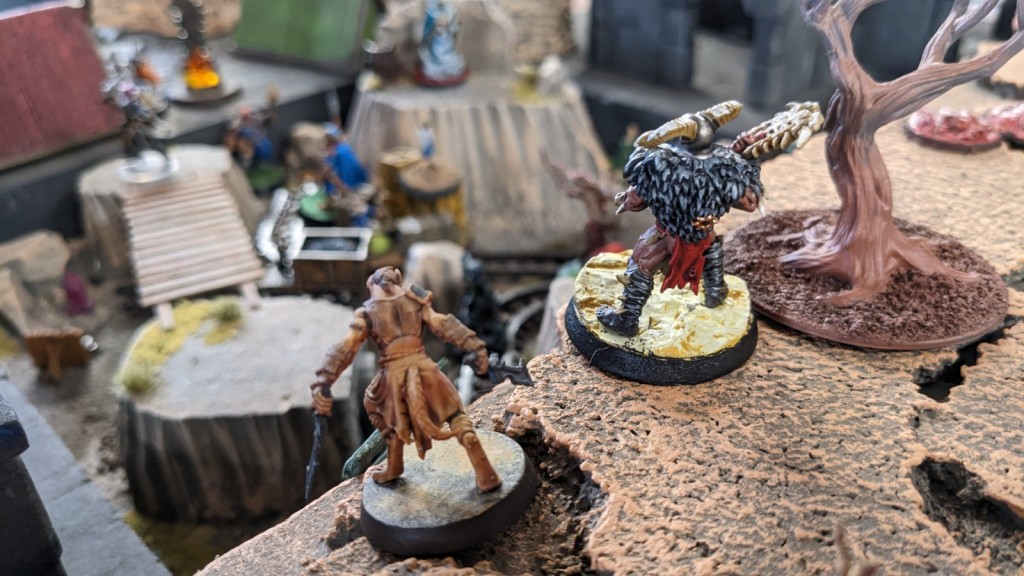
With steel in his hands and determination in his heart, Jim’s bladesman Sir Joshua climbed a ladder to the top of the canyon and stood on the ridge. There he met the marauders in single combat as the sun set and cast a fearsome silhouette against the rocky terrain below.

It was a shaping up to be a real bloodbath up on the gnarled ridgeline. And they just kept coming! Sir Joshua definitely had his hands full.

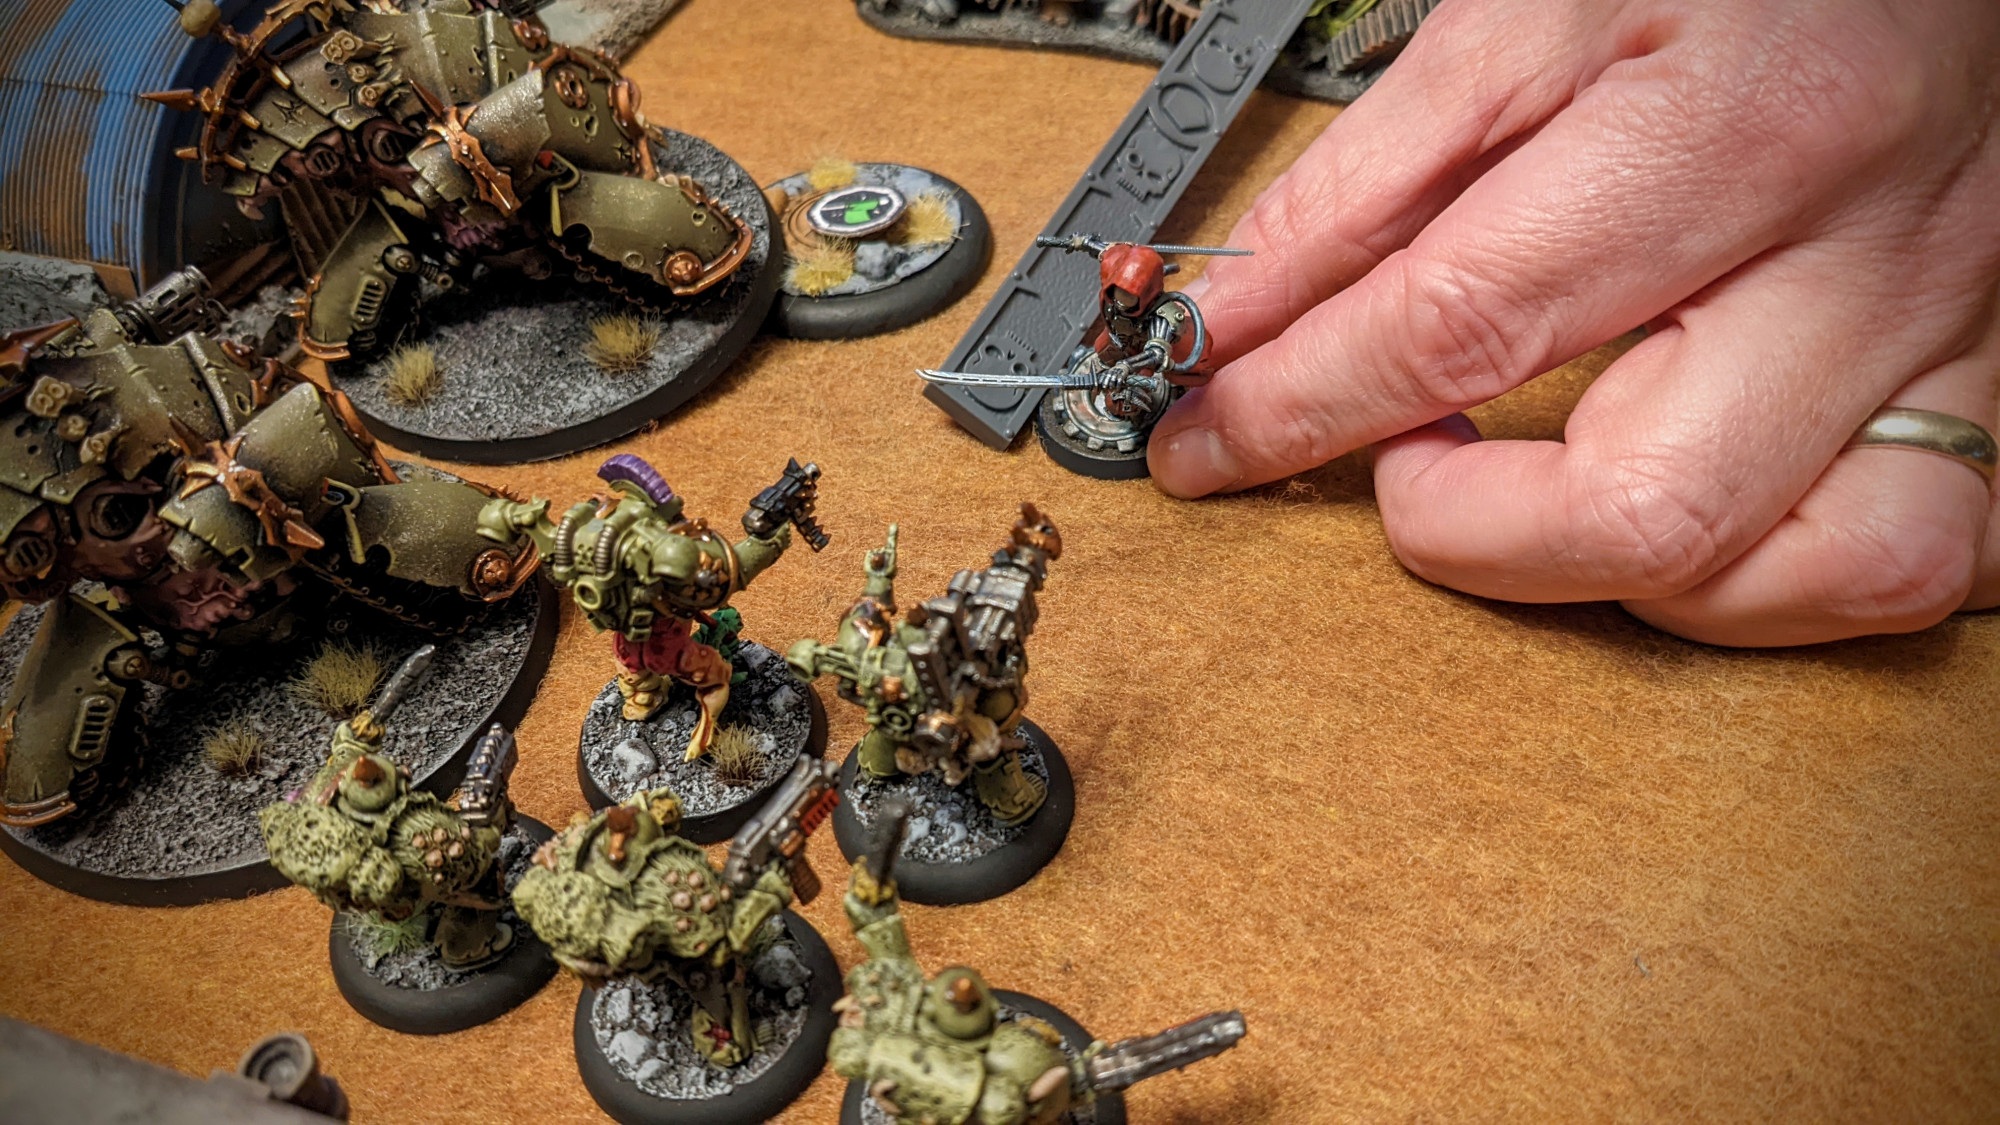
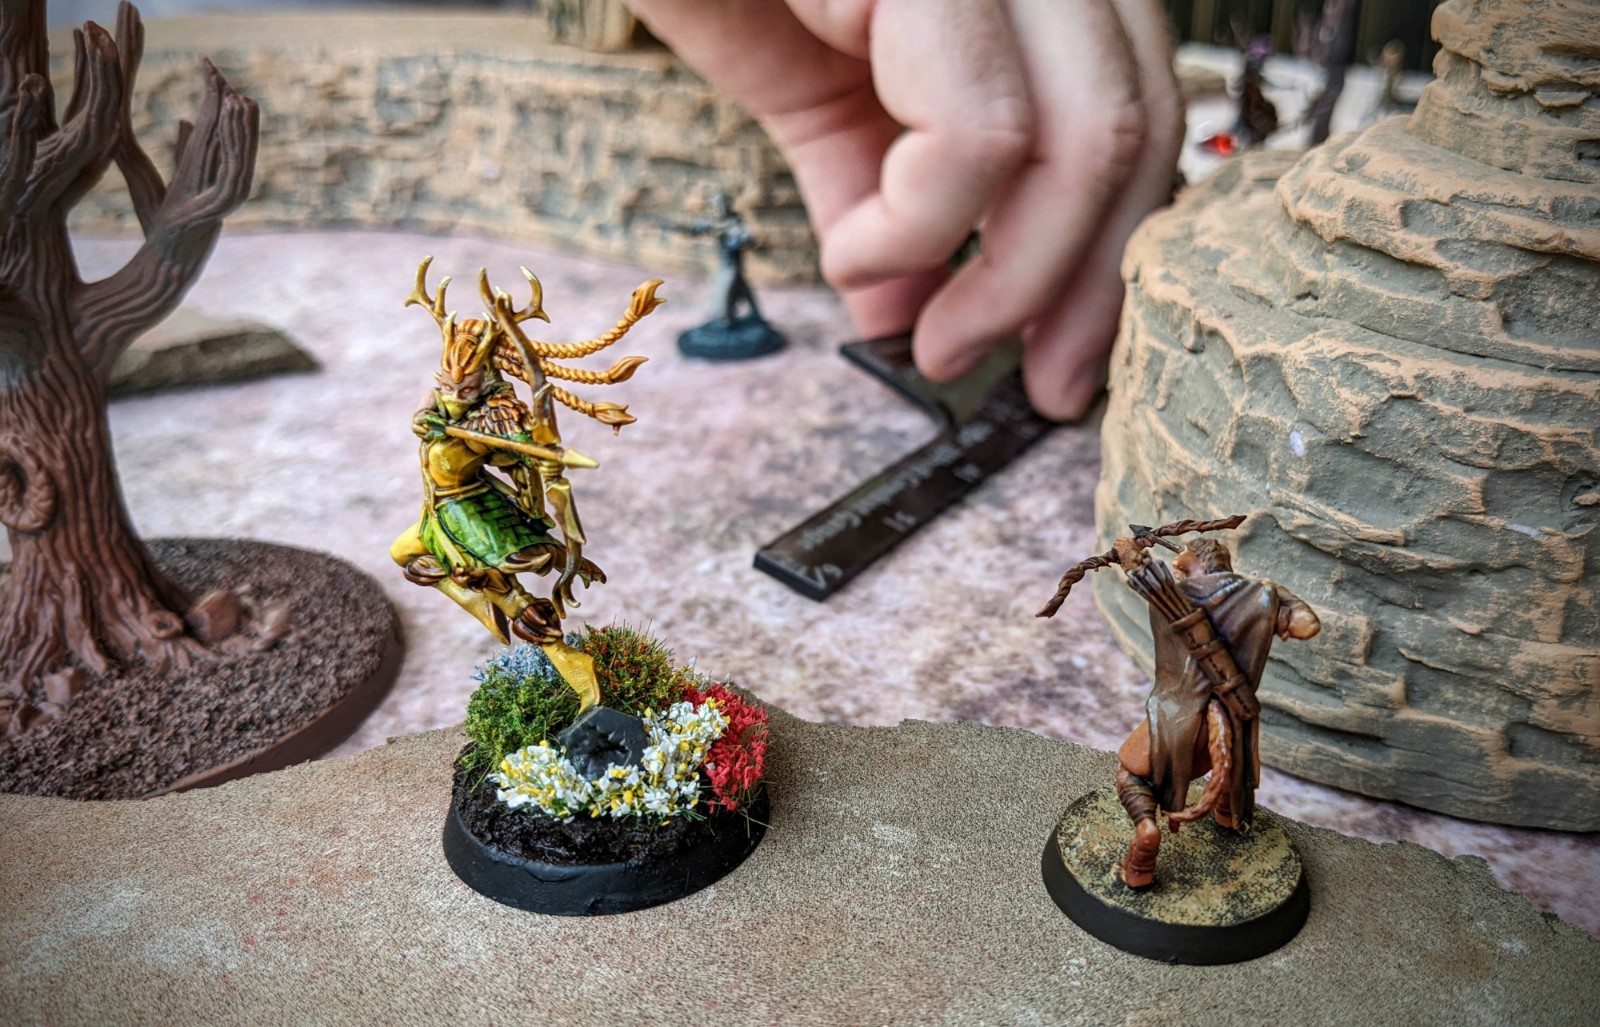
But this wasn’t the only spot where the beastmen were emerging! Two other spawn points were also located in the grim ruins to either side of the minehead. Per Nightwatch rules, we rolled randomly to select two of the four spawn points per turn to deploy the next batch of bad guys.
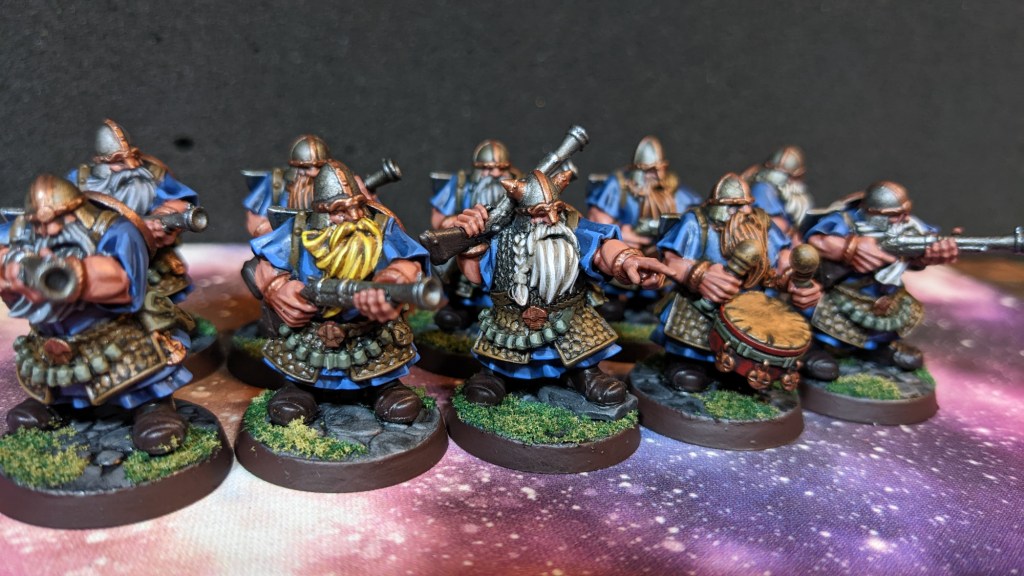
So the players had to wisely deploy their defenders to cover the approaches to the mining site. This meant plenty of action for Paul’s elf archer, Vince’s alchemist, Daniel’s wizard, and the various hirelings and henchmen who had been hired over the last few sessions!


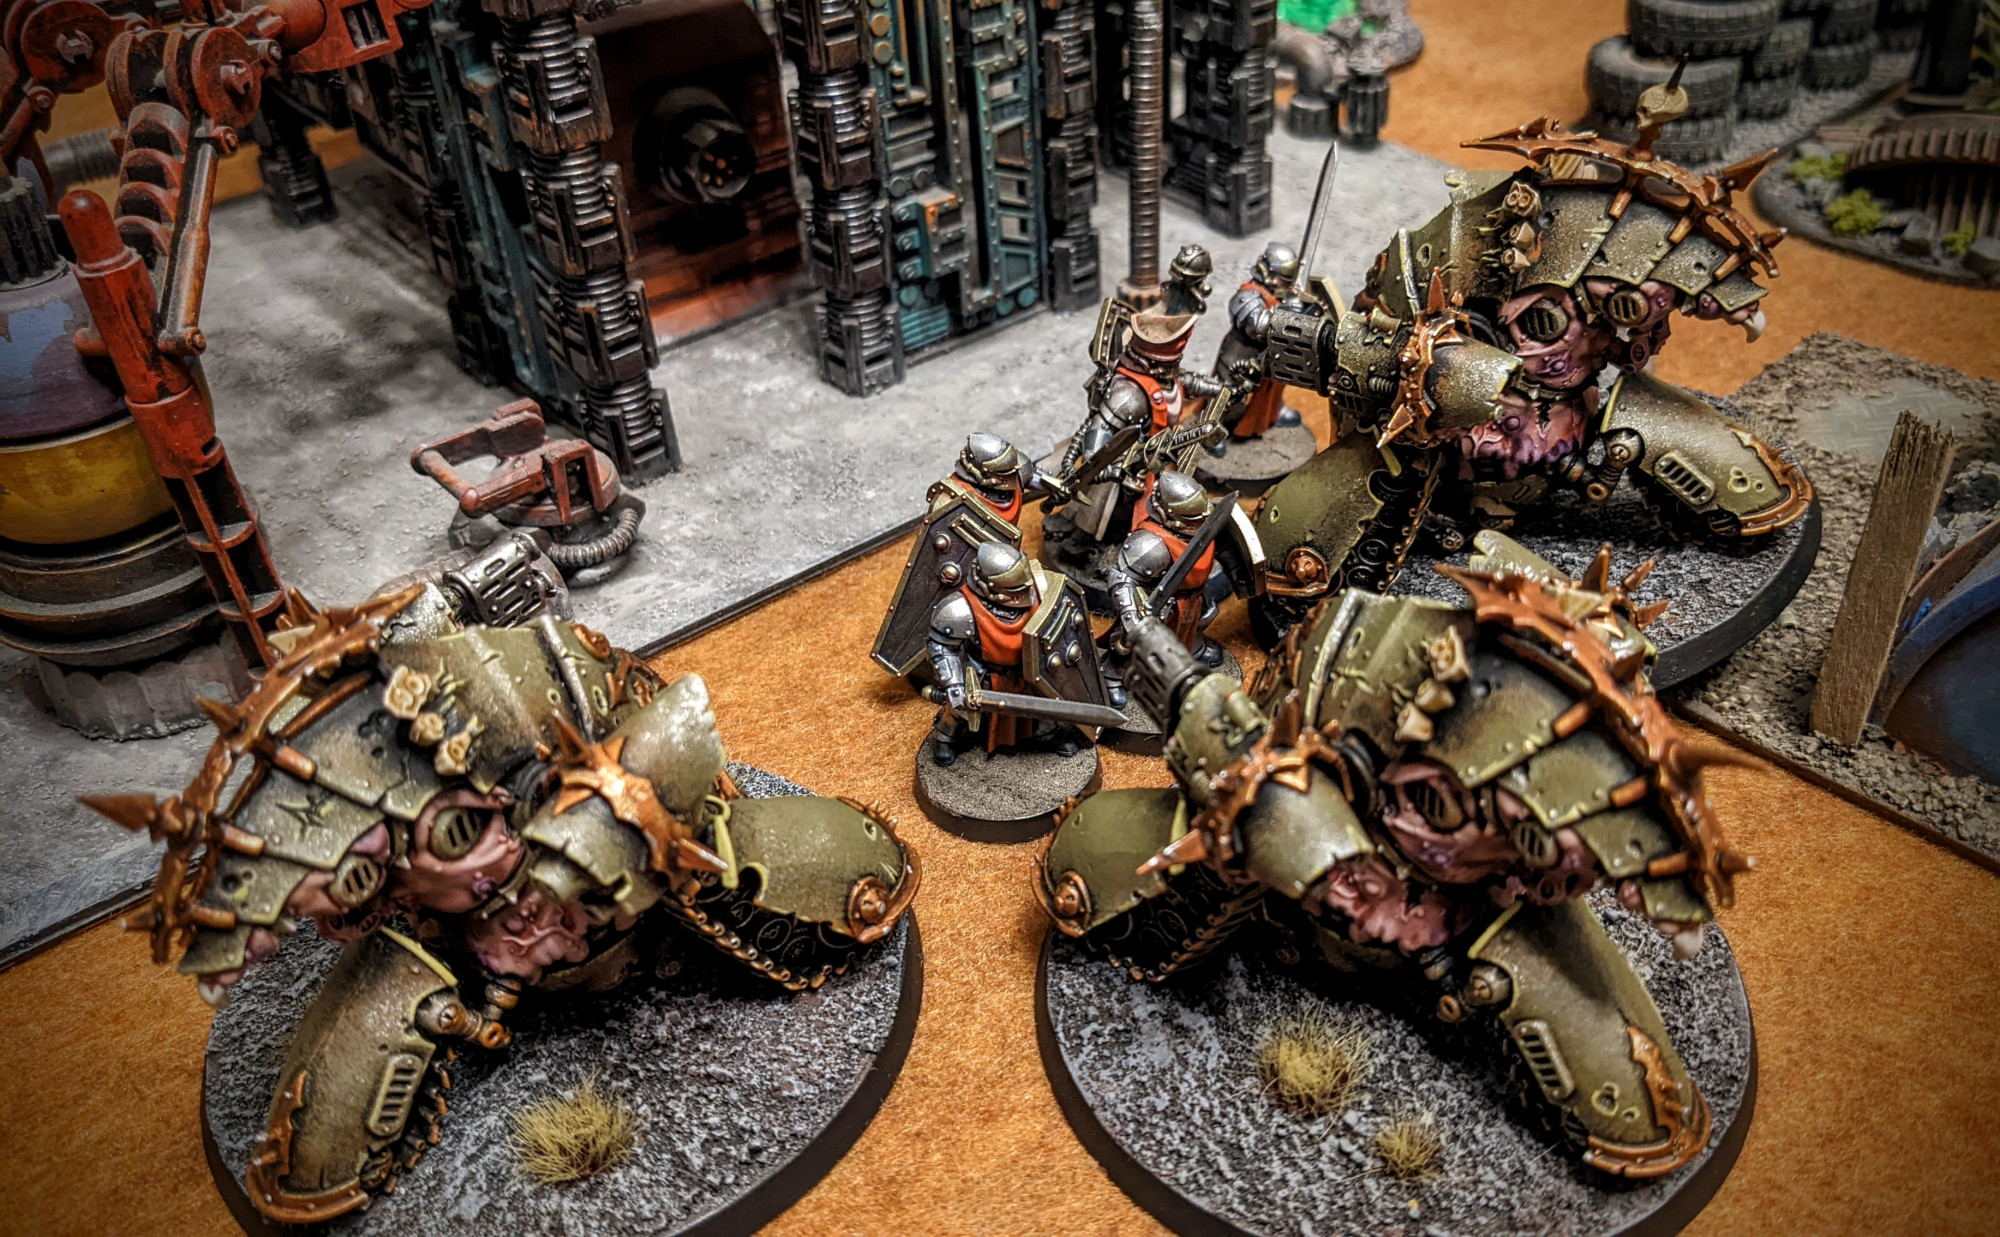
By the second half of the game, the really bad guys started arriving — Terrors, in the parlance of Nightwatch. These bruisers are among the strongest monsters that the players will face in a typical Nightwatch campaign.
They emerged howling and snarling in the waning turns of the game, and their sheer brutality challenged the players, whose resources and resolve were in thin supply as the game neared its end stages.

By this point, the ridge was strewn with corpse markers, each one denoting a fallen foe. Nightwatch has several secondary missions that involve looting or harvesting bodies, so we were obliged to track the dead as they piled up. And piled up, and piled up. Poor Sir Joshua was knee deep in the dead by the end of the game!

Despite the absolute onslaught of vermin and terrors pouring into the canyon, the heroes held out — barely. If the tide of darkness had been any stronger, or if the defenders’ resolve had faltered just a bit they would surely have fallen. As it was, they beat the beastmen back, rescued the poor little kids, and spirited them away to maybe a slightly safer venue to rest and recuperate.
Nightwatch provided a great game and kept the tension high. You could see the players’ eyes get wide as the Terrors started arriving in the latter turns! But they kept their composure, worked as a team, and survived this onslaught. Future scenarios will not be so warm and gentle. Enjoy this win, hunters, for it may be your last!