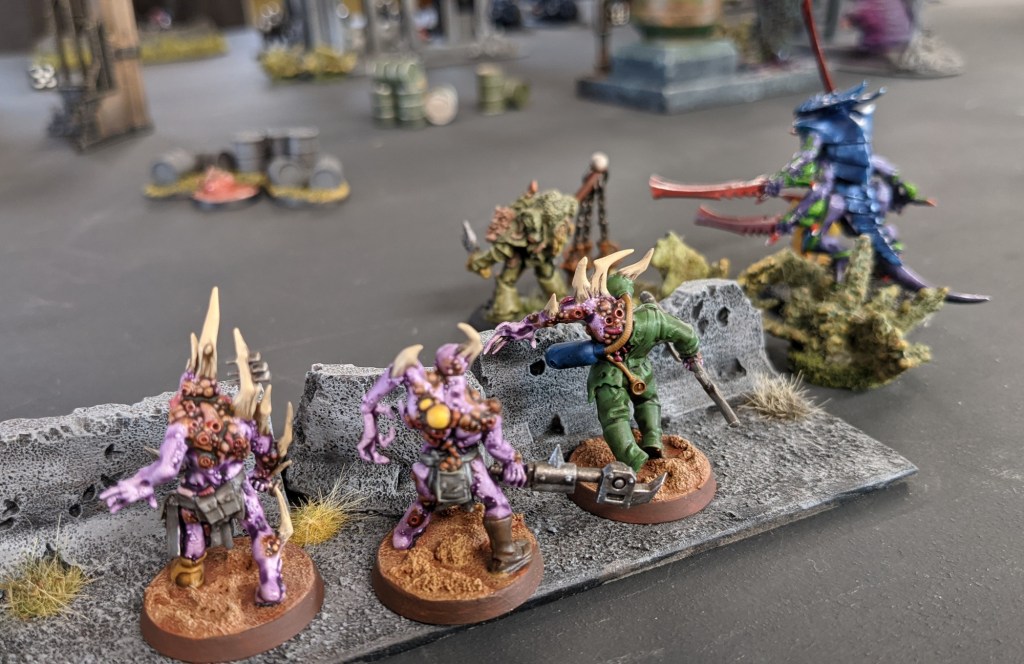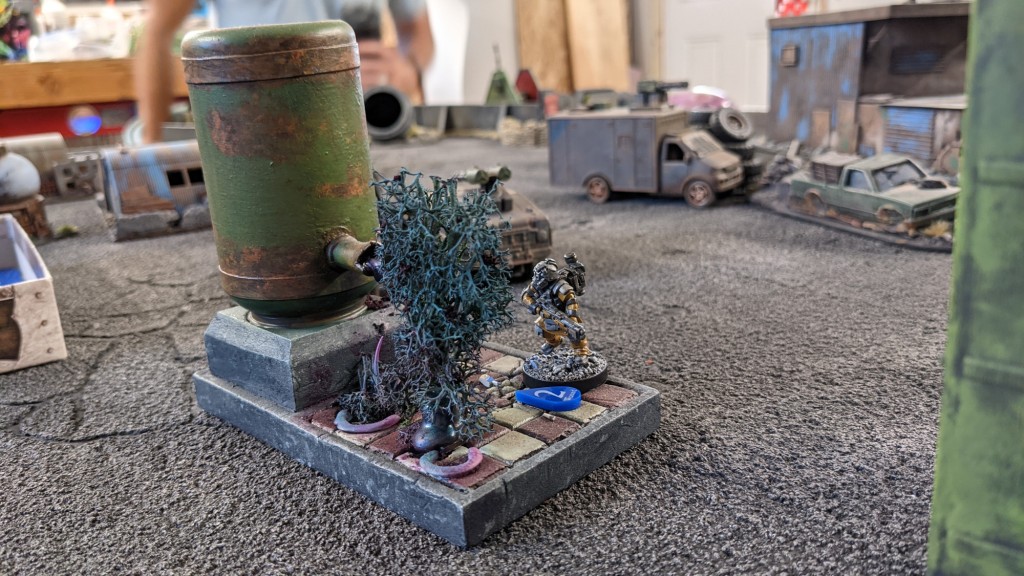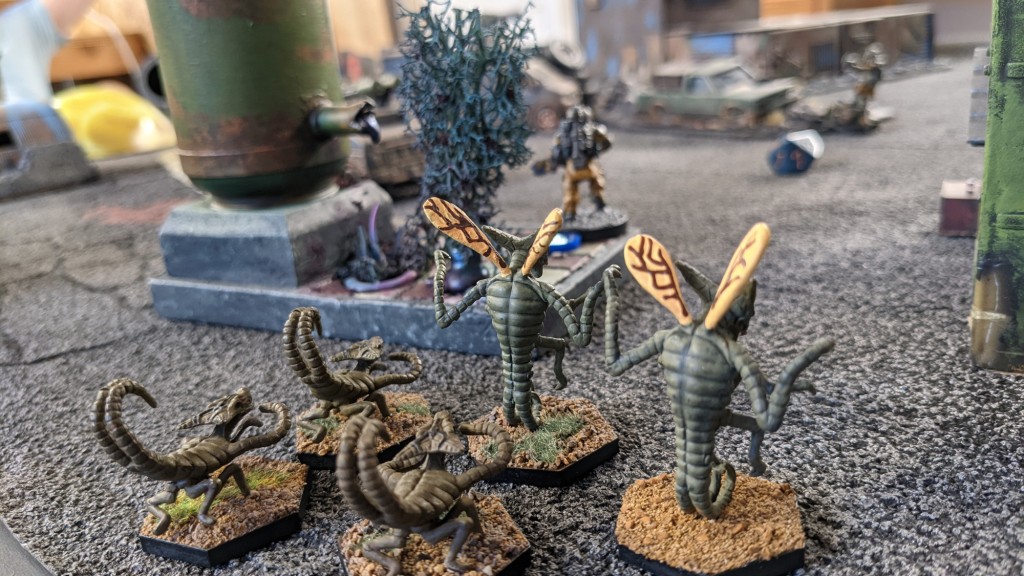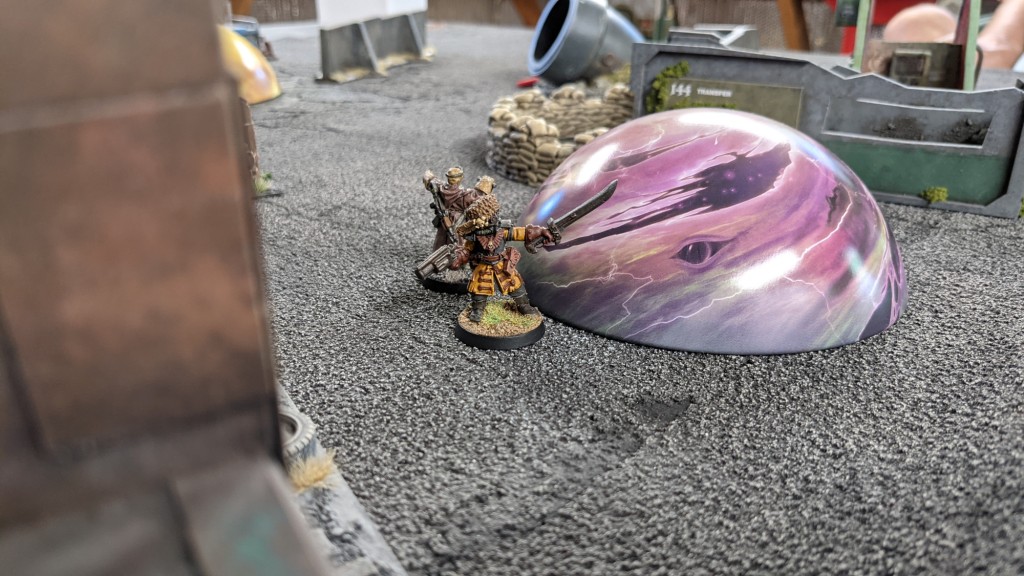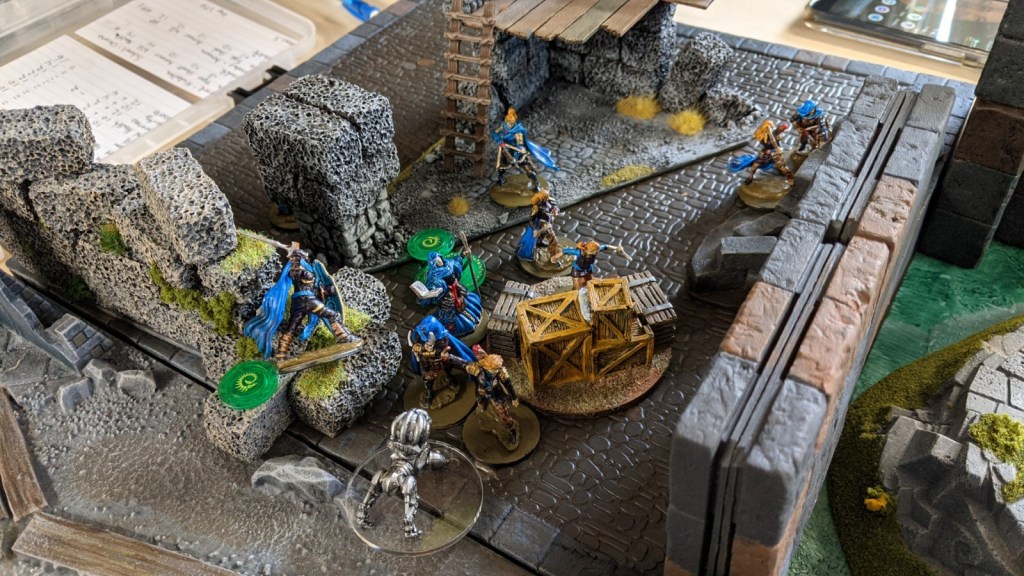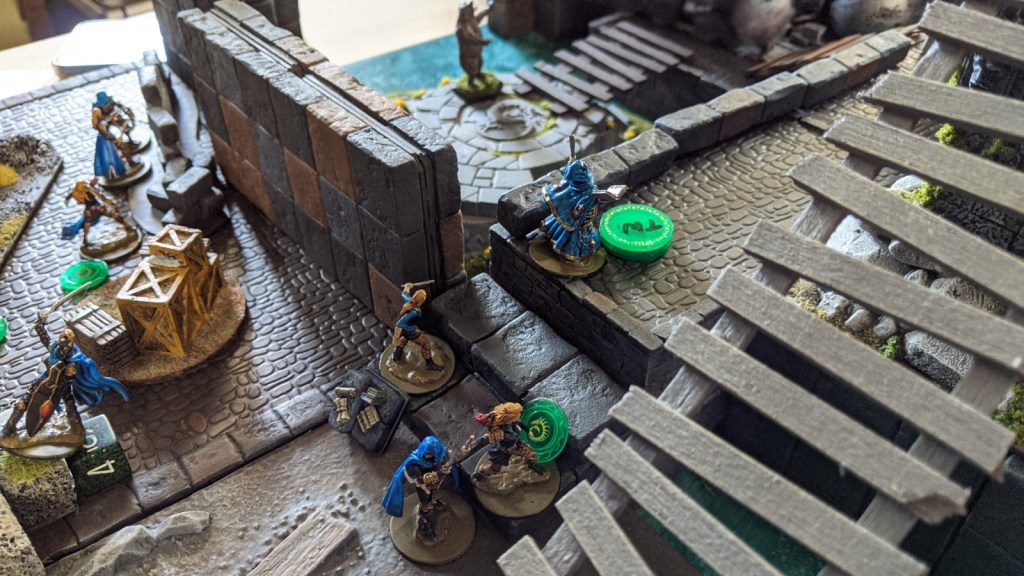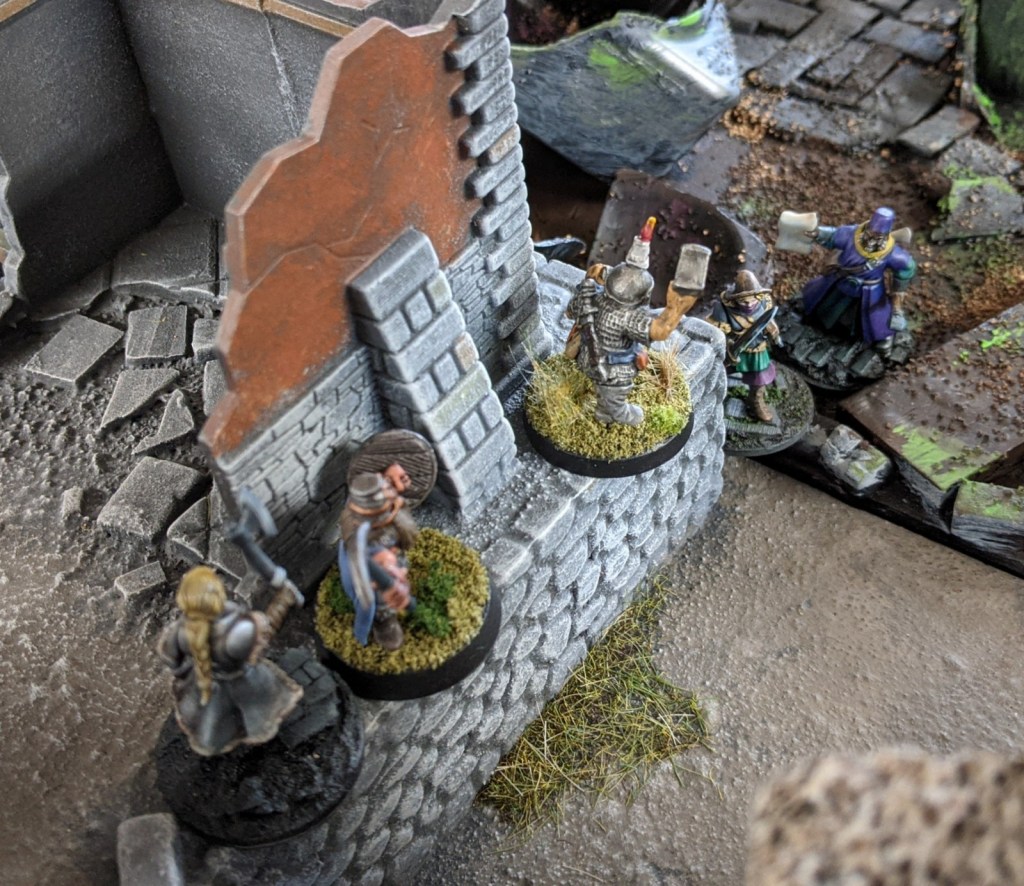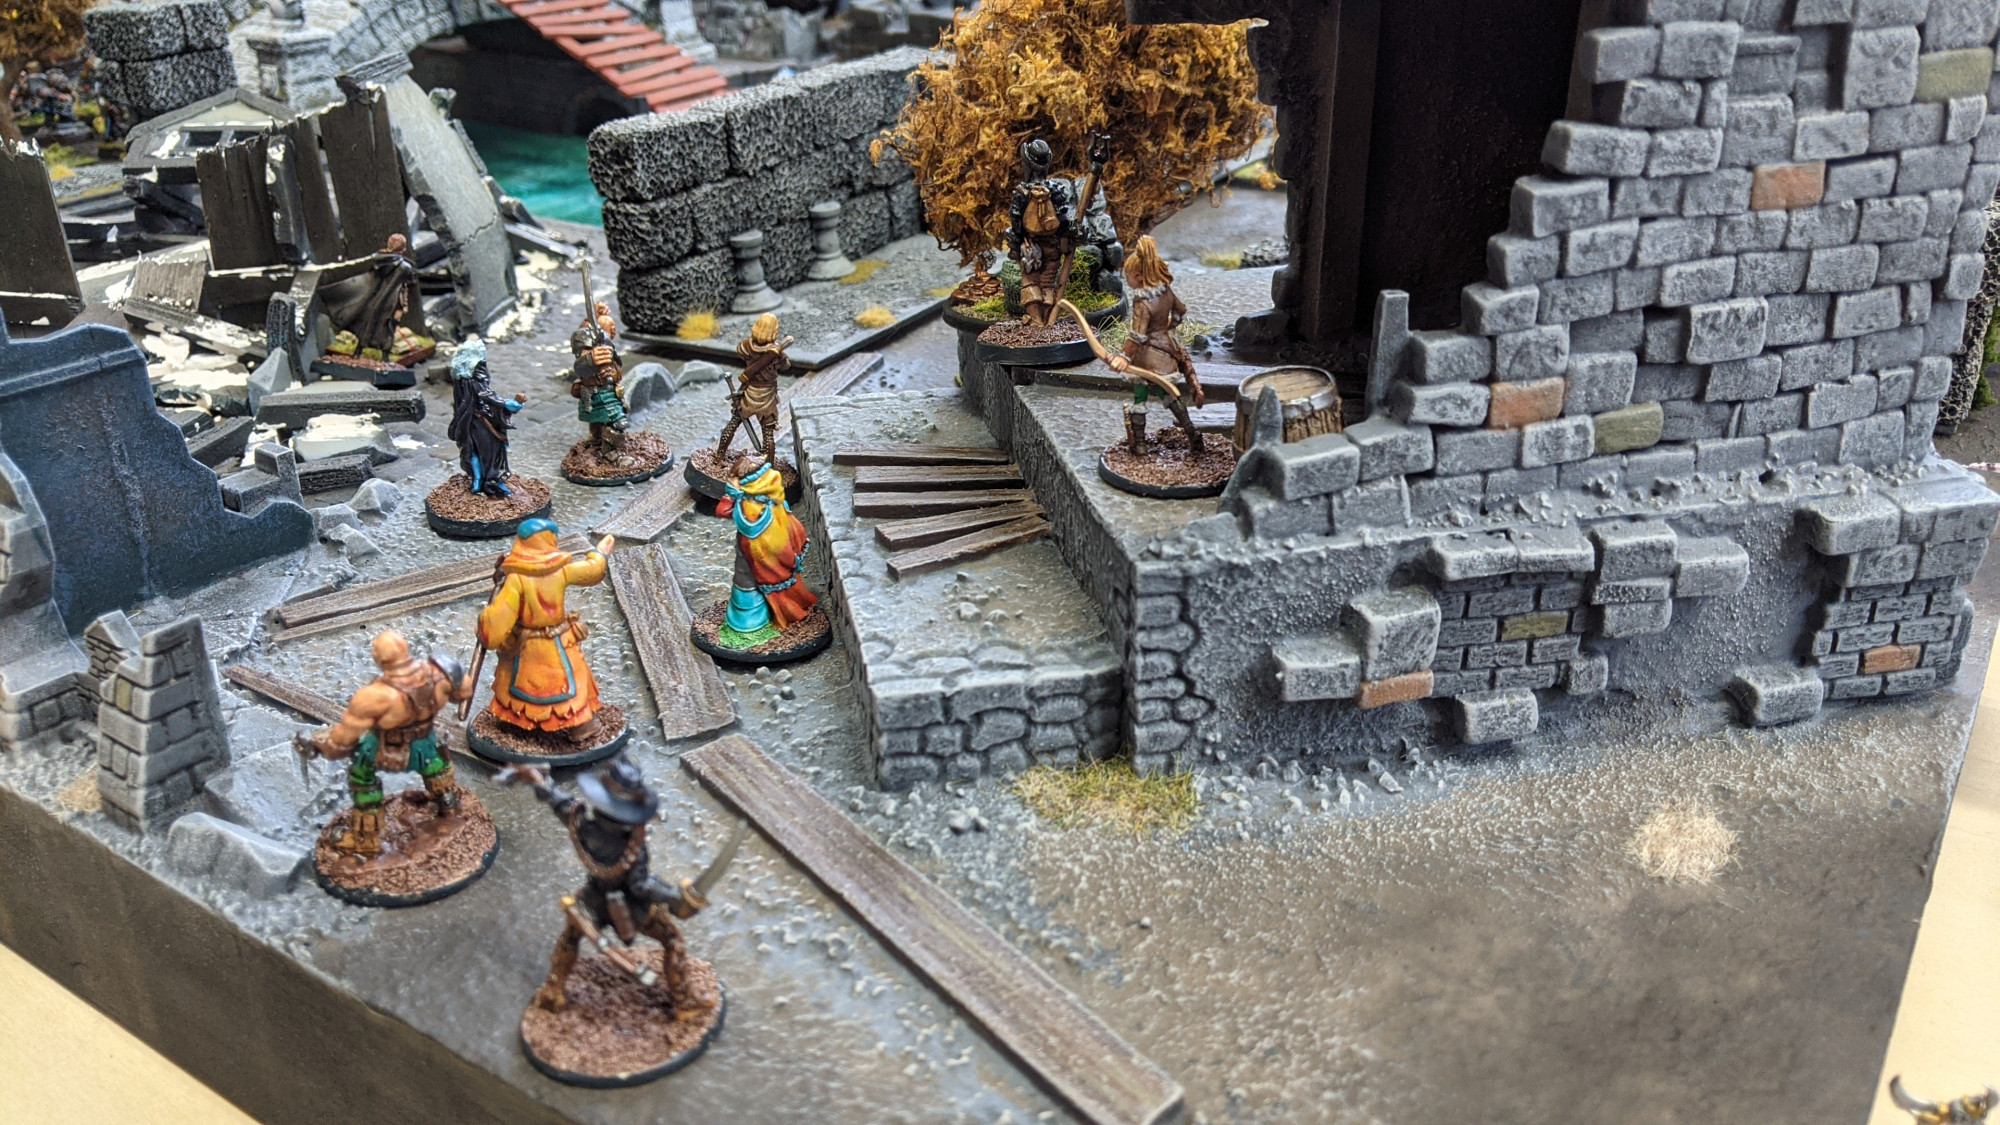
John and I got together earlier this month for a quick midweek game of Open Combat. It was to be John’s first game; I had played Open Combat a few times over the last few years and found it to be an excellent rules-lite skirmish game for small scraps featuring 6-12 figures per side.
The default playing area is two feet square, which is quite small compared to a game like Warhammer 40,000 or even Saga: Age of Magic. But it was perfect for my kitchen table on a busy weeknight, which is certainly part of the appeal of Open Combat — you can knock together a warband in no time flat and sneak in a game whenever you and your opponent can find a spare hour or two.
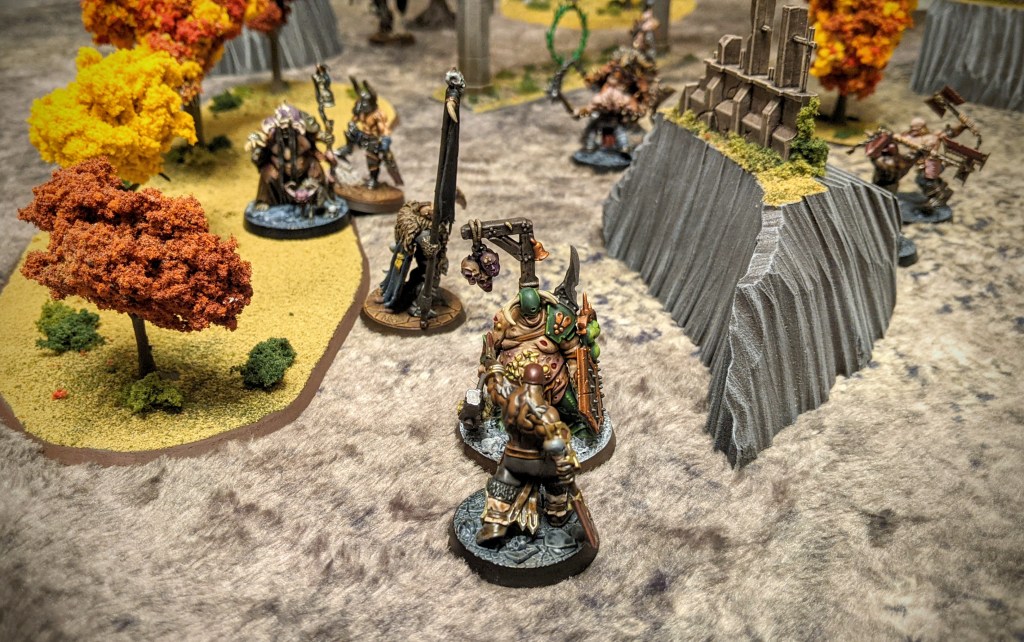
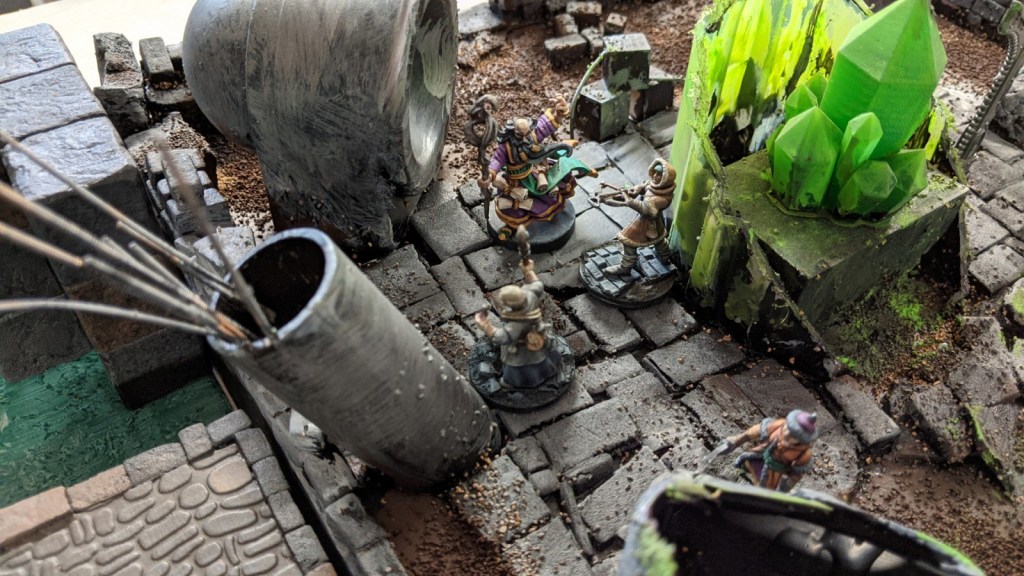
For our game, we both made chaos-inspired warbands of evil brutes equipped with gnarled armor and savage weaponry. We selected a scenario from the Open Combat rulebook called “The Arrest,” where one warband is trying to overpower and capture the chieftain of the opposing warband. We put a narrative twist on it and decreed that John’s warband was emerging from the green, glowing portal in the terrain piece above, having been on some nefarious errand in the realms of the outer dark, only to be met by my warriors who had been ordered to subdue and drag off the loathsome leader before she could exploit the dark secrets she had acquired. Yeah, that’s the stuff!
Per the scenario, John deployed a portion of his warband in the center of the table around the portal, then kept the rest in reserve (to arrive on turn 3). My warriors could enter from any table edge, giving me the opportunity to surround and engulf John’s dudes before their reinforcements arrived.
The first few turns were tense and tough. I was able to quickly make contact with John’s sorceror and began dragging her to my table edge, but the arrival of the reinforcements leveled the playing field and stymied my progress. John’s guys were just a little bit tougher than mine, and that paid off as the game entered its final turns and my guys started dying in droves.
Open Combat is tightly written ruleset with plenty of meat on the bone, but absolutely no fat. Every rule and special ability is carefully crafted to dovetail perfectly into the game as a whole. We’re still waiting on the magic supplement for Open Combat, but you can make a decent approximation of some common magical abilities using the existing rules from the main rulebook.
The best part of Open Combat, of course, is how it inspires you to grab a handful of miniatures that tickle your fancy — newly painted figures, leftovers from an abandoned project, whatever — and have a quick and satisfying battle. Doubtless we’ll play this one again soon!
The next scenario in our Frostgrave campaign was straight out of the second edition rulebook: The Silent Tower!
“Frostgrave has many dangerous places, yet few are as notorious and feared by wizards as this tower. A null-field, it negates all magic, leaving spellcasters powerless and vulnerable. Only the most daring and reckless dare to venture inside – their bodies rest quietly on the damp floors and stairs of the Silent Tower.”
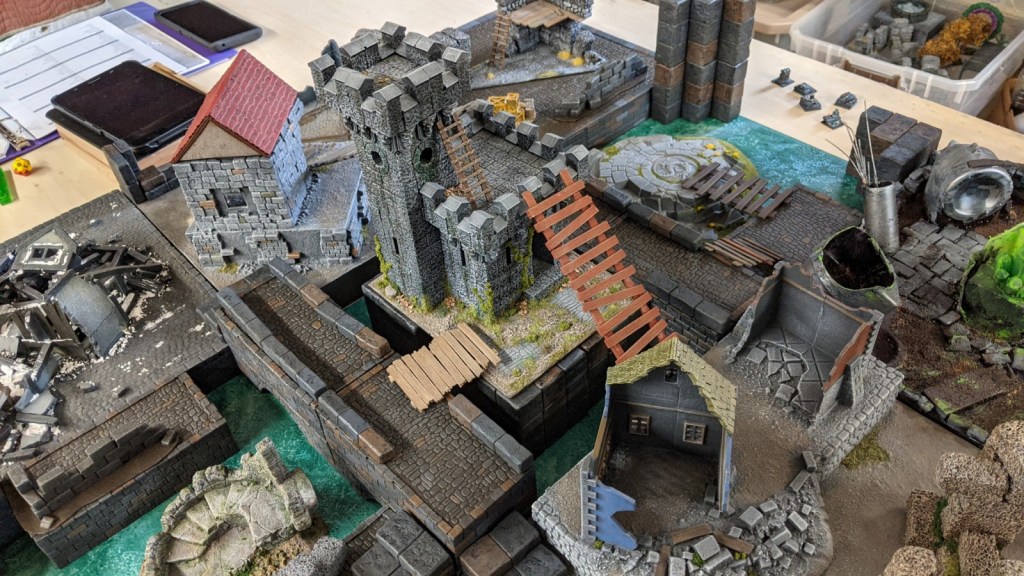
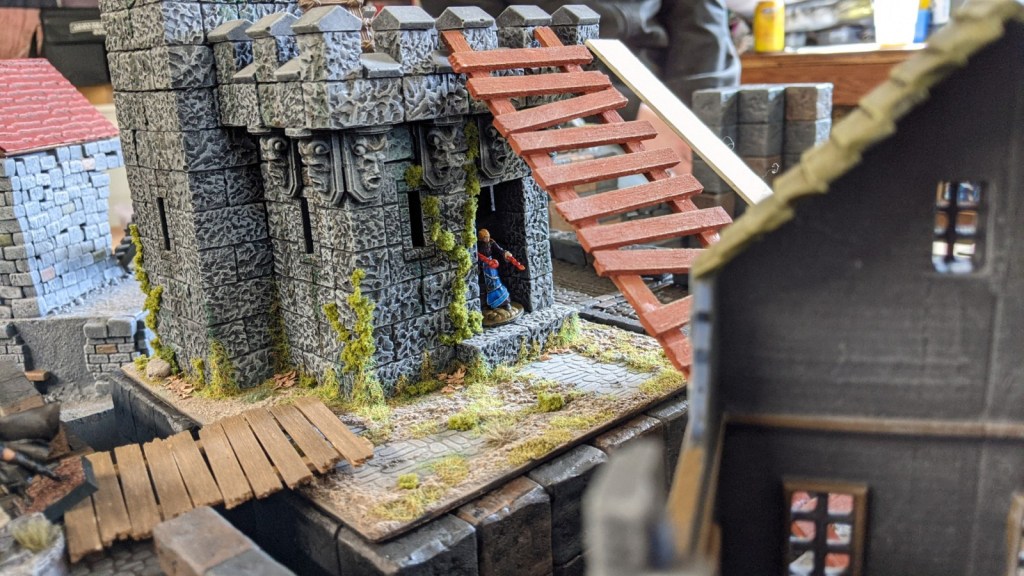
By this point in our campaign, several of the warbands had a few games under their belts and were starting to improve their wizard, learn new spells, and hire better soldiers. We set up a battlefield featuring the titular tower in the center of the table, plus plenty of narrow alleys, creaky ladders, and crumbling ruins.
Here’s a look at the warbands: my dwarven enchanter, John’s sigilist, Mark’s chronomancer, and Vincent’s summoner.
The goal of the scenario was to pay a visit to the Silent Tower; warbands could claim experience points for sending their wizard or their apprentice (or both, for maximum value) into the tower. Of course, this positioned the tower as the most dangerous spot on the whole battlefield.
Luckily, the scenario also included a number of treasure tokens scattered around the battlefield. In the opening turns, the warbands angled to scoop up this loot on their way toward the central tower.
The cluttered tabletop meant that we could snake through the ruins and avoid enemies … for a while, at least.
After picking up a treasure token, there’s a chance that a wandering monster will appear, providing more opportunity for danger and reward. This is one of the most satisfying components of a game of Frostgrave … wandering monsters add a ton of fun to our games. For this game, we had a big ol’ whiteboard set up next to the game table, and we jotted down the stats of each critter as it arrived, so we could all easily reference this info as we planned our turns.
The first unwelcome guest was a Large Bear that arrived within striking distance of John’s warband led by his sigilist.
John was bear-ly able to evade this marauding ursine, which proved too dangerous to truly ignore even as his warband crept closer to the Silent Tower.
Elsewhere, a pair of constructs clattered out of some buried ruin and moved to menace Mark’s chronomancer. The constructs went down with a clang and Mark notched some more XP in the process.
Vincent used his Leap spell to catapult a hapless soldier atop the Silent Tower itself. The tip-top portion of the tower housed a particularly potent treasure token, and we all wanted it! Vincent got there first, which set off a frantic scramble. I think someone else used another spell, maybe Push, to dislodge the soldier before he could claim the treasure.
My dwarven warband found itself in a running battle along an elevated walkway leading to the tower entrance. Even as we were fighting on the ground, Vincent was using Leap to toss more fighters up to the parapet.
Elsewhere, the wandering monsters continued to pop up where they were least expected. Vincent’s warband suddenly found itself toe-to-talon with a ghostly ice wraith.
The Large Bear continued its plodding advance, drawing the attention of Mark’s warband as they closed in on the Silent Tower.
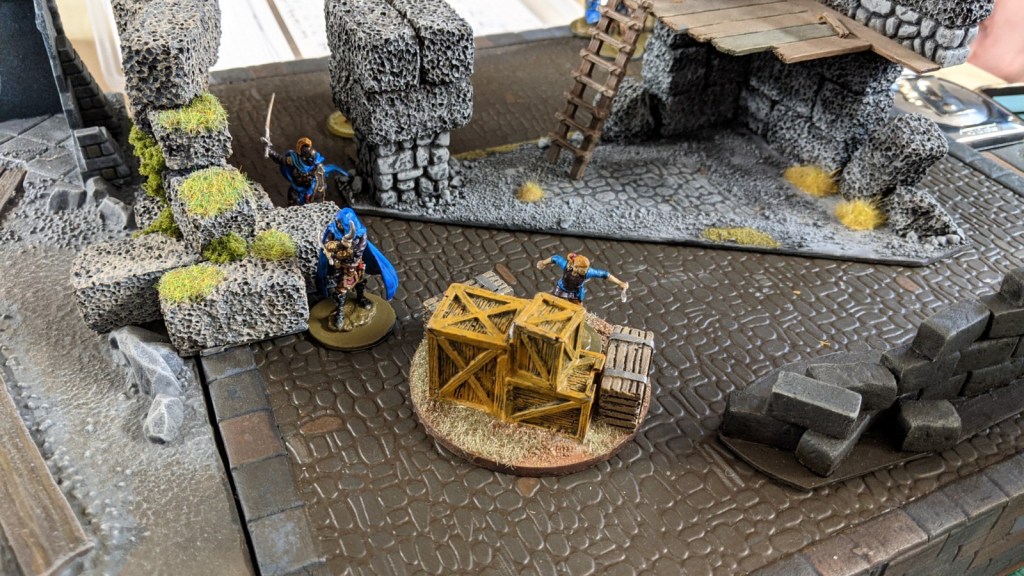
One of the most entertaining aspects of Frostgrave is how a particular terrain piece can be the focal point for a mini-narrative. In our case, a narrow stone ledge proved to be a nearly insurmountable obstacle when I placed a solitary dwarf thief atop it as defender. (He’s the guy with the candle on his helmet in the image below.)
This stout defender repeatedly repelled assaults by individual soldiers in John’s warband, tossing them off the ledge, one after the other. Eventually the dwarf defender was pulled down and stabbed to death by the enraged warriors of John’s warband. It was a good warrior’s death!
Here’s a look at the battlefield as we entered the final turns. Mark’s warband was making an all-out push for the Silent Tower. Vincent and I were battling it out on the walkway just outside the tower. John was screening his warband from the marauding bear with a well-placed Wall spell.
Ultimately I was able to batter my way into the Silent Tower with a bloodthirsty dwarven man-at-arms, who proceeded to dash up the stairs just as Vincent’s wizard leaped up to the highest parapet. You can see John’s Bridge spell creating a convenient entry point for his warband in the images below.
The man-at-arms met Vincent’s summoner in single combat and we were once again reminded that wizards generally have fairly weak combat stats. The man-at-arms cut down the wizard in a ghastly turn of events for Vincent. But the dwarf wasn’t quite able to claim the treasure token before the game ended.
In the final turn of the game, Mark’s gambit paid off, as he was able to rush his wizard and apprentice into the tower to claim the XP bounty. Good job, Mark!
And John made a big show about securing the treasure token that my poor sad little dwarven thief had been defending. Why would he do that? There’s been enough senseless butchery for one day, John. But I’ll let you have this moment of victory.
You’ll be pleased to hear that Vincent’s wizard didn’t actually die … he rolled on the casualty table and got a favorable result, as I recall. But still — it was a gutwrenching moment indeed when his wizard fell in combat atop the parapet.
What’s that? You’d like to see another photo of the moment when the summoner met her untimely end?? It seems I cater to utter savages on this gentle blog. But I acquiesce to your demands. Give the people what they want, that’s what I always say. Behold, the carnage on the battlements!
This was our third campaign game, and things were really humming along from a gameplay perspective. Our warbands are advancing and we’re finding new/cool/weird loot in the ruins of Felstad. We’re also taking a deep dive into our miniatures collection to come up with all of the skeletons, wraiths, boars, spiders, constructs, and Large Bears required to fully embrace the wandering monster table. Stay tuned for more!
We got together last month for the first session of our Frostgrave campaign. This game was the culmination of months of planning, building, and painting! Everybody contributed to the terrain board, and everyone had newly painted models to show off for the game. We also did some worldbuilding via Microscope to develop a customized backstory and lore for our version of Felstad. Good stuff!
We had a tremendous setup for the game: John’s large, covered, well-lit back porch, which kept Oregon’s winter rain off our heads and enabled us to play outdoors and stay as safe as possible during ye olde pandemic. We also wore masks, of course.
Since this was our first game, we went with the basic scenario: a ruined section of the frozen city stocked with treasure and danger in equal parts. The table size was slightly bigger than 3×3 feet, which was a bit tight for 4 players, but we made sure to pack the battlefield with terrain, so there were plenty of cramped alleys and irregular ruins to negotiate.
The game began with us re-learning the mechanics and introducing them to the newer players. Each warband deployed in a corner and began a cautious advance toward the nearest treasure tokens. Some treasures were closer than others, which put some warbands at an advantage at the outset of the game. Here’s a look at the warbands… the images should be clickable to see slightly larger versions.
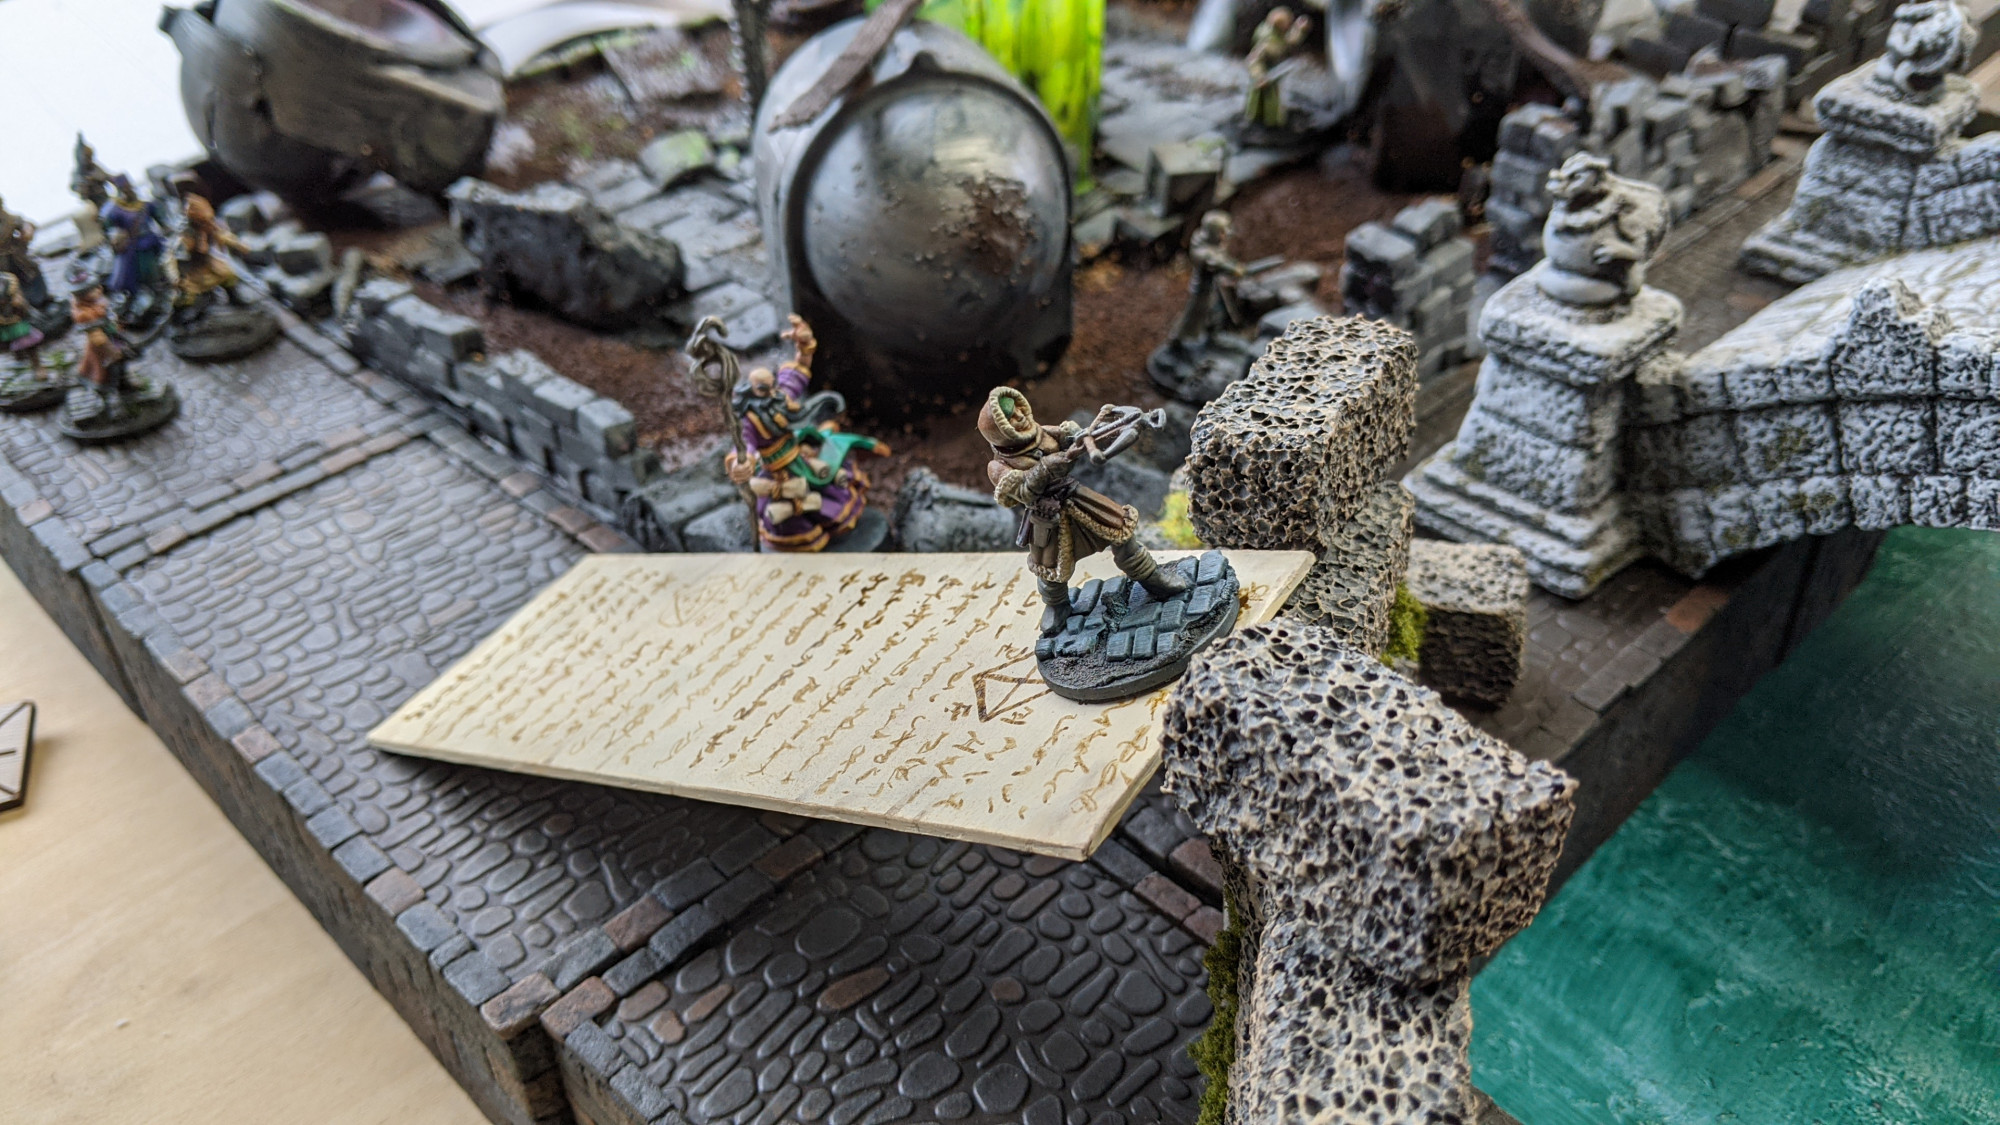
With that, the game got underway! John’s wizard, Elder Futhark, led his warband out of the ruins of a crumbling laboratory, casting Bridge to create a path up to a shattered cornice which allowed his archer to plink away at my advancing dwarf warband.
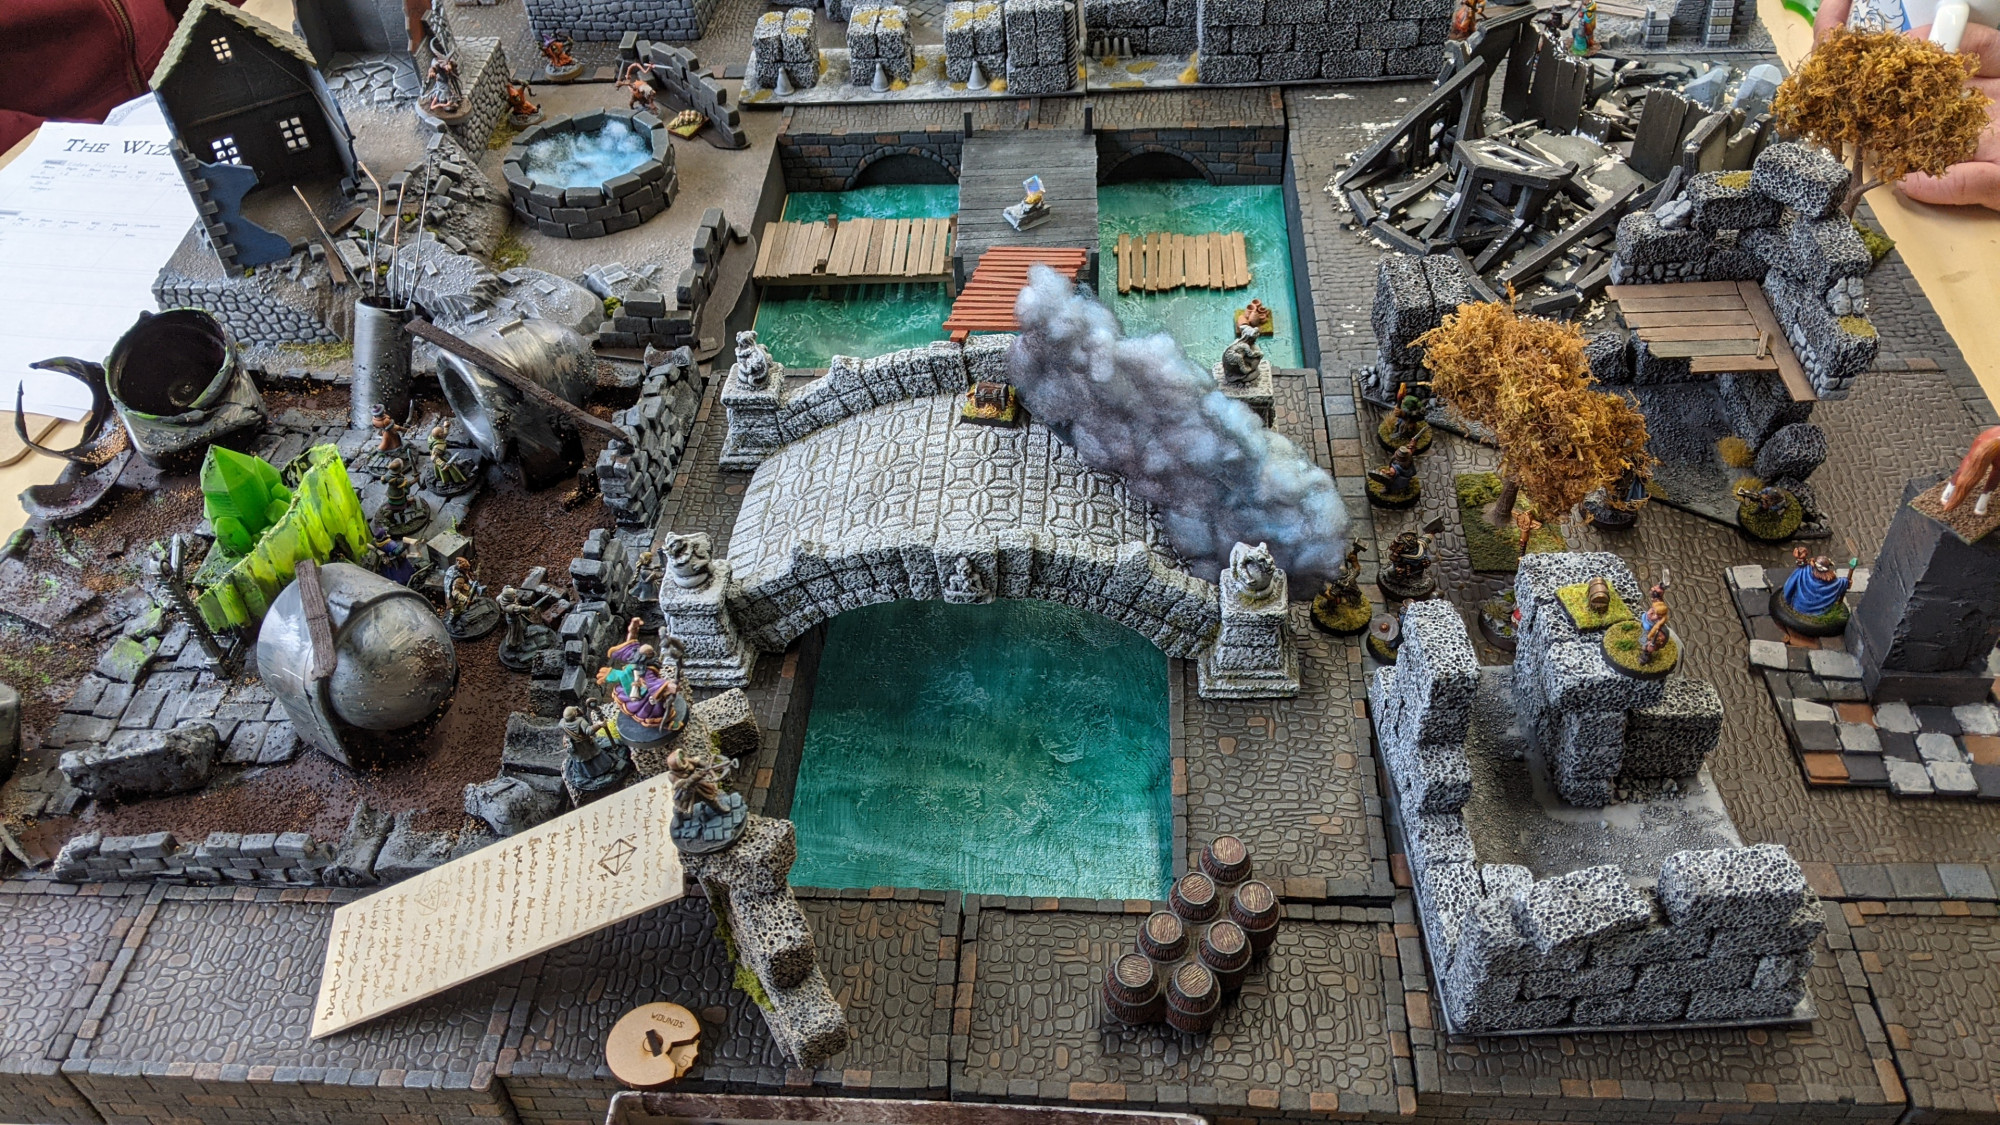
The bridge here is a massive ribbon of inscribed parchment paper, which is perfect for John’s Sigilist wizard. The stone bridge you can see on the right side of that photo became a hotly contested terrain piece, with John and I both carefully jockeying for position. At one point, he successfully blocked me out with a wall of fog, which prevented my crossbow dwarf from seeing anything on the opposite side of the table. After a few rounds of spells and combat, we agreed to a tenuous truce and redirected our forces to other hotspots on the battlefield.
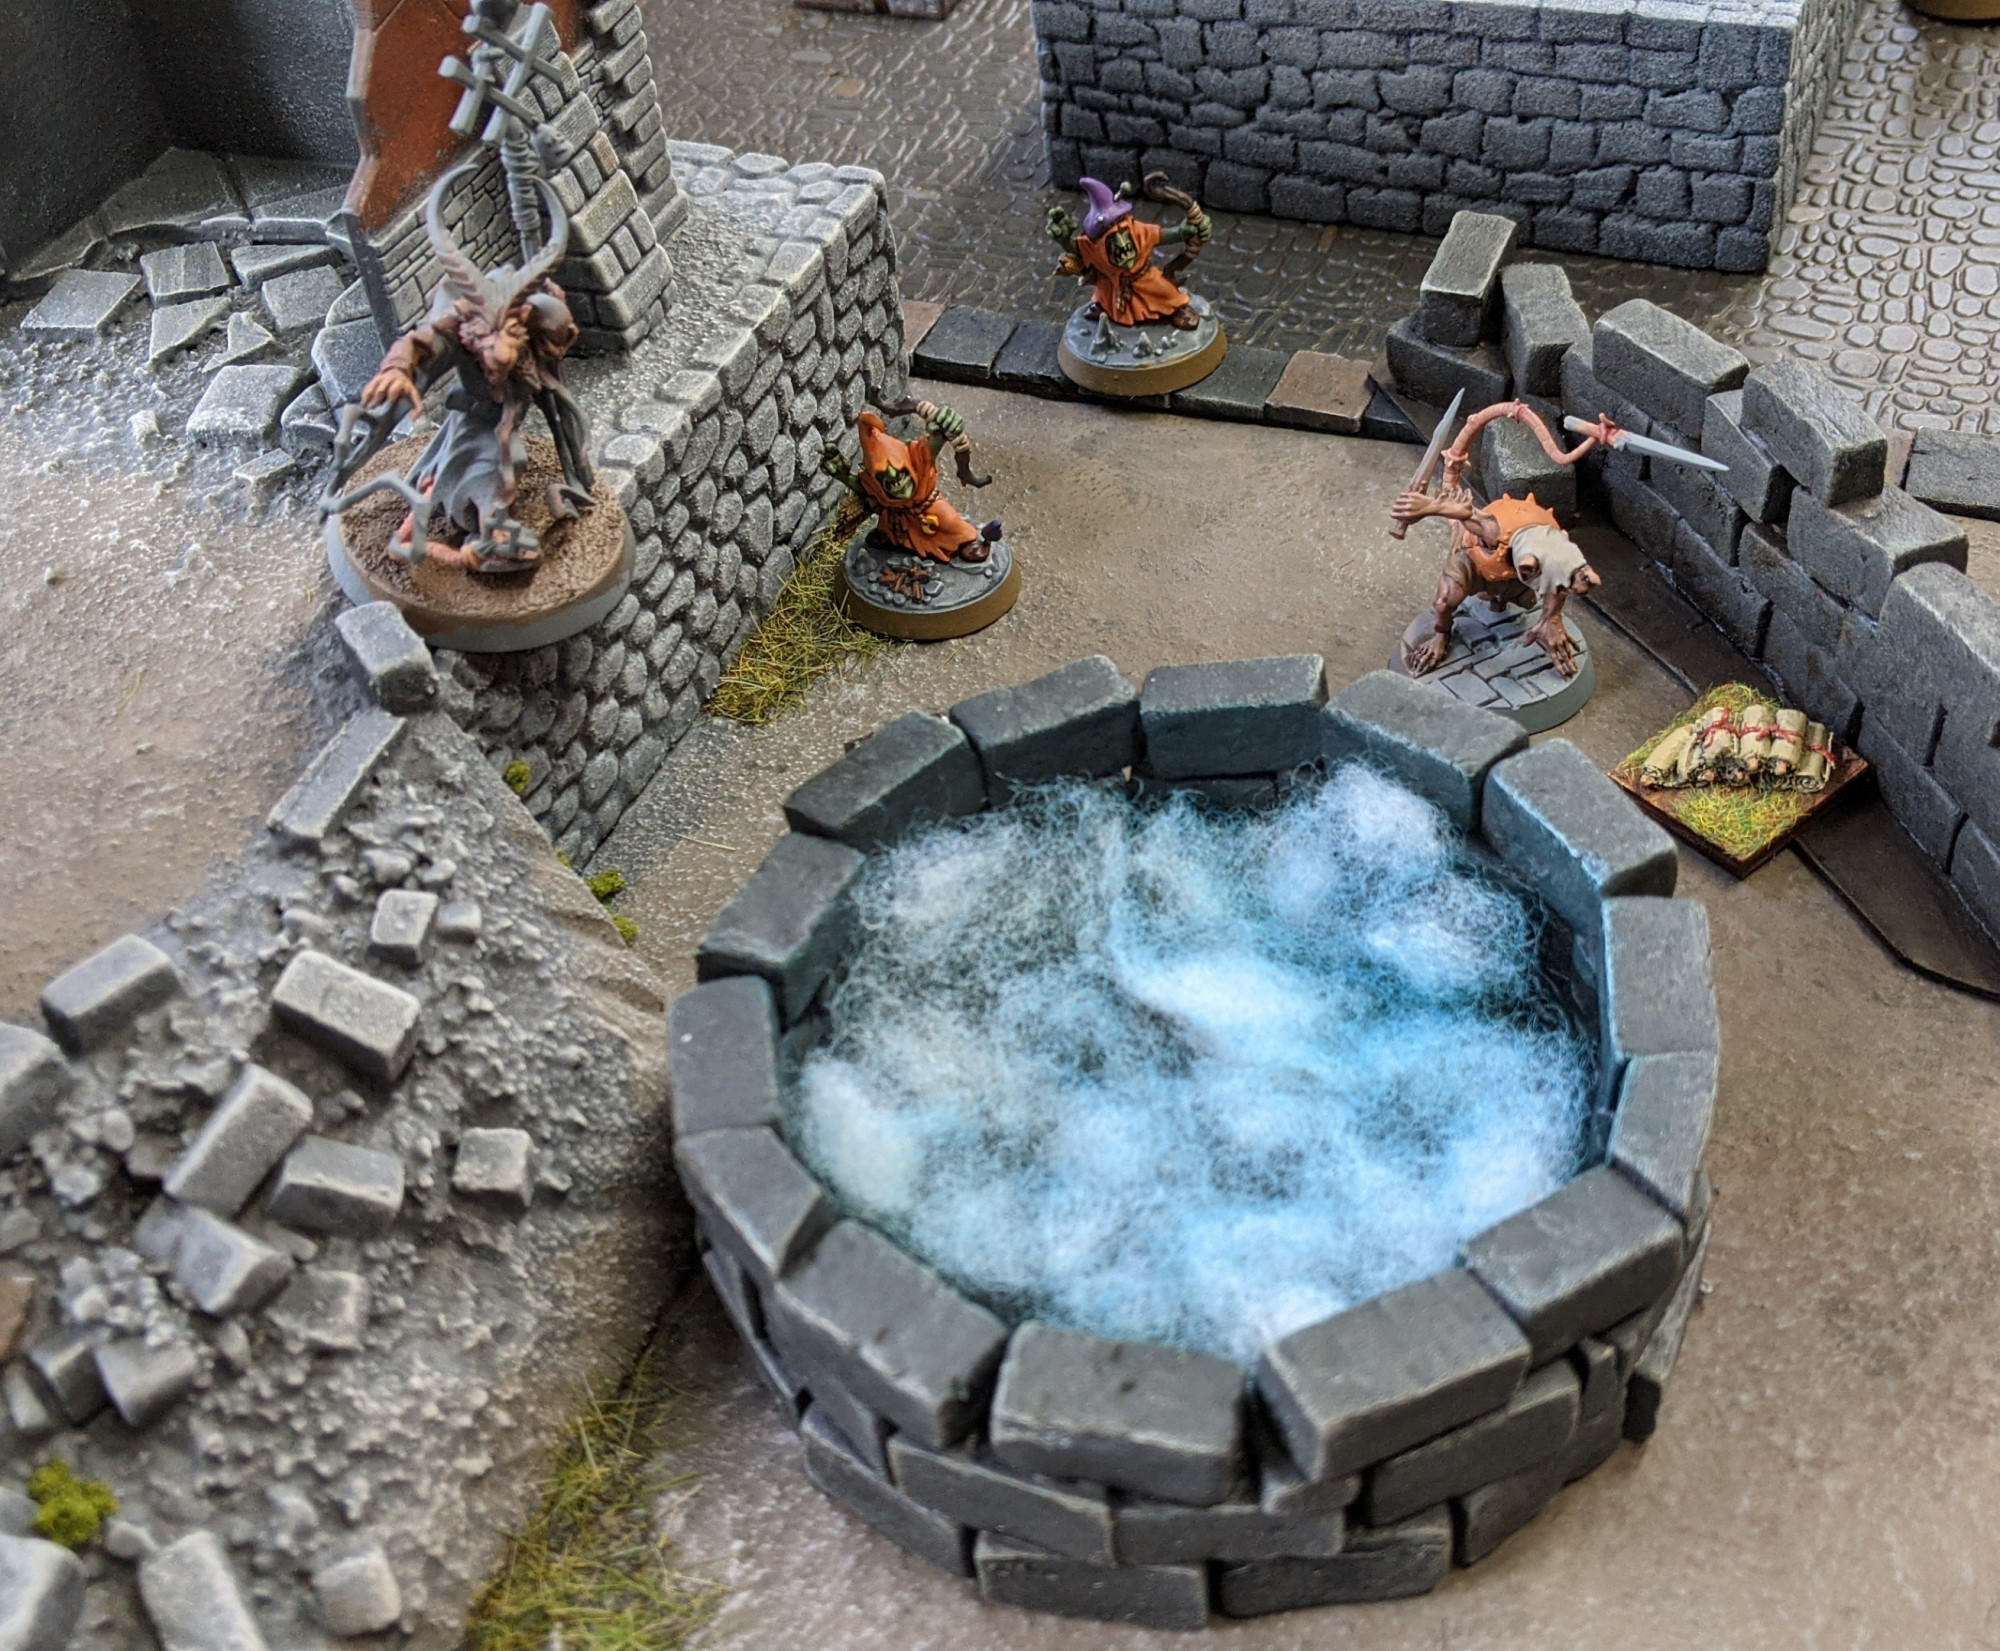
Elsewhere, Vincent and Lawrence found themselves competing for a handful of treasure pieces amid the ruins of a broken wall. The Skaven were particularly interested in this abandoned well, which seemed to seethe and bubble with barely contained arcane energy.
One of the most interesting elements of Frostgrave is the optional rule for wandering monsters. These are creepy denizens of the frozen city that, depending on the dice roll, show up when you least expect them to menace and stymie the plucky warbands.
Since our group has a sizable collection of varied and wonderful miniatures, there was no question that we would be using the wandering monster rules. We even had a 5th player, Mark, who volunteered to run the monsters as they began wandering onto the battlefield. The action started off with a wild-eyed boar that showed up to gore and thrash John’s warband!
In another notable instance, a loathsome spider roped down on thick strands of webbing to attack the grim warriors from John’s and Lawrence’s warband … just as they were coming to blows over a treasure token! It’s the little encounters like this that makes Frostgrave such a joy to play.
As we entered our final turns, it became clear that the treasures in the center of the map, arrayed around the derelict docks and quays of the canal, would be a great prize for those bold enough to claim them. All of the warbands began edging closer to the docks, using spells and missile fire to cover their approach.
It was a bitter clash and I do not recall that anyone actually claimed the central treasure, represented here by a floating enigmatic crystal prism. But plenty of warbands made off with 1 or 2 treasures, and I believe Lawrence’s warband snagged 3 treasures! Wow!
After the game concluded, we walked through the post-game campaign steps. This is one of the most compelling aspects of Frostgrave, and it helps to set the game apart from other one-off skirmish games. We rolled on a series of random charts to determine the grisly fate of our wounded soldiers and to find out exactly what we had uncovered for each treasure token. It was a ton of fun and it’s already helping bring some character to our starting warbands!
Our next session is coming up this weekend, and we’re eyeing the Mausoleum scenario from the main rulebook. Stay tuned for more!
One of the hobby values I’ve tried to represent on Comrade’s Wargames over the years is the appeal of using whatever miniatures you want in your games. I collect and paint miniatures that are pleasing to me, first and foremost, and don’t concern myself all that much with how they’ll be used as playing pieces in specific games.
This has led me to embrace games that don’t have a proprietary set of miniatures associated with them — games like Song of Blades & Heroes, Open Combat, Dragon Rampant, Zona Alfa, Oathmark, Warlords of Erehwon, Scrappers, and Saga: Age of Magic. All of these games encourage players to explore oddball figures and game lines that juice their creativity, rather than simply painting the “correct” miniatures required to play a certain faction in a certain game.
Which brings me to this blog post, about a few of my very favorite dwarf models. For a long time, I admired these figures from afar, but in the last couple of months, as I rebooted my dwarf army for Saga: Age of Magic, I embarked on a concerted effort to track down and acquire these figures.
Lead Adventure Miniatures / Ratnik Miniatures
Ratnik Miniatures is a boutique company run by Igor Karpov. Over the last dozen or so years, Ratnik’s miniatures have been produced and distributed by Lead Adventure Miniatures through license. Ratnik’s figure lines are extensive and include the absolutely glorious Bruegelburg medieval fantasy figure collection. Ratnik is also responsible for the tremendous, super flavorful Stalker figures most recently highlighted in the pages of Zona Alfa.
But we’re here to talk about dwarves! Ratnik produces a fairly extensive line of grim, stoic, high fantasy dwarves. I splurged in May and bought six (!) of my favorite sculpts as reinforcements for my dwarf army.
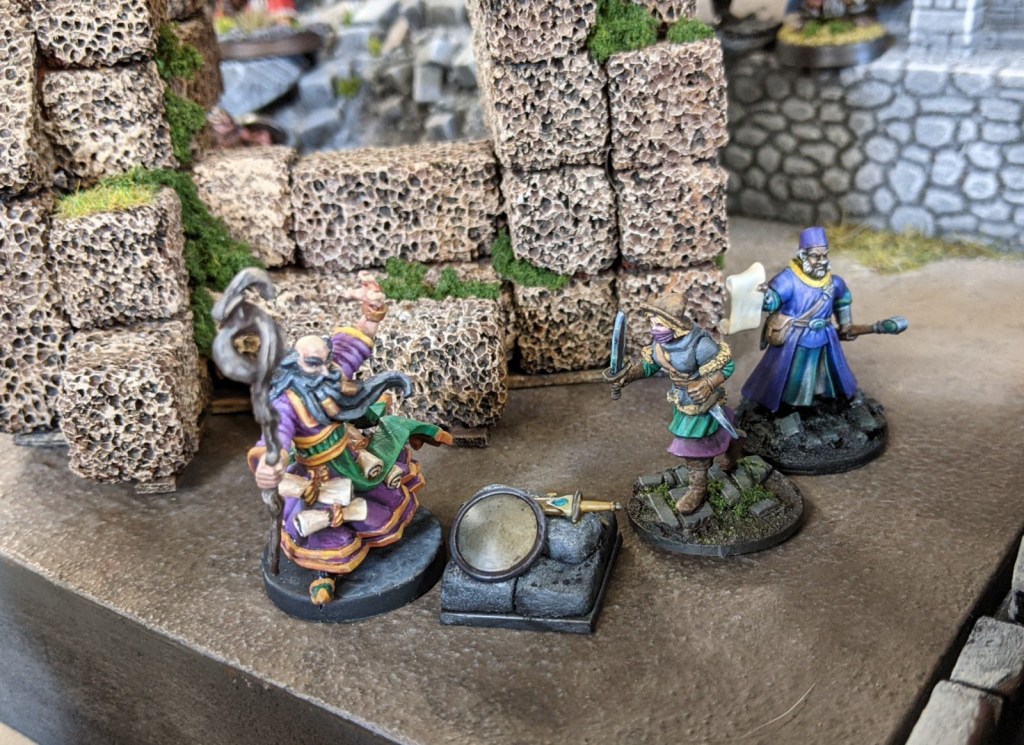
“Fury of the Norse Clan” by Lead Adventure Miniatures / Ratnik Miniatures
The figures are everything I want from my dwarves: functional outfits and armor without a lot of overwrought embellishment, brutal weapons, and epic & dynamic poses.
“Forge Keepers” and “Stalwart Heroes” from Lead Adventure Miniatures / Ratnik Miniatures
Amazingly, with the exception of their shields, these are single-piece metal sculpts. They’re just astoundingly crisp and detailed. I loved painting them!
Scibor Monstrous Miniatures
Scibor is another producer I’ve had my eye on for a long time. The company is the exclusive purview of sculptor Scibor Teleszynski, and he specializes in chunky, heavily armored dwarves. The scale of the figures creeps up to 30mm, making them quite large alongside typical Warhammer dwarf models. In terms of style, they are gorgeous…definitely a “premium” line of dwarf figures, if that makes sense.
So as I began eyeing a purchase of Scibor stuff last month, I decided that these guys would be HQ figures for my army: lords, champions, squad leaders, and hardened veterans. The size differential certainly makes sense when you consider that they would have access to the best arms and armor, as befits their status.
Anyway, I started down this path by painting up a new dwarf lord to lead my throng! Behold, King Nicodemus II, the Anvil of Dawn!
This model represents the first time I’ve used Retributor Armor paint to create a lustrous rose gold color for his armor. I’m very pleased with how it came out!
I’m also in love with his sassy pose, with that armored arm resting casually on top of his shield. He’s all like “Come at me, bro.” And let’s hear it for that chunky plinth he’s standing upon…that definitely solves the problem of “OK, which one is your leader again??”
So there you have it: a few of the my favorite dwarf models that I’ve painted up recently. More are on the way…an entire unit of Lion Guard dwarves from Scibor, plus a few interesting figures from Spellcrow. Stay tuned!
Earlier this month, John and I dared to play a game of Saga: Age of Magic on his back porch. We had physical distancing and a nice breeze, as well as face masks for both of us, so we felt that we had taken all reasonable precautions. After a long drought, we were excited to get some newly painted miniatures onto the battlefield, both for John’s Great Kingdoms army and my Masters of the Underearth (Skaven) warband.
The game was a follow-on to the outcome of our previous game, which saw a rout by a ratmen raiding party harrying the defenders of a fortified village. For this game, the ratmen had secured a slightly more … pungent … booty, in the form of three rotting coffins, each containing the noisome remains of a plague victim. The ratmen were scurrying off with the caskets so that their crazed alchemists could use the bodies to brew up some dastardly poisons. Only the stout defenders of House Begovic stood between the ratmen and their goal!
You can see the caskets, being borne by a swarm of rats, in the photo above. The goal was to escort them across the battlefield and exit through John’s table edge. I’d have to keep moving at a pretty good clip to ensure a reasonable chance of winning. No dithering and no time wasted on fruitless combat!
After deployment, I committed most of my forces to the right flank, as seen in the photo above. I was trying to stay as far away as possible from John’s unit of mounted hearthguard. At eight strong, they were an incredibly powerful and hard-hitting force on the battlefield. Unfortunately, the best I could do was delay their arrival.
So I started maneuvering away from them, angling up the right flank and positioning some of my ratmen as blocking units to slow down the attackers. It worked! For a couple of turns, anyway. My newly painted levies with bows occupied this encampment, staying in cover and delivering fairly effective missile fire throughout the game.
Likewise, this unit of levies shadowed the hearthguard on the opposing flank, always threatening to burst from cover and poke the cavalry with their spears. They actually jumped into combat toward the end of the game and, I think, inflicted some casualties!
The caskets moved slowly, and I had to keep the rest of my force arrayed around them to provide a support. It was only a matter of time before John’s hearthguard caught up to them and surged in for a massive assault.
Oh look! There it is. CHARGE!
The charge wiped out an entire unit of warriors that had been protecting the caskets, leaving the poor little rat swarms dangerously exposed to the thundering hooves of the hearthguard. On my turn, I got incredibly lucky with a pair of quadrupedal creatures, which managed to annihilate about half of the horsemen in a single savage round of attacks.
That combat tilted the game in my favor, at least temporarily.
The quadrupedal creatures are Chaos Centigors from Warhammer Fantasy. I love the miniatures and figured I’d get them onto the battlefield alongside my Skaven. After all, why do we play Saga if not for opportunities to mix and match miniatures from our collections?
After that, the game became a rat race — no pun intended. I had pushed through the initial battle line (at great cost) and now had a slim chance to make a break for John’s table edge.
Unfortunately, my rat swarms were mauled and nearing exhaustion. John still had several highly mobile units that were ultimately able to chase them down and skewer the poor rats one by one. Oh well! I take heart in the knowledge that John’s surviving warriors caught the plague and died horribly after the battle was won.
This game represented a personal best for me in terms of rules comprehension and overall grasp of strategy and tactics. Saga is a really complex game, with a lot of decisions to be made at various points throughout the turn. Playing against a worthy opponent like John requires the utmost attention to detail! I am getting better with the Masters of the Underearth army. I intend to use the same army list for my dwarf army, which will be helpful for digging deeper into the tactics of this particular army. We’re playing again soon — stay tuned for more!