We got together earlier in September for a game that could very well represent the grand finale of our Grimdark Future campaign.
Recall that we launched our campaign (The Cauldron) at the beginning of 2023 as an escalation league, wherein each player would start with a handful of models each and play smaller skirmish games of Grimdark Future Firefight, slowly adding more models as we went along through the spring and summer.
I’m happy to report that this approach proved to be a smashing success! We all stayed motivated to build new armies, one unit at a time. At our height, we had 8 players participating in monthly games. Now we’re approaching the end of 2023 and we all have decent sized armies that have gained some experience on the tabletop…mission accomplished, I’d say!
So, this game was a bit of a bookend for our highly successful campaign.
We had 4 players for this game, and everybody wanted to bring some of their larger, more expensive models (tanks, mostly), so we decided to go for a larger 2-vs-2 team game. We set the game in the upper reaches of Ardent Maxima, a hive city on the planet Gamma Euphorion Prime that was in the process of falling to the forces of darkness. Daniel’s newly painted Realm of Battle terrain tiles provided a stunning backdrop for this game.

Chaos Space Marines from the Death Guard legion had allied with Genestealer Cultists boiling up from the depths of the underhive to push the defenders of the Imperium back to the very highest levels of Ardent Maxima. After the destruction of the monument to St. Deneia in last month’s game, the Imperial defenders retreated to link up with their Eldar allies.

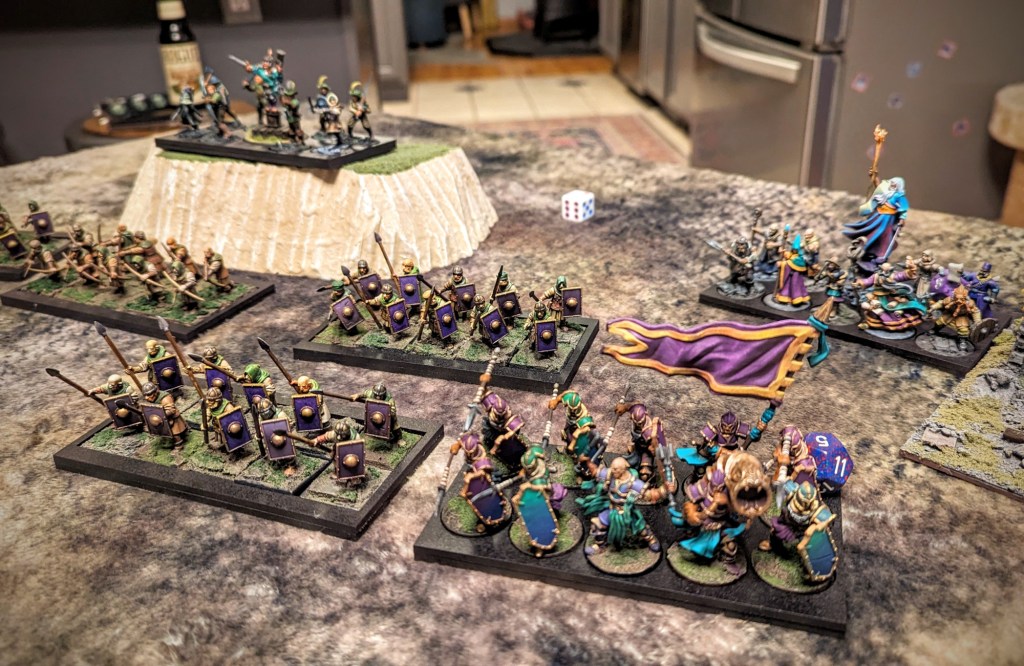
The forces of the Imperium and their Eldar allies made their stand in a vast plaza that had been defiled by thick, fibrous tendrils of fleshy matter. The origin of these throbbing purple members was unknown – were they some organic artifice of the Genestealer Cult made manifest, or perhaps a symptom of a planetwide plague delivered by the followers of Nurgle? No one dared ask.

John’s Imperial Guard took to the field alongside Josh’s Eldar – or Aeldari, if you prefer. They had some hard-hitting units, but they would be hard pressed to counter the advance of the forces of evil as the game got underway.

The game began with some long-range firepower as the armored vehicles opened up on each other. My Chaos Predator (a new addition to my army, nice!) dug in behind a makeshift barricade and unloaded its weaponry on the distant shapes of a couple Leman Russ battle tanks, barely visible behind the haze of dust and smoke.

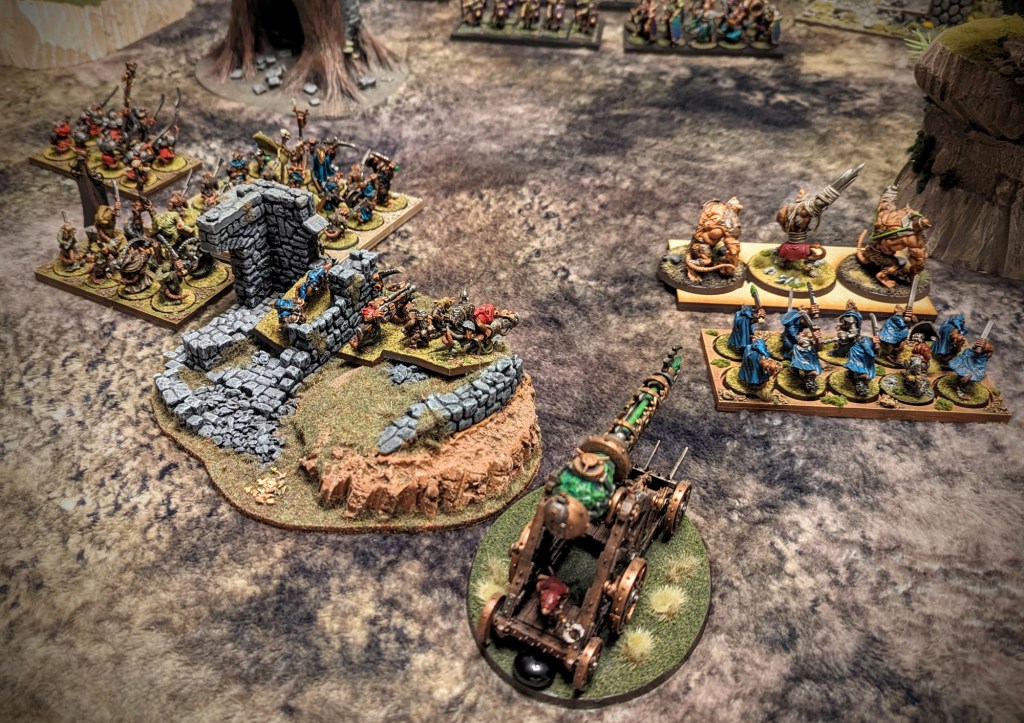
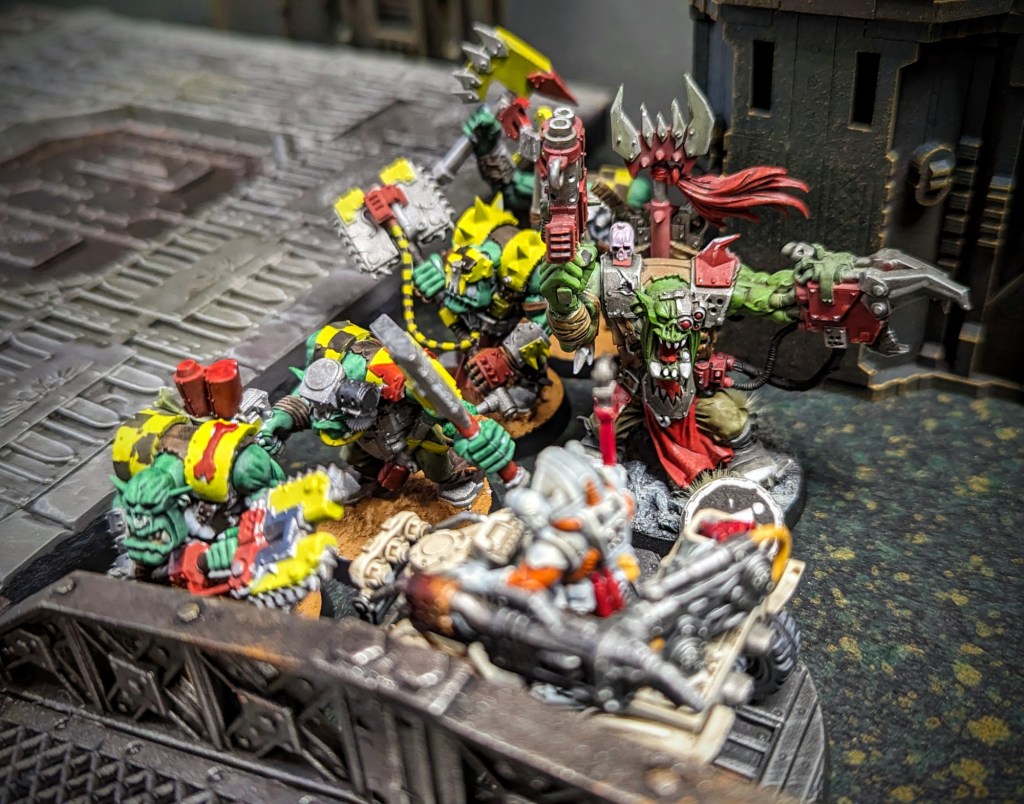
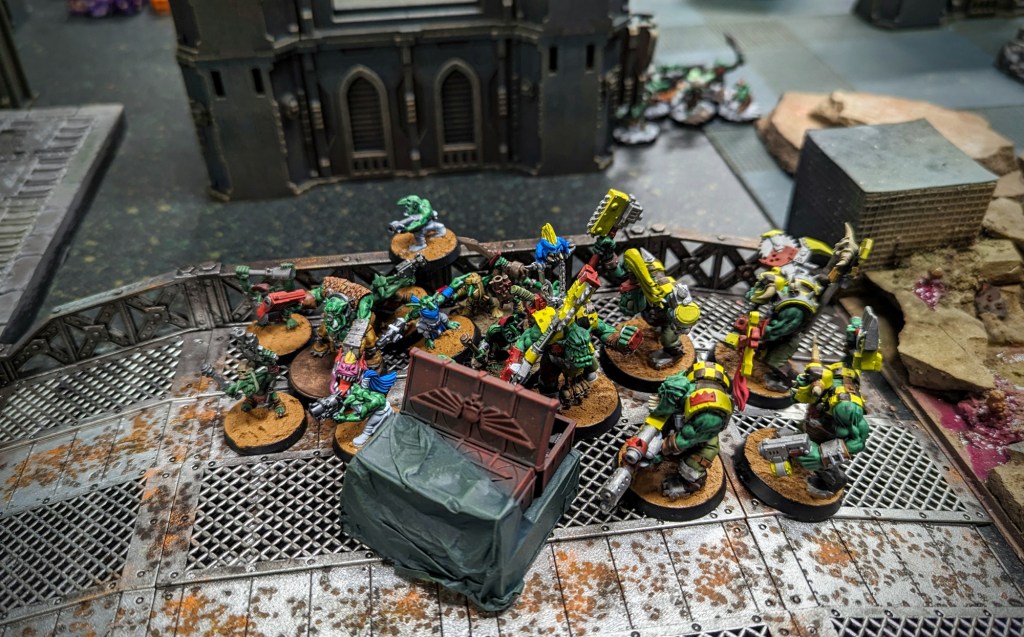
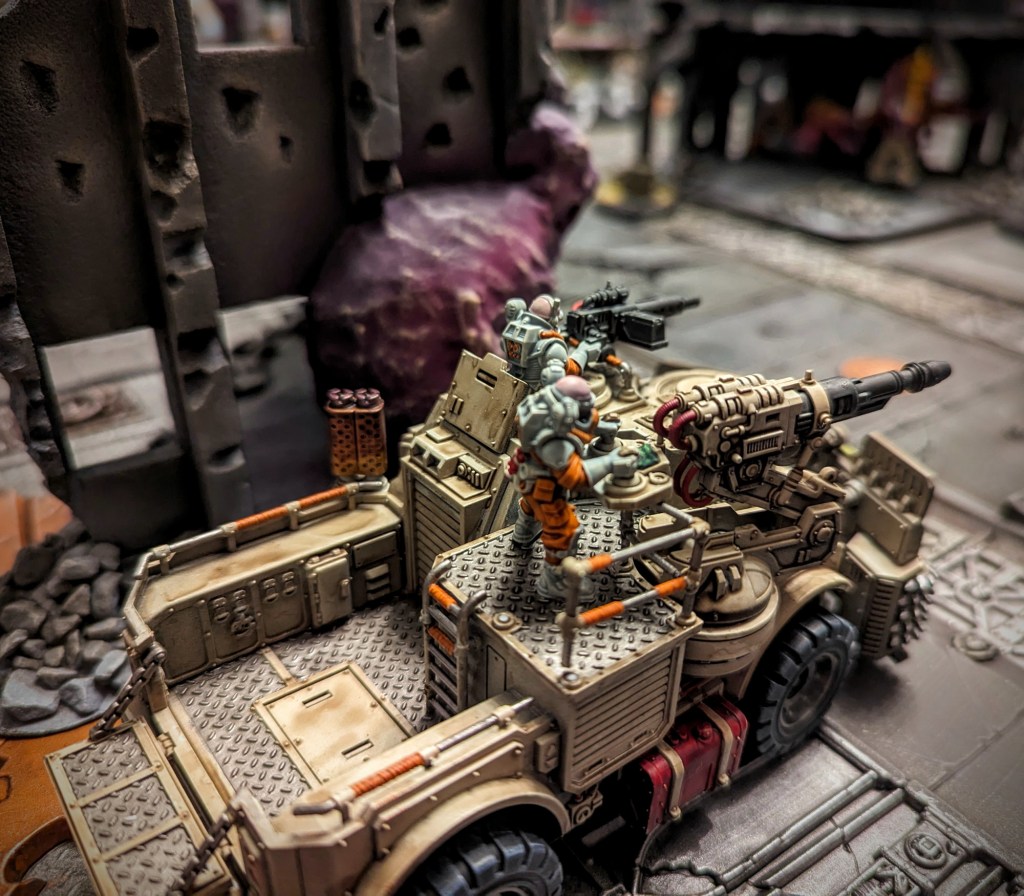
With a roar of combustion engines, Daniel mobilized his fleet of trucks and began advancing on the objectives. Cultists wielding a variety of improvised weaponry scaled the crumbling masonry of a shattered building and brought fearsome firepower to bear on the Imperial armor.
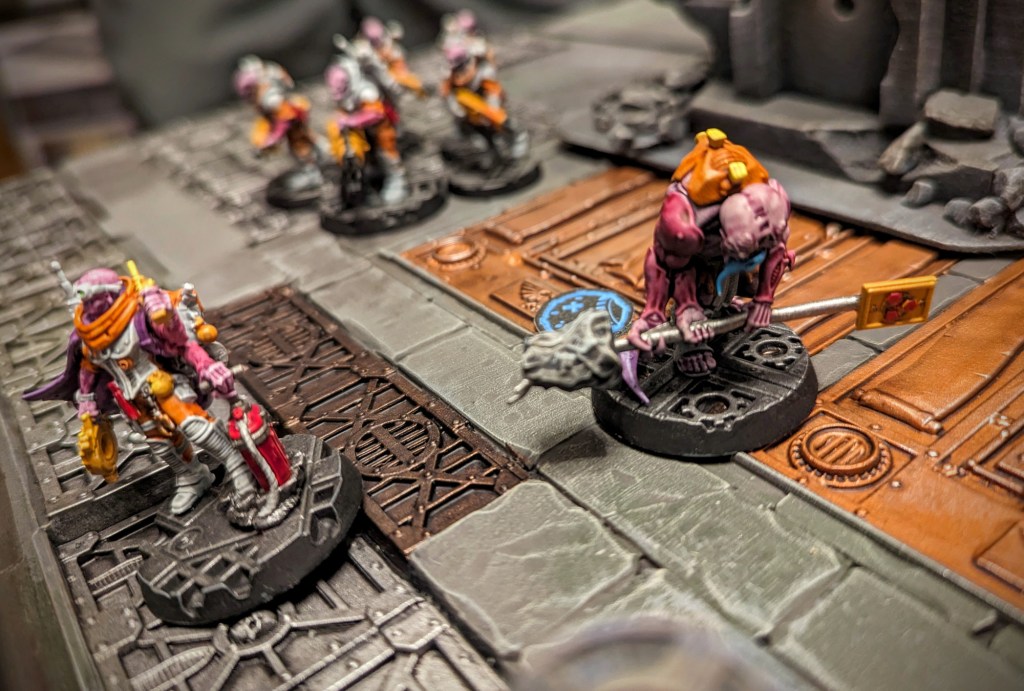

The cultists’ advance brought them crashing headlong into the Eldar vanguard. With a guttural howl, the cultists swept into the frail, spindly looking space elves, blasting the infantry apart with heavy caliber weaponry and rending their grav tank into utter wreckage.


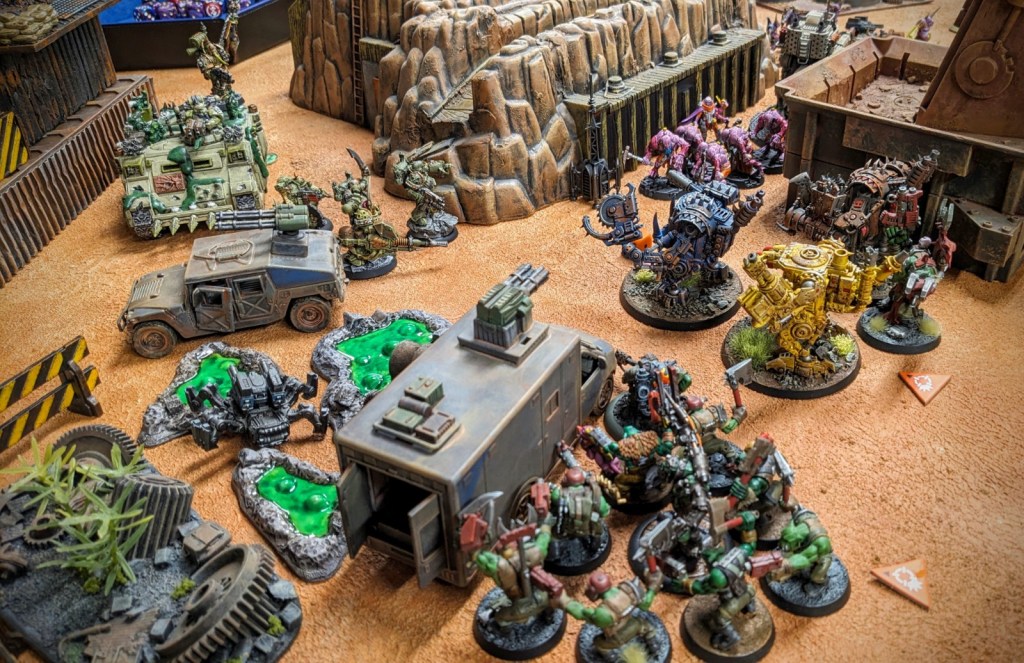
On the left flank, the foul daemon engines of Nurgle roared to life, following the cultists as they advanced to seize an objective located athwart the rusted TECHNOBRIDGE.
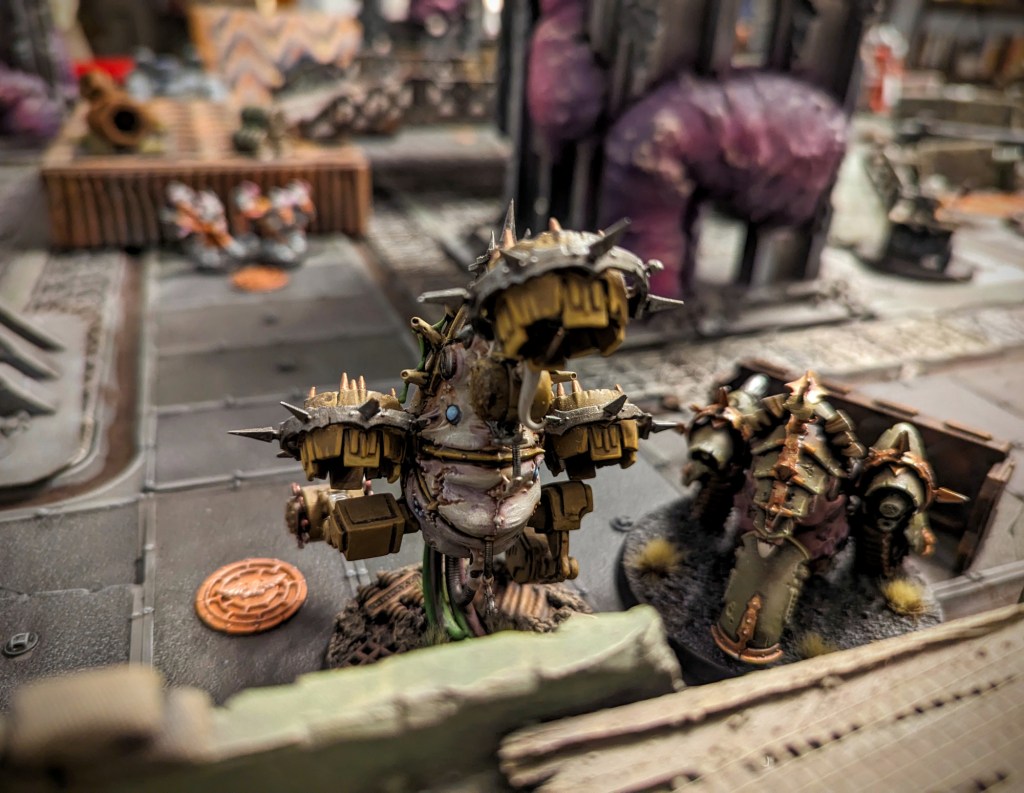

Even as the Death Guard daemon engines were pressing their advance on the right flank, realspace flickered and frost scabbed the pitted metal flooring as reinforcements arrived from the Warp: a foul Daemon Prince of Nurgle and a trio of battle-hardened Blightlord Terminators.

These lumbering behemoths arrived in the Imperials’ backfield and immediately commenced sowing havoc and despair. Terminators are jacks of all trades in Grimdark Future – OK at everything, great at nothing. Their mere presence had the desired effect of ratcheting up the tension. The defenders’ line appeared fragile – would it falter??

Ultimately, the TECHNOBRIDGE did not fall to the forces of Chaos. It was defended, at great cost I might add, by Eldar Dark Reapers led by Maugan Ra, backed up by the reliable firepower of the two Leman Russ tanks.

The defense of the TECHNOBRIDGE seemed to stiffen the spine for the Imperial and Eldar defenders, and they mounted a late surge against another objective located within a ruined multi-story building.


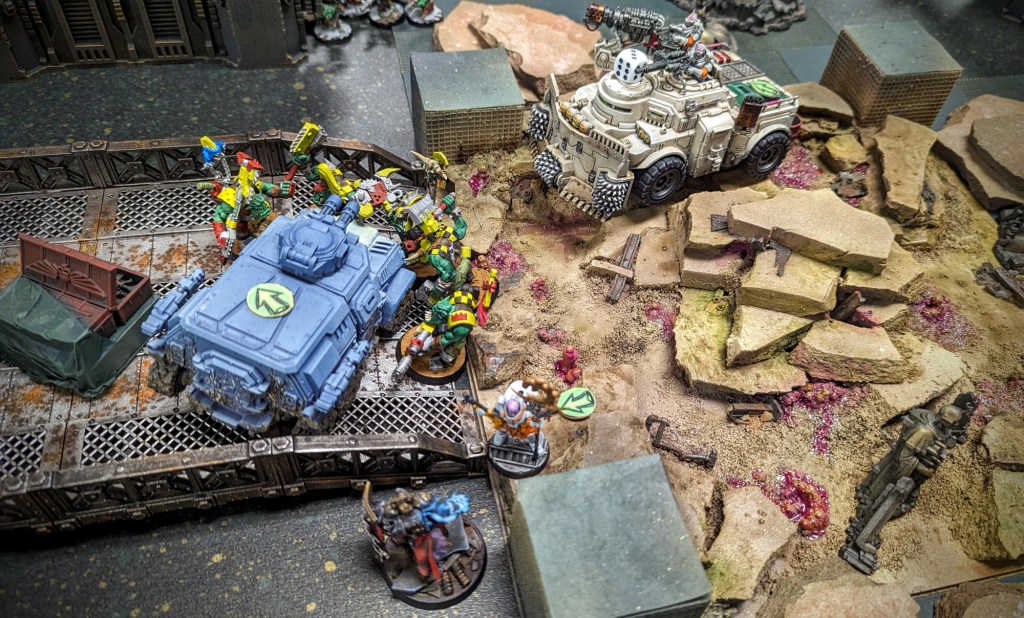
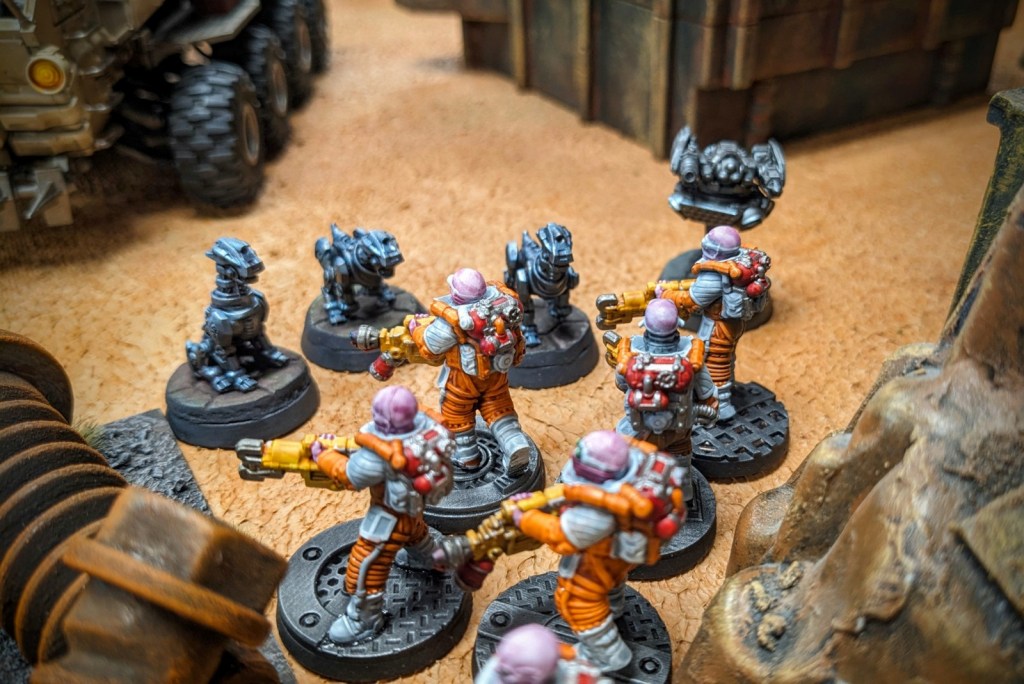
The timely arrival of some Imperial Guard Stormtroopers/Kasrkin/Tempestus Scions, backed up by the graceful shape of the Eldar Wraithlord, put the objective into serious jeopardy. There was only one solution – pulp those stormtroopers into a fine red paste by driving Daniel’s rockgrinder truck through the middle of the them! Yee-haw!

This action was followed up by a volley of fire from the Chaos Predator, which had been serving as effective fire support for most of the game.

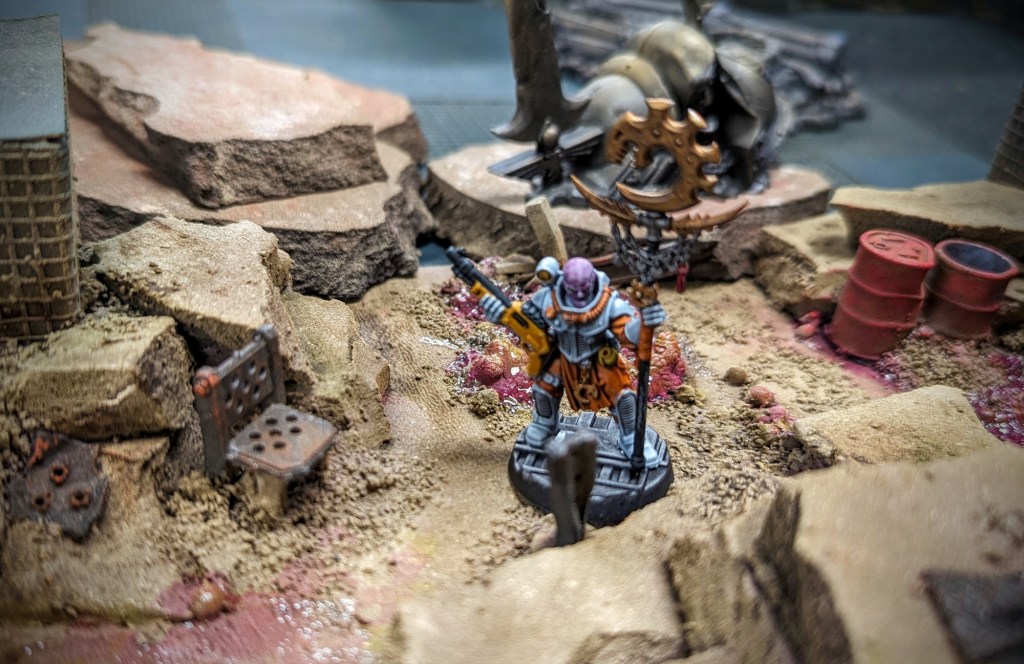
With the endgame approaching, the Predator rumbled out of its fighting position and motored toward the central objective, located amid some puddles of toxic waste (dangerous terrain, in the parlance of Grimdark Future).

That bold advance was enough to seal the victory for the forces of Chaos. This was a very close fought game that definitely could have gone either way up until the final turn. Those are the best types of games – the ones where both sides are competitive until the very end.
So, this may prove to be the final game of The Cauldron, our grimdark/Inq28 campaign that has inspired a frenzy of painting and terrain building over the last 10 months. If you haven’t read through our past battle reports, do yourself a favor and take in the majesty of The Cauldron on Comrade’s Wargames. You’ll be glad you did.